|
TrotBots with 8 legs balance by having 4 feet in contact with the ground, one at each corner of the robot. If one of these feet were removed, then TrotBot would tip, similar to what would happen if you took one wheel off of a car. For a tripod gait to be balanced, the feet need to be arranged like an equilateral triangle, so we removed the two outer pairs of legs, and added a pair of legs to the center of TrotBot, inside the frame: 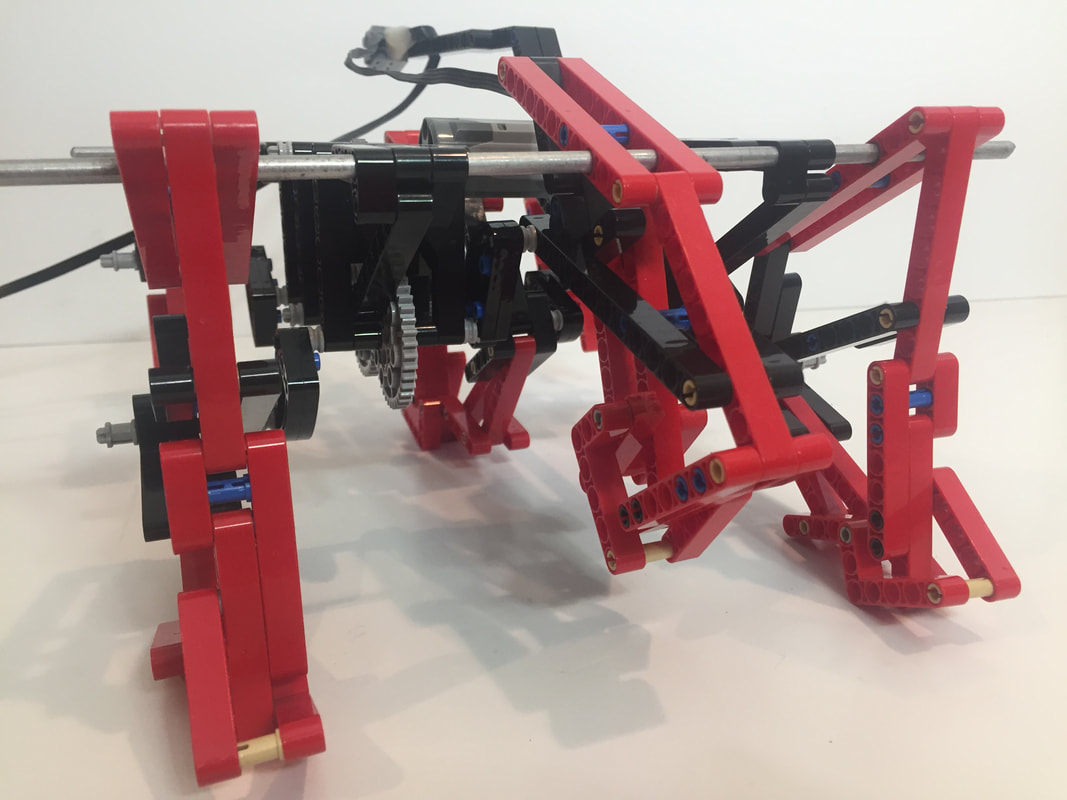 Also, we needed to adjust the timing of TrotBot's front and rear feet. As shown in the image below, hexapod robots with tripod gaits transition from one tripod to another as they walk, which requires TrotBot's front and rear feet to be 180 degrees out of phase: 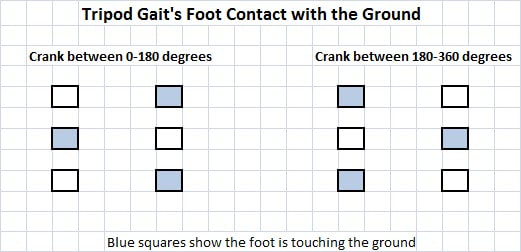 However, orienting TrotBot's front and rear cranks 180 degrees out of phase won't put the feet 180 degrees out of phase, because the location of the two leg's upper frame connections relative to the cranks is in the opposite direction. Looking from the side of the robot, the left leg's upper frame connection is 49.4 degrees to the left, and the right leg's is 49.4 degrees to the right. Here's a diagram of the left leg's frame connection relative to the crank: 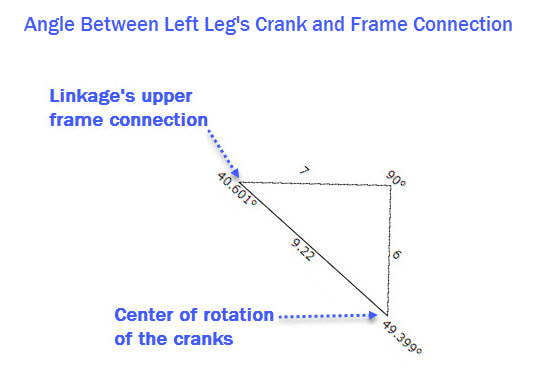 So, in order to have the left and right feet touching the ground at the same time the right crank would need to be rotated clockwise by 49.4 degrees x 2, or 98.8 degrees. For the foot contact to be 180 degrees out of phase, the right crank would need to be rotated a further 180 degrees, or 278.8 degrees in total, as shown in the image below. 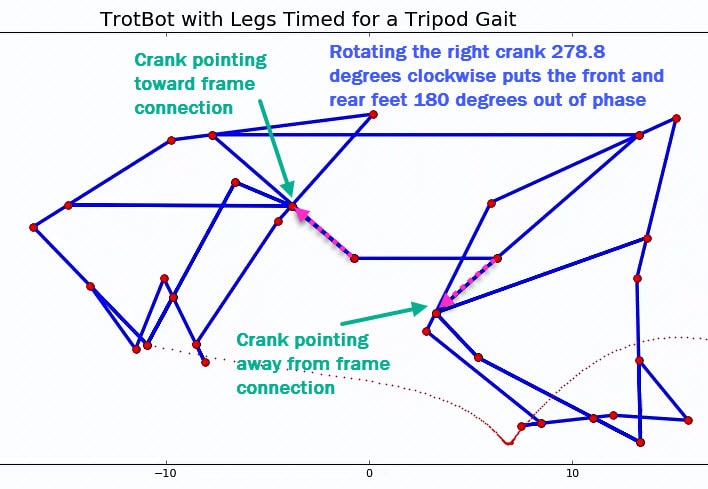 In other words, the front and rear cranks should be about 80 degrees out of phase  Hexapod TrotBot with a Tripod Gait Here's a simulation of TrotBot's legs with this 278.8 degree phase shift of the right crank:  TrotBot with Legs Timed for a Tripod Gait
3 Comments
In this test, 10 pounds were added to TrotBot with 3 versions of feet:
1. feet with heel and toe linkages 2. feet with only heel linkage 3. feet without heels or toes. As can be seen in the video, TrotBots without heels and toes should be built in a 12 leg version to handle heavy loads. Also, we added 10 pounds to a toe-less TrotBot that used LEGO's plastic axles, but its bumpier gait required more torque than the plastic axles could handle. Those axles twisted so much that TrotBot could barely walk, so we replaced them with steel axles before filming this test. We should have included a clip of the plastic axle version to better show how heavy walkers with bumpy gaits may need LEGO's plastic axles replaced with steel axles to handle the torque. An alternative to adding heel/toe linkages to TrotBot is to build it in a 12-leg version, which results in a similar increase in foot-contact with the ground. However, it's a wider build, so the longer crank/axle system will twist more if LEGO's plastic axles are used. For this reason we usually replace at least the inner leg's plastic axles with steel axles when building 12-legged walkers.
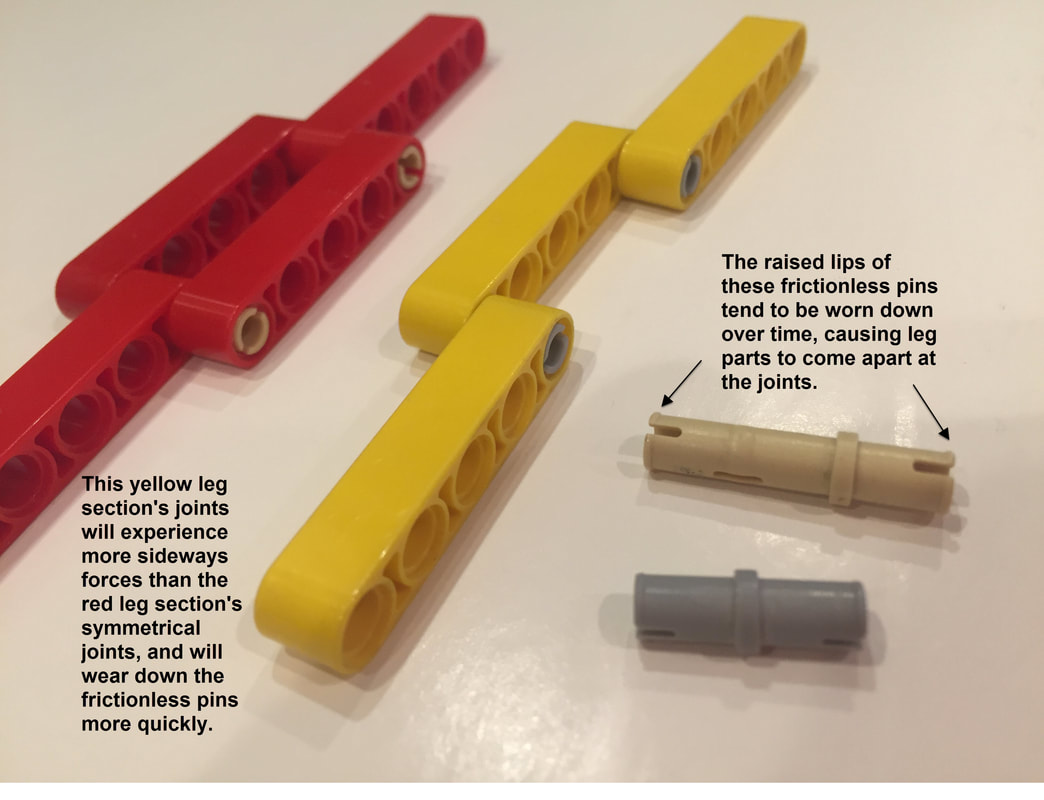
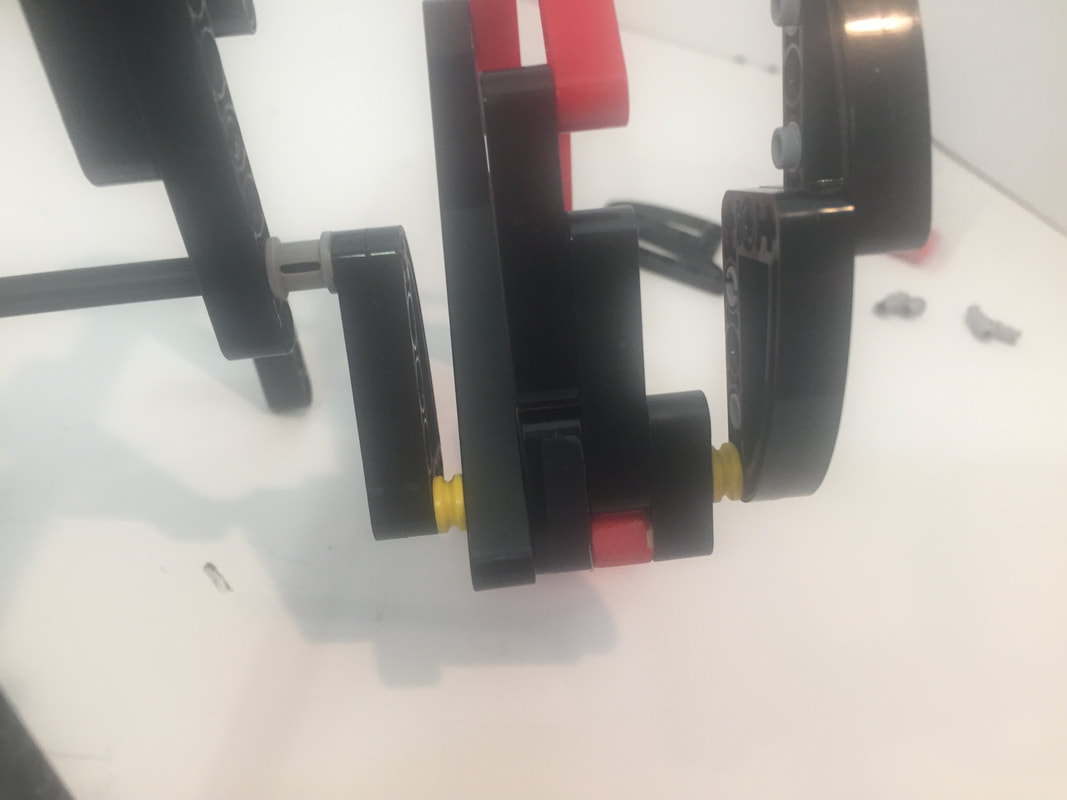
TrotBot's lower leg pins tend to come out when the legs experience sideways forces, as can happen when turning TrotBot on terrain with a lot of friction (like on thick carpeting).
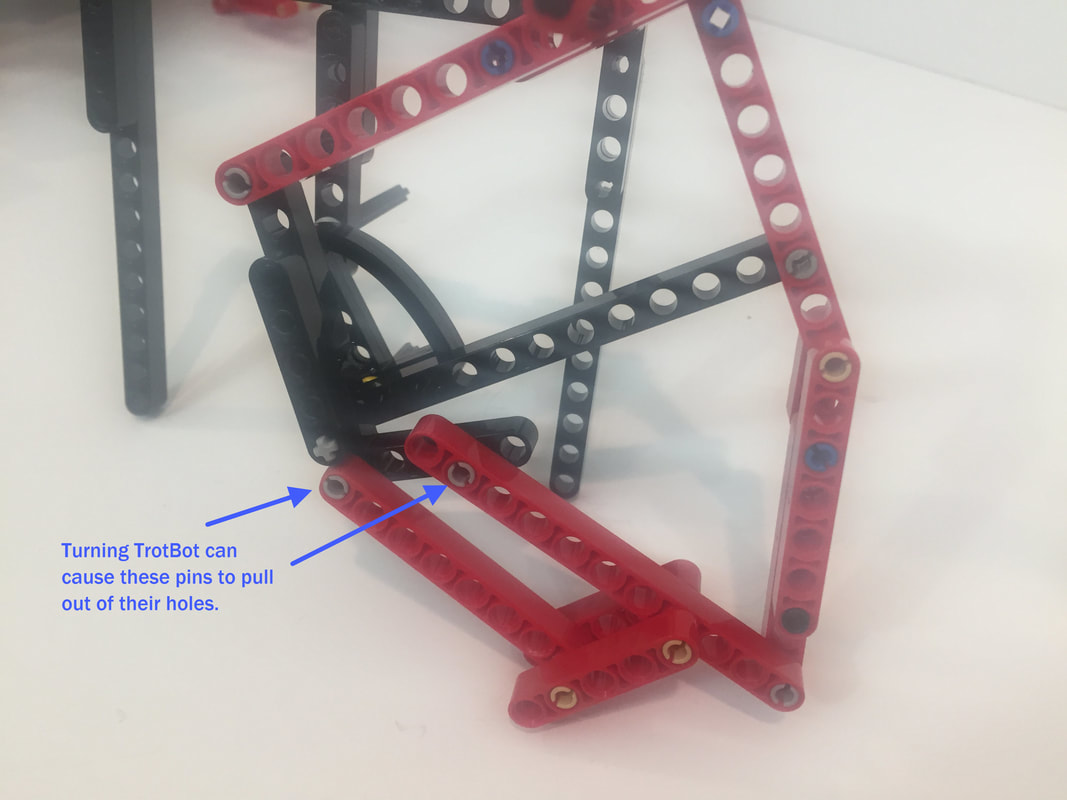
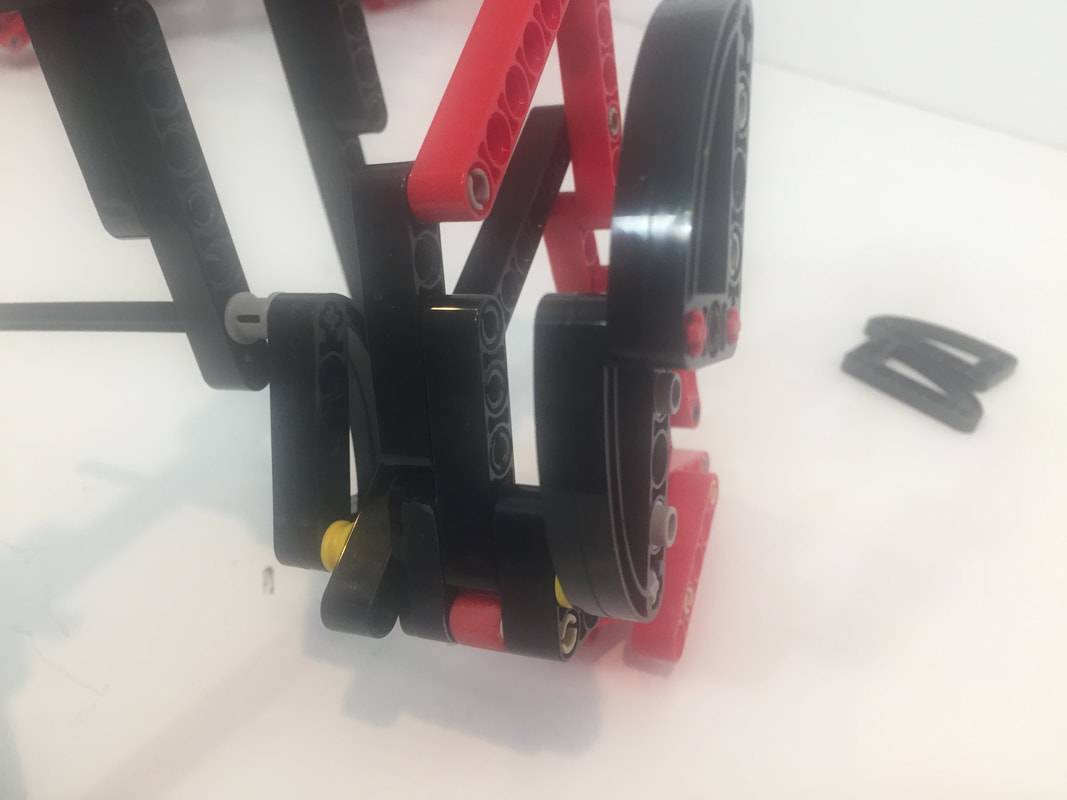
If the legs aren't snapped back in place, then friction on the pin's lips will wear them down, and the pins will no longer join with a sharp "snap", causing them to pull out more easily. Ideally, joints should be 3 beams wide and symmetrical like the red chain of beams below, which prevents pins from pulling out or bending sideways when bearing weight:
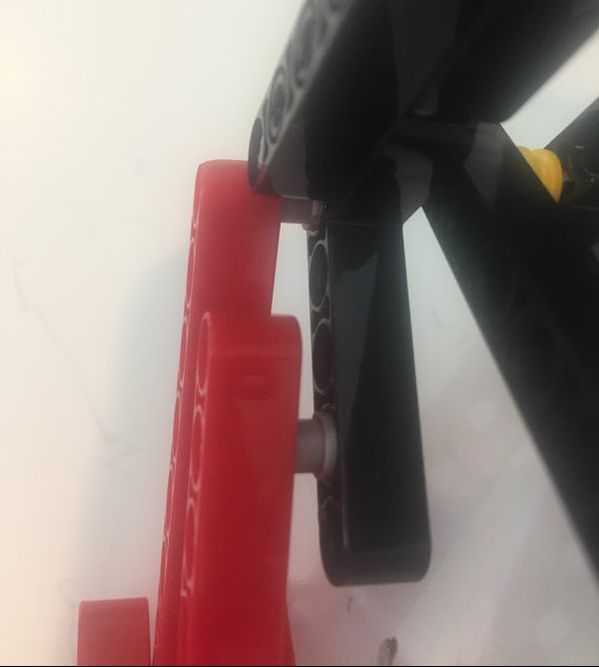
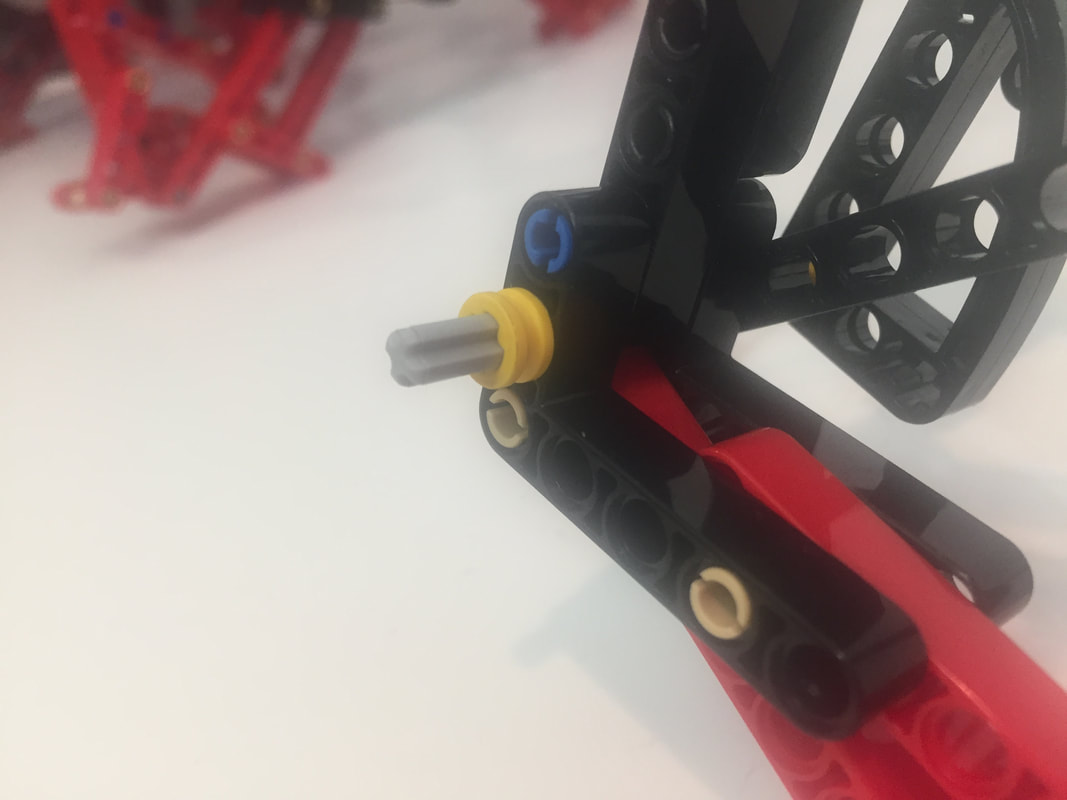
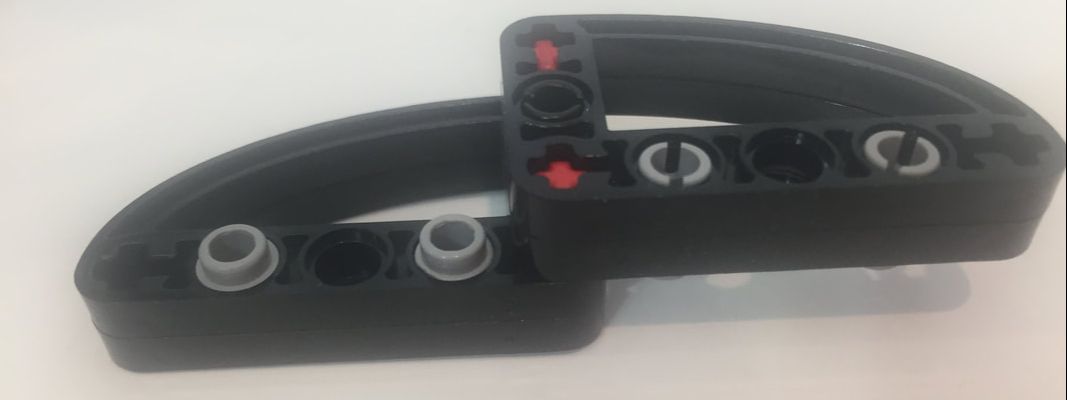
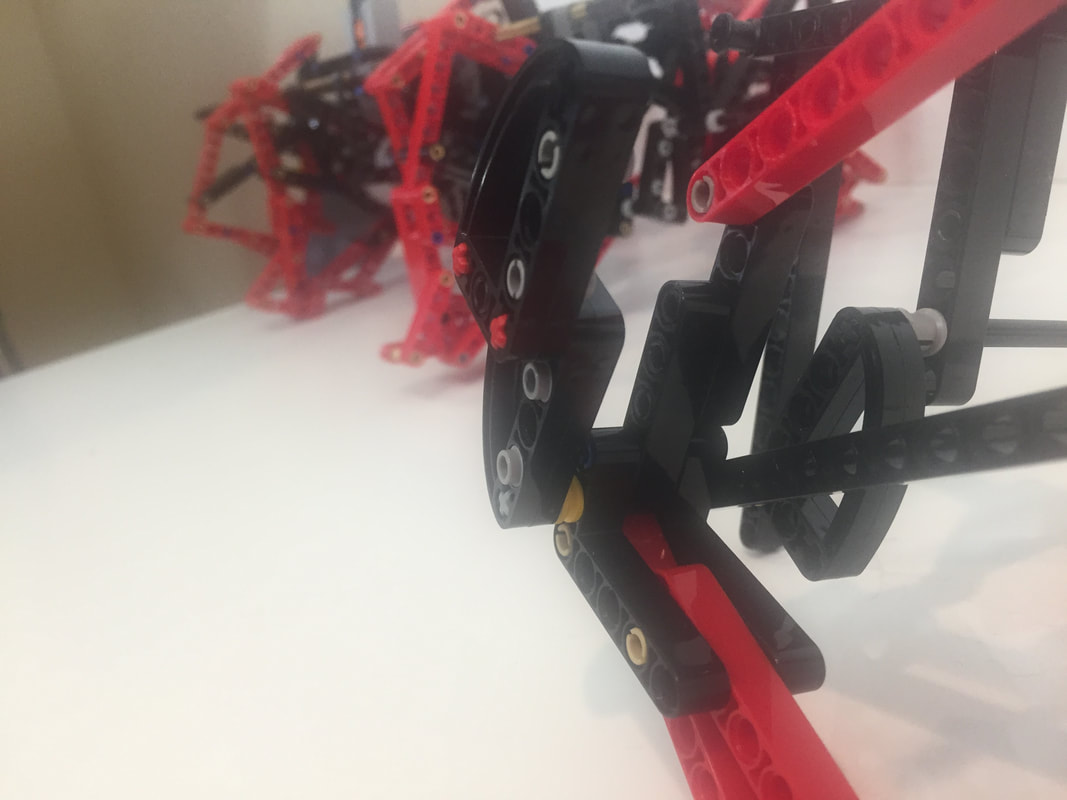
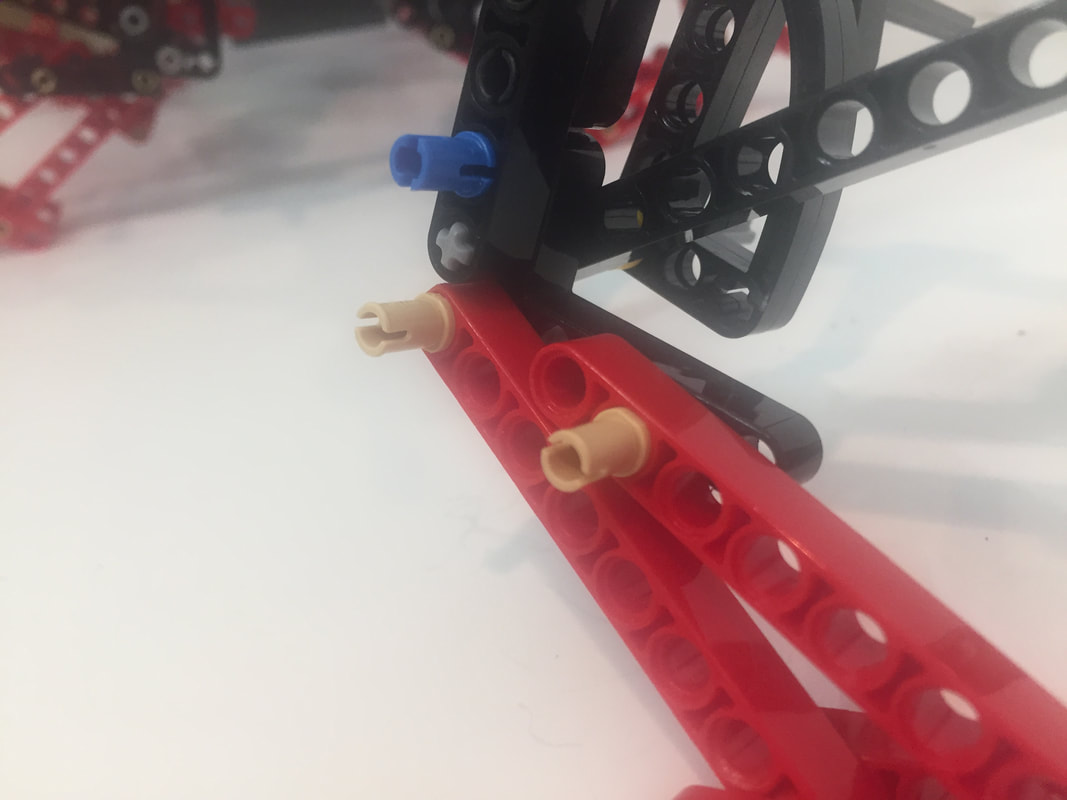
However, using LEGO's parts to sandwich TrotBot's leg joints inline like the red beams above would add a lot of width to the robot. Instead, I sandwiched the leg joints by attaching an additional 3x5 L-shaped beam to the outside of the legs, which is a bit off center but still works well with LEGO's high strength-to-weight ratios. I tested these new attachments by turning TrotBot on some thick carpeting, which would usually cause a few of the leg's pins to pull out. Below the video are some pictures of how I added the parts, and I used these attachments in my TrotBot version 3 builds.
I've got a few other ideas to test over the next few weeks, and then I'll post some new TrotBot instructions with the improvements. UPDATE: Here are the new instructions with a part list.
|
Categories
All
Archives
February 2023
|

 RSS Feed