Klann Linkage Optimizer
Posted by Ben and Wade
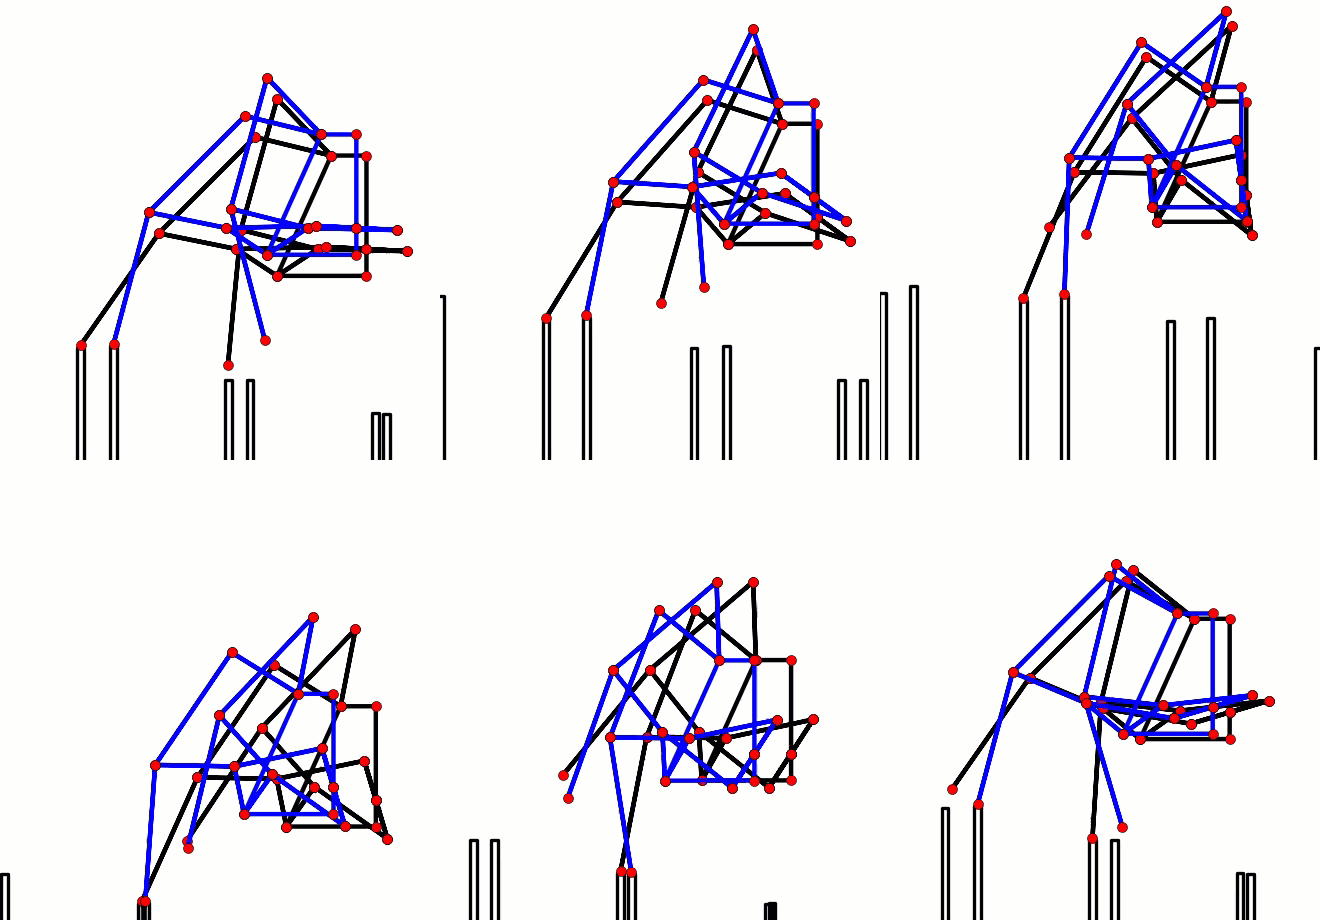
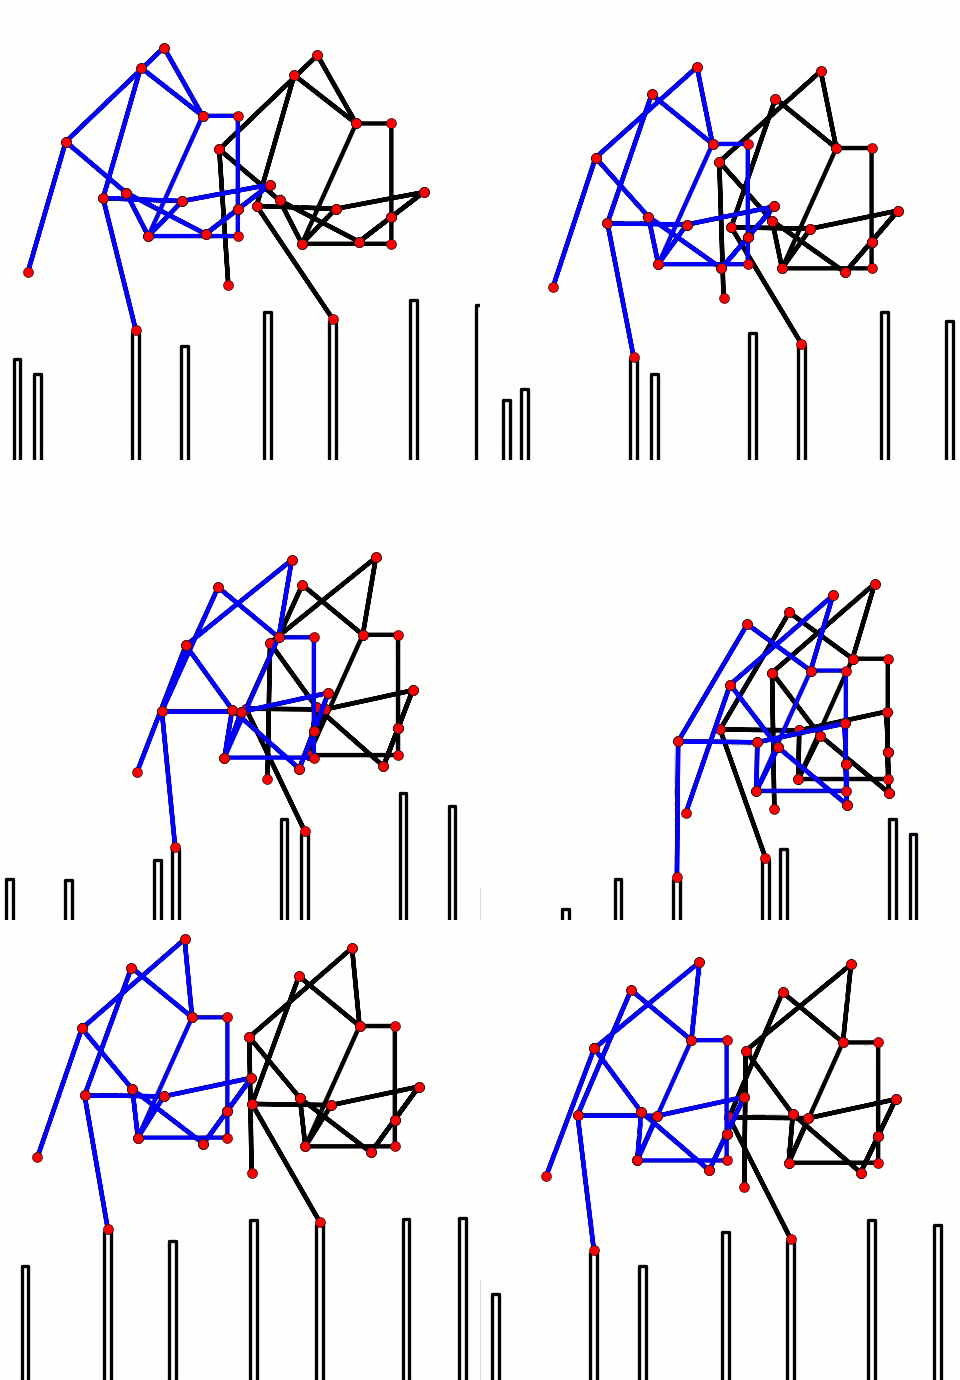
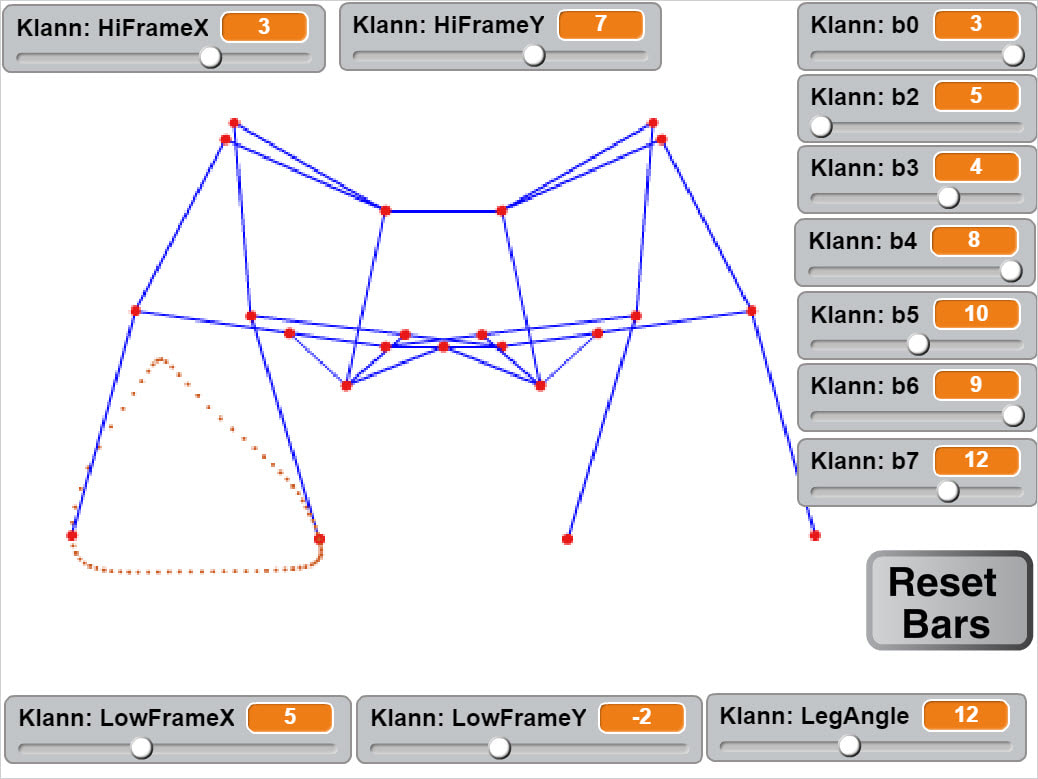
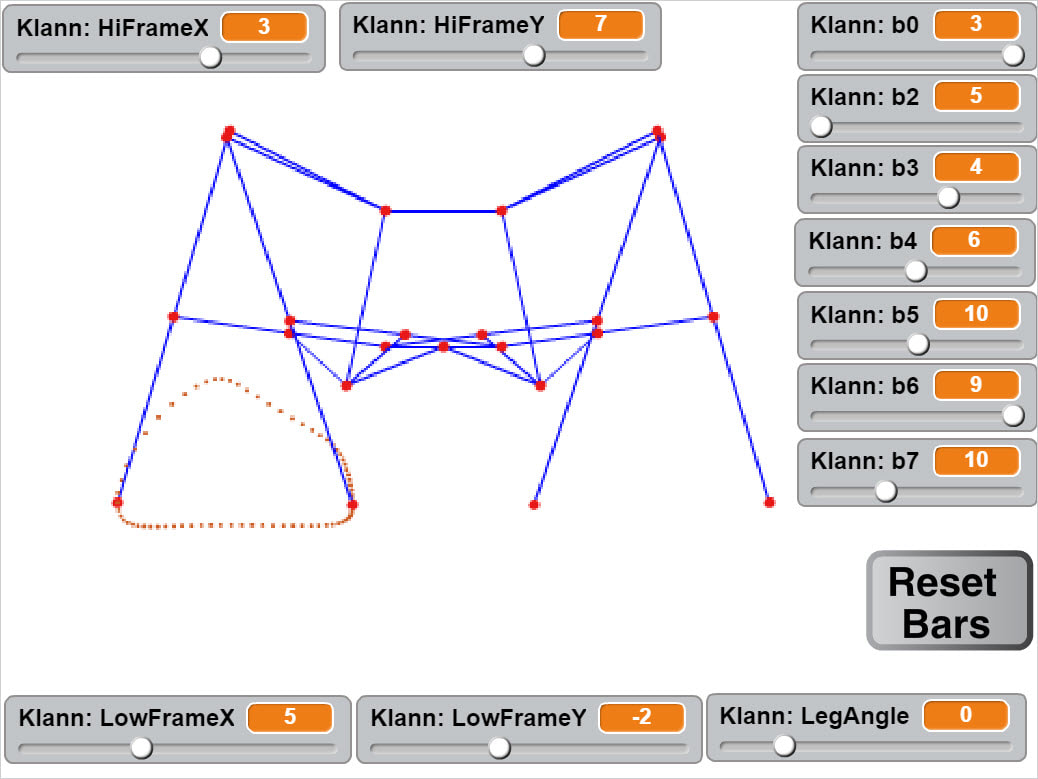
This Klann linkage calculator allows you to quickly check how changing the bar lengths of Klann's mechanism affect its foot-path, but remember, just because something looks good in a simulation doesn't guarantee it will work well when built - at least not without some tinkering. Here's a video of the simulator in action:
This Klann linkage calculator allows you to quickly check how changing the bar lengths of Klann's mechanism affect its foot-path, but remember, just because something looks good in a simulation doesn't guarantee it will work well when built - at least not without some tinkering. Here's a video of the simulator in action:
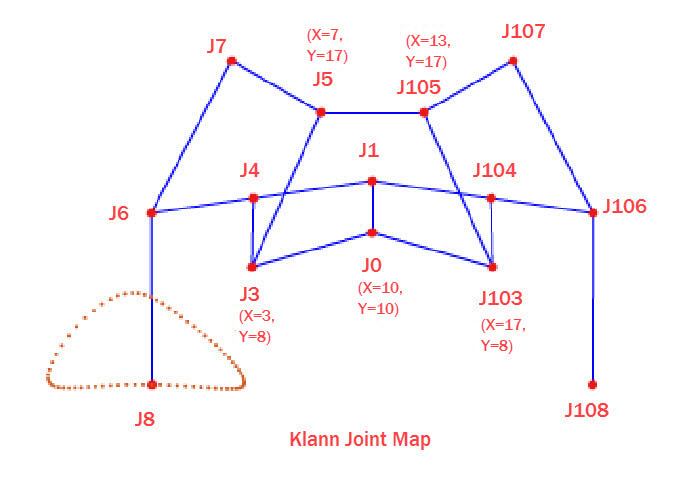
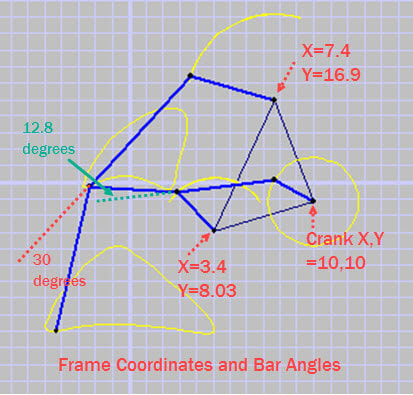
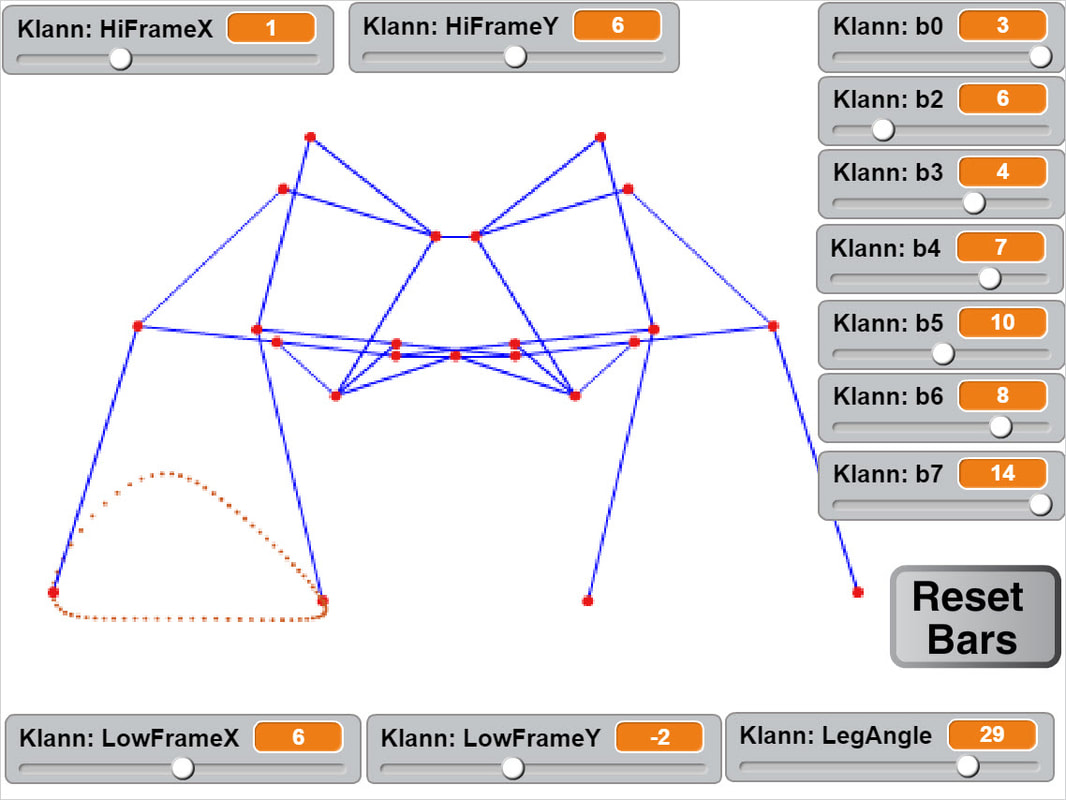
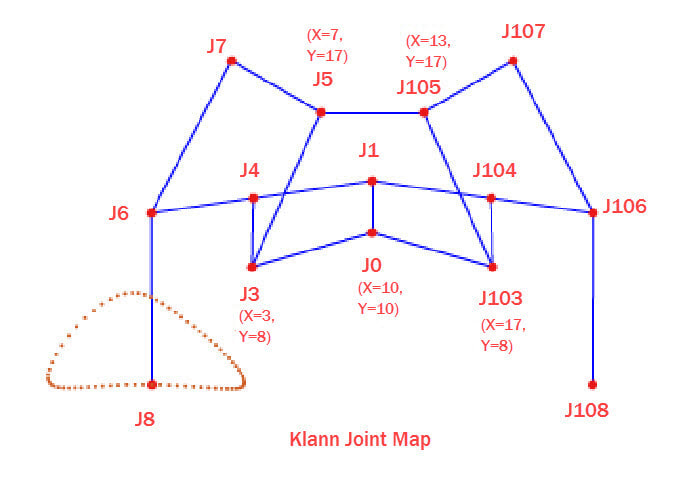
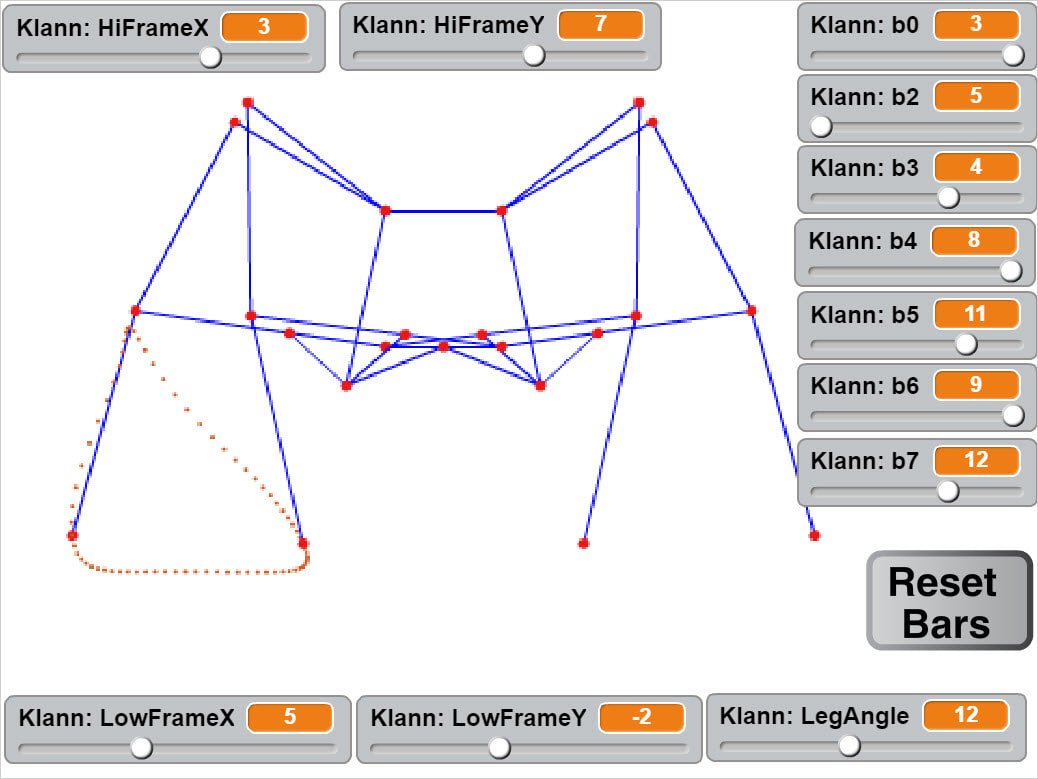
Below is the interactive simulator which is started by clicking the green flag. After changing a bar's length in the below simulator, click somewhere other than a slider bar and then press the space bar to see the new linkage and foot-path, and use your keyboard's left/right arrows to rotate the crank. Note: the "HiFrame" and "LowFrame" variables are the distances from the frame connections to the center of the crank. Also, in the simulator you can choose the linkage from Klann's patent by pressing "k", followed by the space bar.
If you want to more finely tune Klann's bar lengths by 1/10th increments see the "10x" simulator further down.
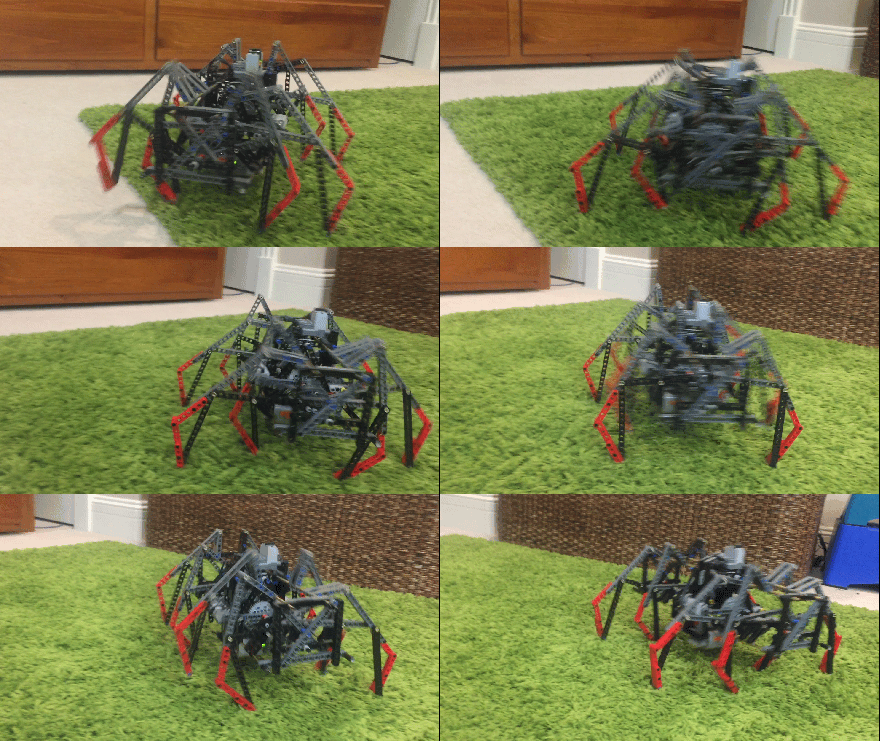
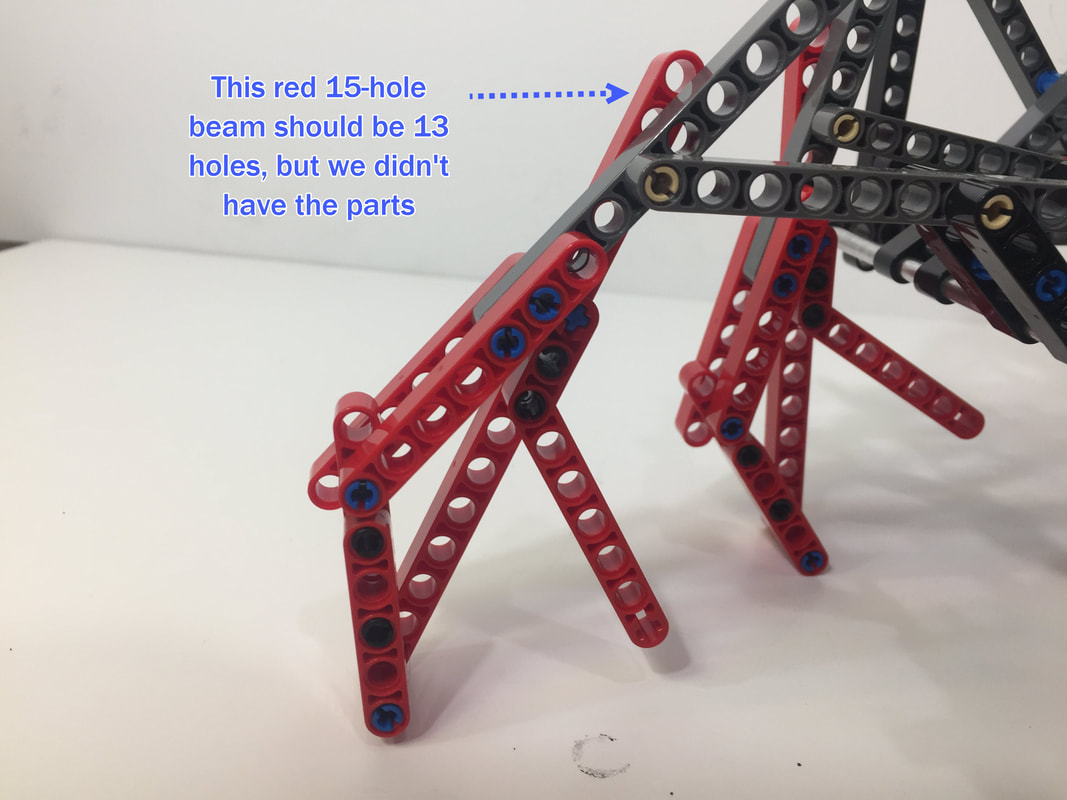
When building a simulated linkage in LEGO, remember to use beams with one more hole than the bar's length. For example, a bar of length 8 requires a LEGO beam with 9 holes, because when determining the length of LEGO beams, the first hole is always counted as zero.
Also, be sure to incorporate triangles in your robot's frame to increase its rigidity. You can find other ideas for creating strong, triangle-based frames in LEGO here.
LEGO-Friendly Configurations of Klann's Mechanical Spider
The following options resulted from playing with the simulator as opposed to running some optimization code, so there are likely better LEGO configurations of the Klann linkage waiting to be found.
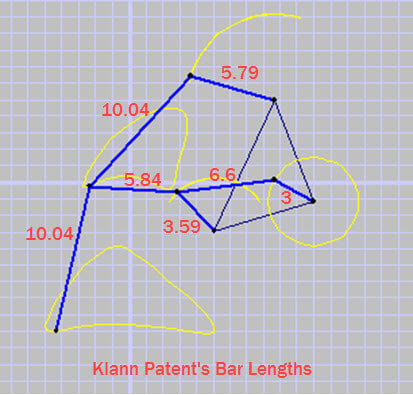
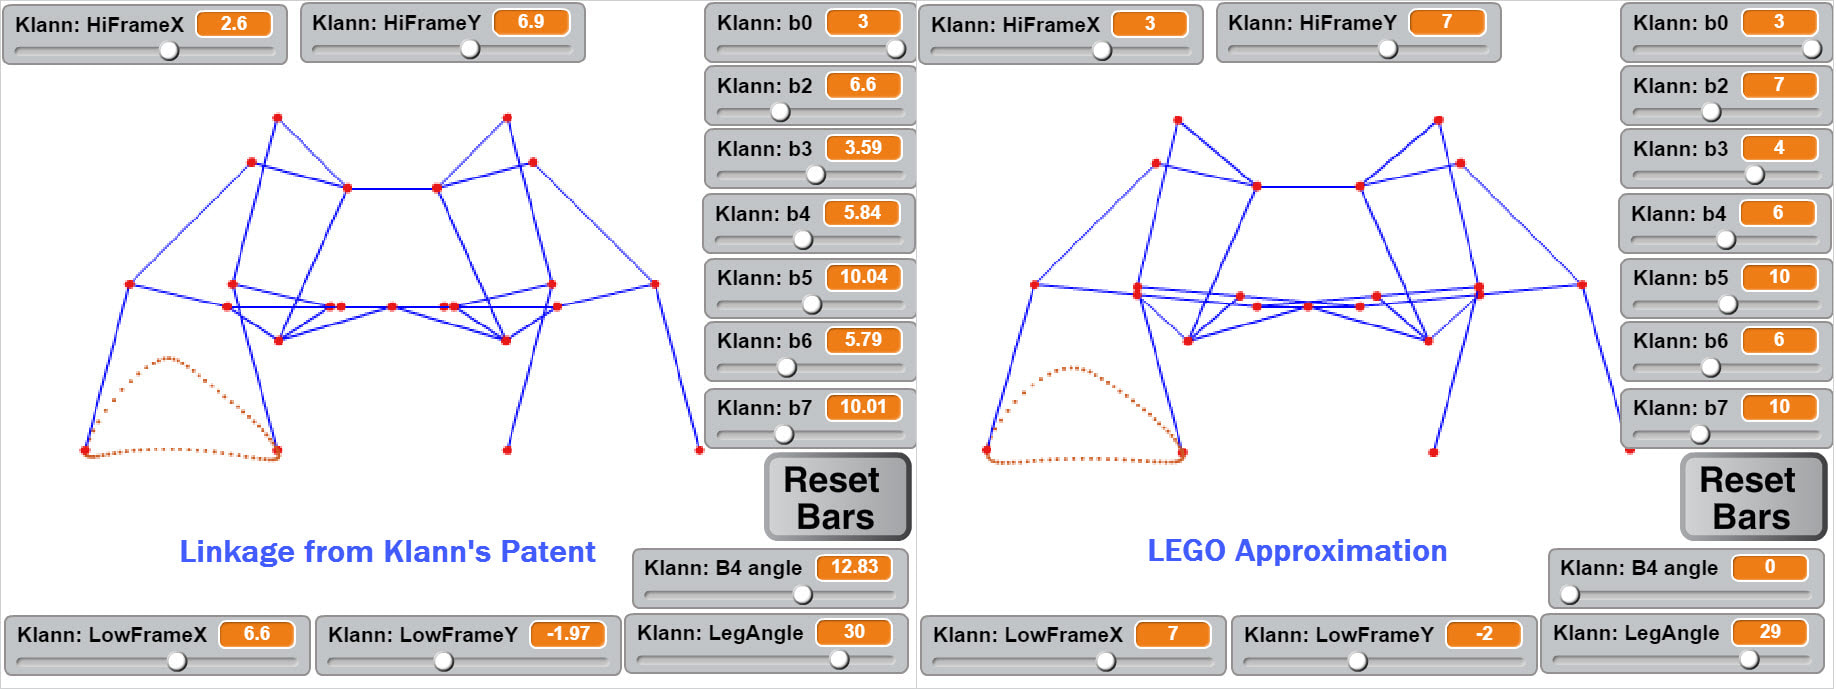
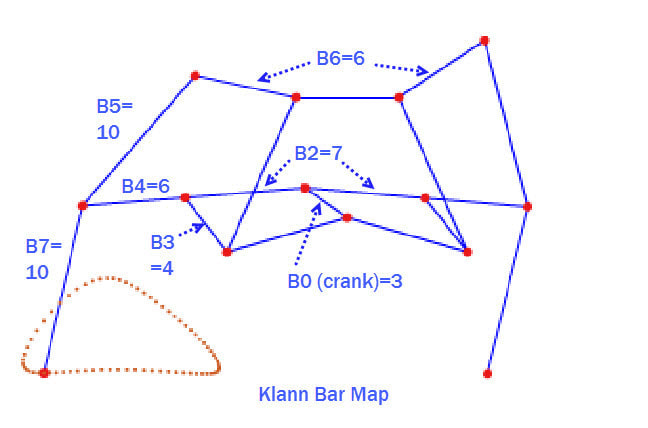
First, here's Klann's standard version from his patent with Klann's linkage measurements scaled so that the crank's length equals 3, alongside our LEGO version 2 approximation. Note: in the simulator you can choose the linkage from Klann's patent by pressing "k", followed by the space bar.
First, here's Klann's standard version from his patent with Klann's linkage measurements scaled so that the crank's length equals 3, alongside our LEGO version 2 approximation. Note: in the simulator you can choose the linkage from Klann's patent by pressing "k", followed by the space bar.
Below are the foot-paths of both versions, as well as the speed of the feet when in contact with the ground.
Notice how Klann's horizontal foot-speed slows at both ends of the foot-path, which can cause Klann linkage robots to have a halting gait on higher friction terrain. This can be mitigated with feet that slide or rotate, as shown in this experiment.
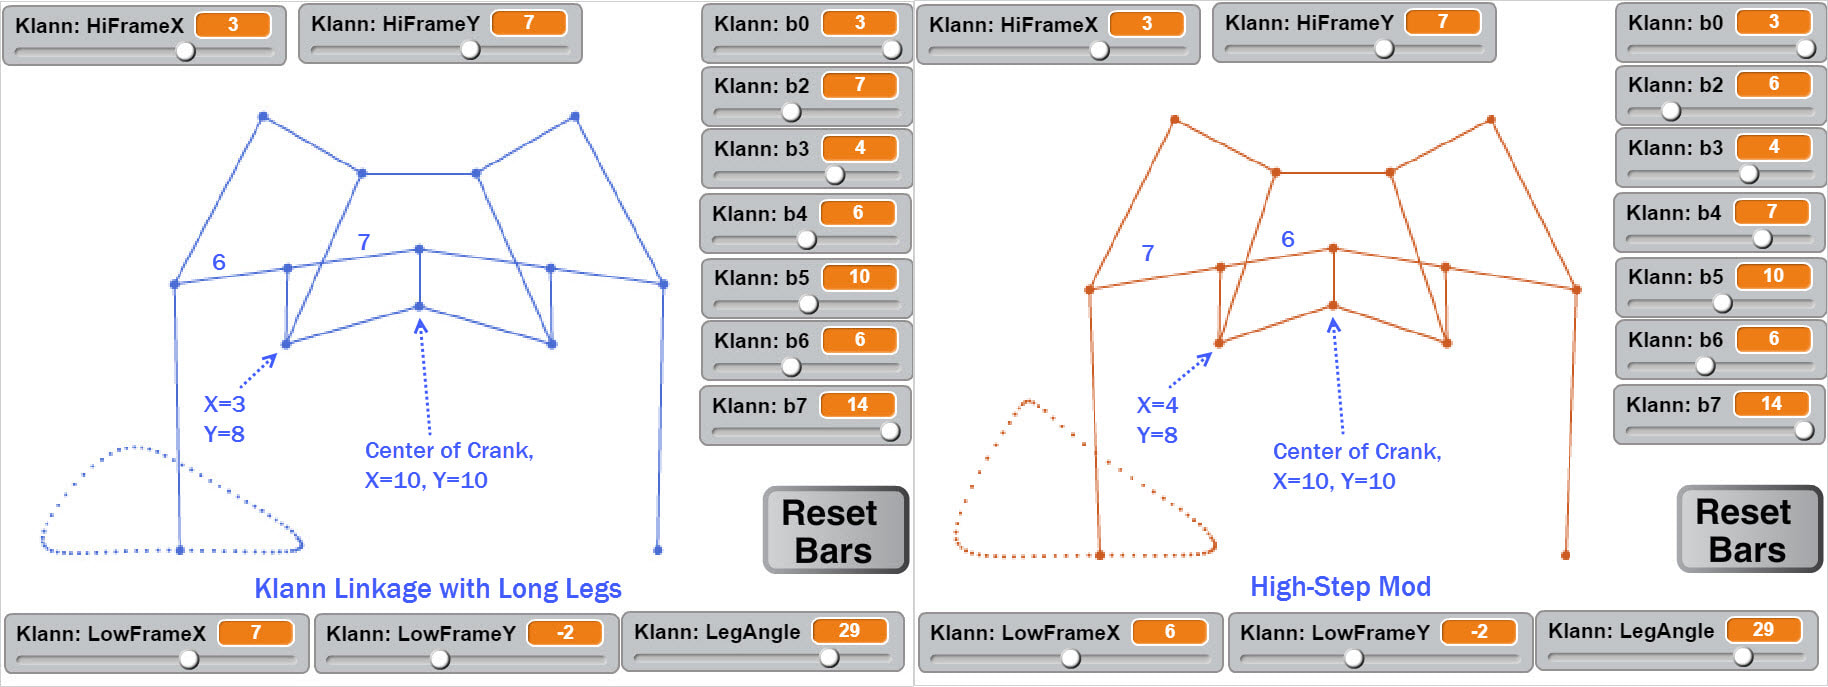
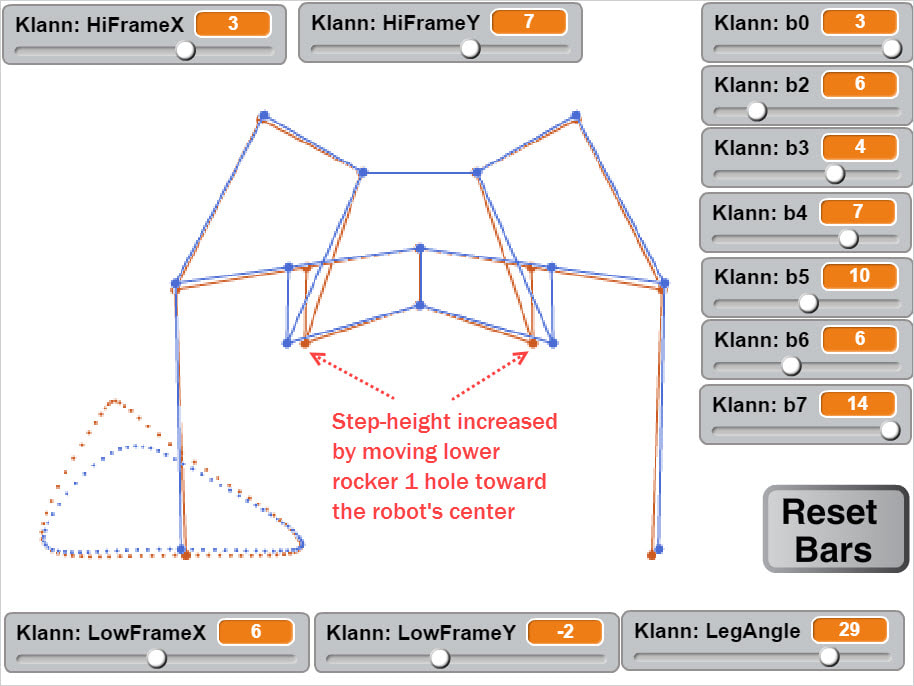
If you play with Klann's simulator you will probably notice how some types of modifications result in predictable changes to Klann's foot-path. For example, Klann's step-height can be increased by moving the lower rockers toward the center:
Directions for making this modification to Klann Ver 3 can be found here.
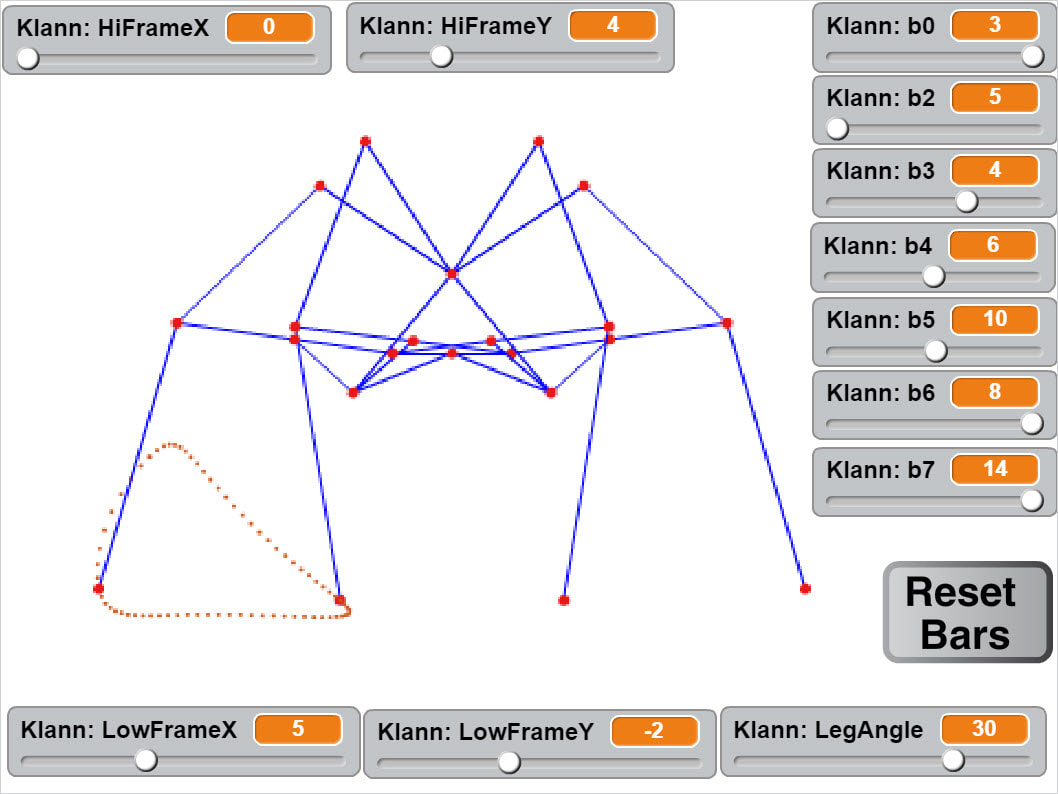
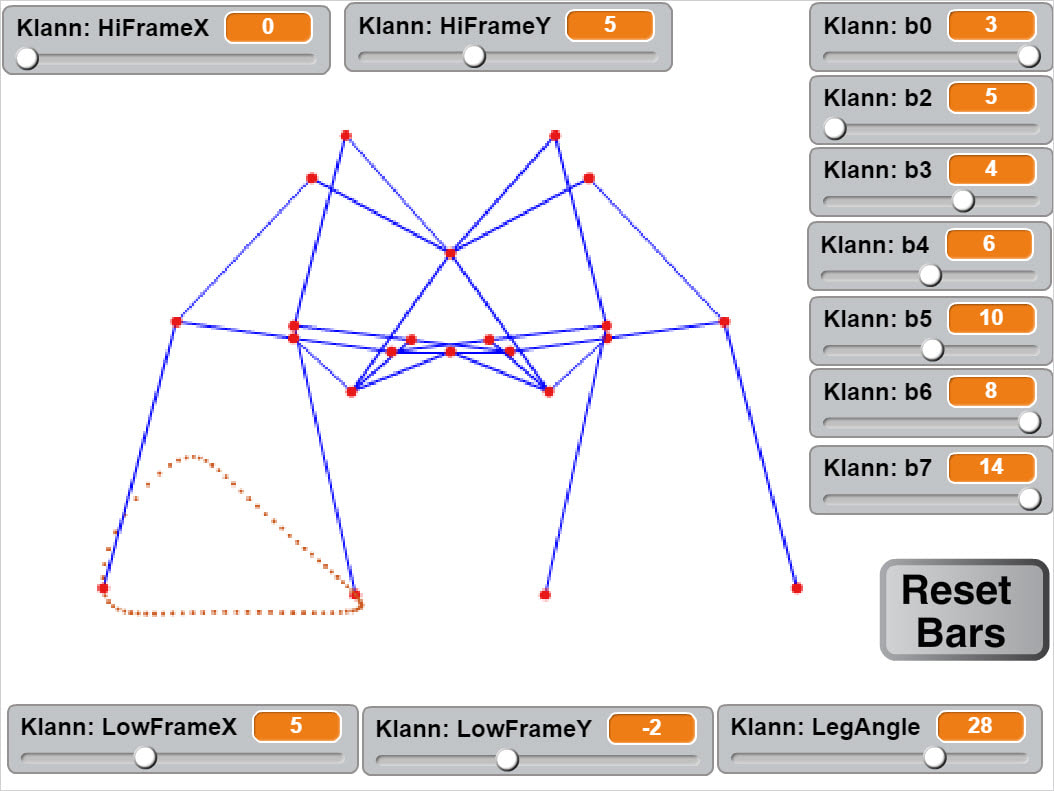
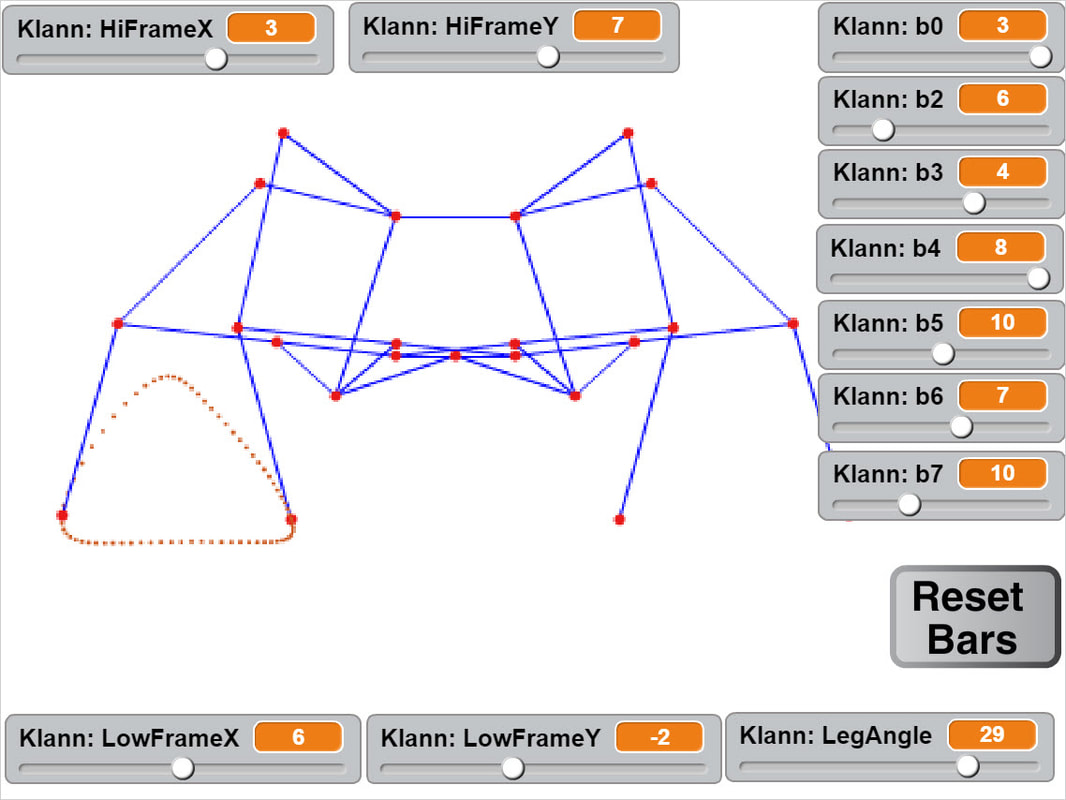
Below are two LEGO approximations of one of Klann's high-step configurations. If you consider building either in LEGO, you may want to separate the front and rear legs by a 40 tooth gear so that the top leg joints don't collide. Separating the legs should also make for a more stable robot when climbing, but it will require 2 more crank/axle systems - one more for the front legs, and one more for the back legs.
Below are two LEGO approximations of one of Klann's high-step configurations. If you consider building either in LEGO, you may want to separate the front and rear legs by a 40 tooth gear so that the top leg joints don't collide. Separating the legs should also make for a more stable robot when climbing, but it will require 2 more crank/axle systems - one more for the front legs, and one more for the back legs.
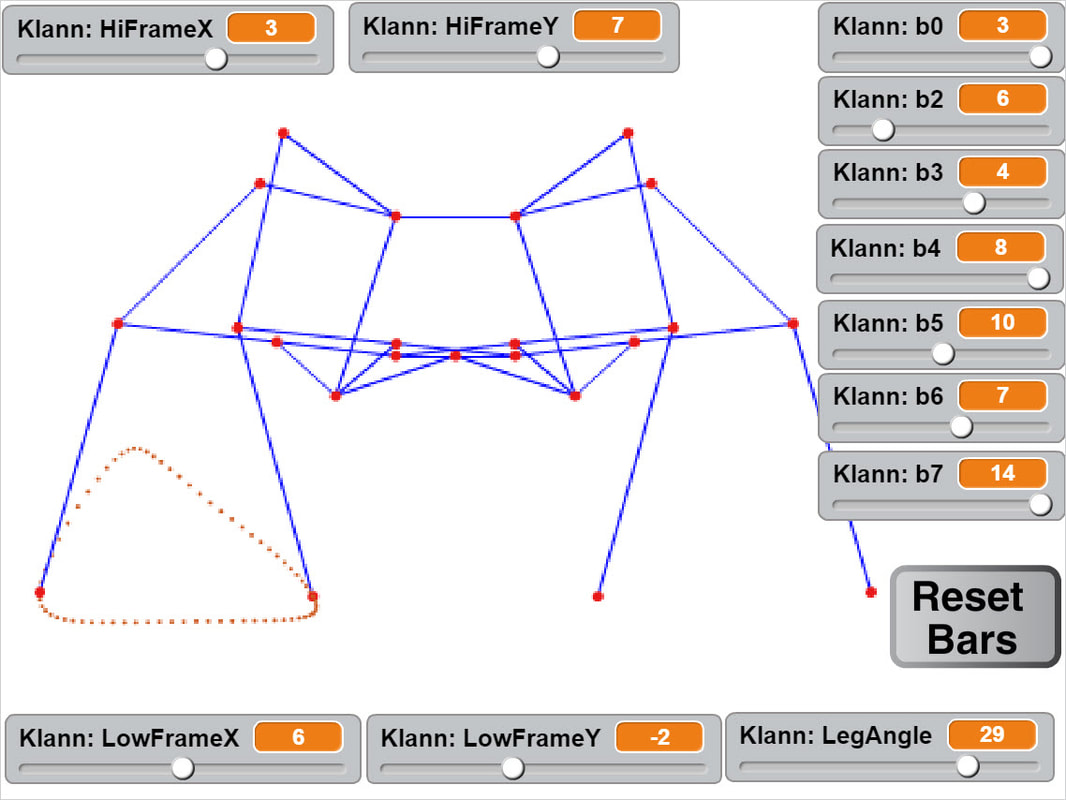
The above high-step options may tend to trip when the feet are lifted off the ground due to the sharp angle of the foot-path's lower right corner. Also, the foot looks like it will reverse direction and drag a bit while still on the ground, so it may not work that well if the feet don't slide or rotate.
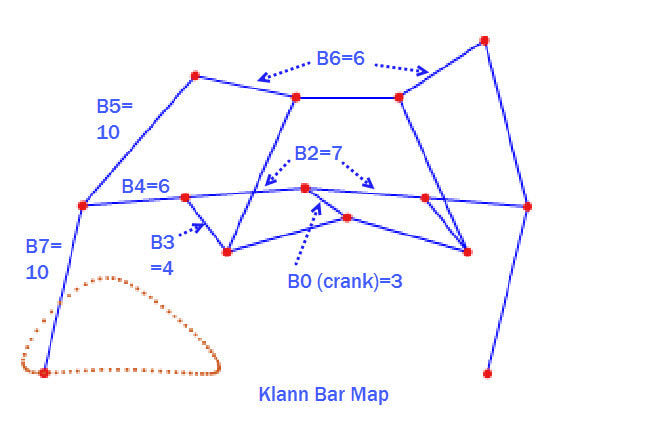
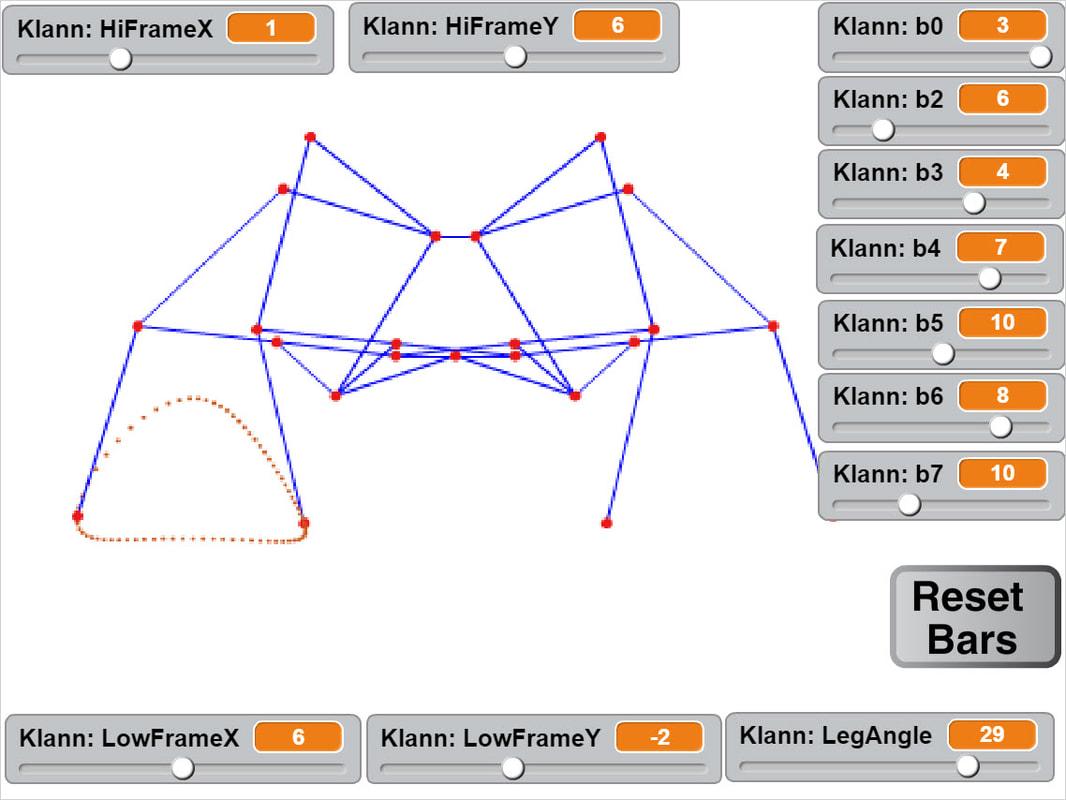
Below is another higher-step option, with a more rounded foot-path. The short leg version has B7=10 like Klann ver 2, and the long leg version has B7=14. Note: long-leg Mindstorms versions may not turn that well on non-smooth surfaces due to the leverage of the longer legs plus the weight of the EV3 brick - the legs would bend sideways, and maybe by a lot. You can see an example of this in the video of Klann's Spider - Mindstorms Long Legs.
Below is another higher-step option, with a more rounded foot-path. The short leg version has B7=10 like Klann ver 2, and the long leg version has B7=14. Note: long-leg Mindstorms versions may not turn that well on non-smooth surfaces due to the leverage of the longer legs plus the weight of the EV3 brick - the legs would bend sideways, and maybe by a lot. You can see an example of this in the video of Klann's Spider - Mindstorms Long Legs.
Below is a slightly higher-step option:
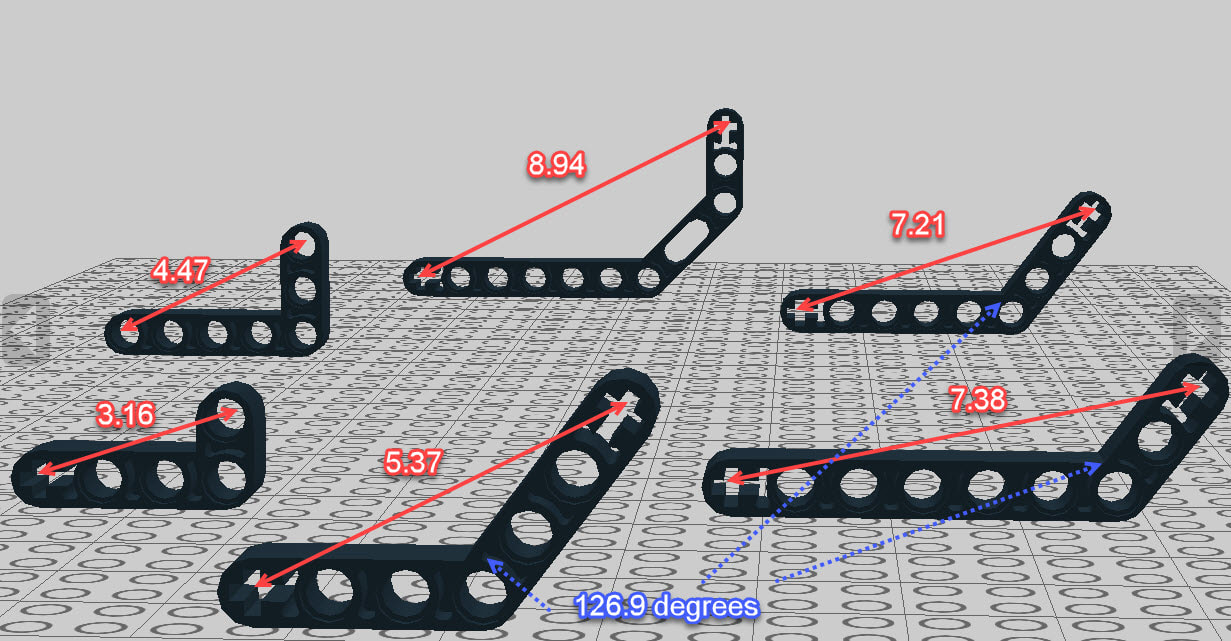
There are likely many more LEGO-friendly versions waiting to be found with the simulator, especially if LEGO's bent bars are included in the search (lengths shown below).
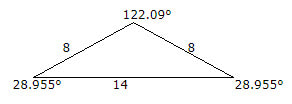
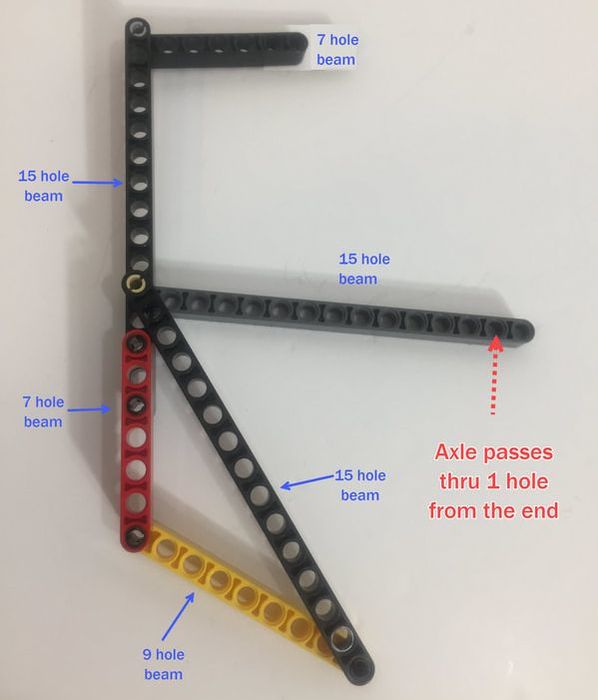
Here are a few ideas for making a 29 degree knee bend that the above options have.
Here are a few ideas for making a 29 degree knee bend that the above options have.
|
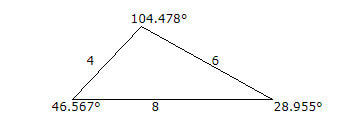
Below is a 2X version of the 4-4-7 triangle for making a longer version of Klann's legs (B7=14), and an example of implementing it in LEGO to the right. This is the leg used by Long-Leg Klann Ver 3. An online triangle calculator is here. |
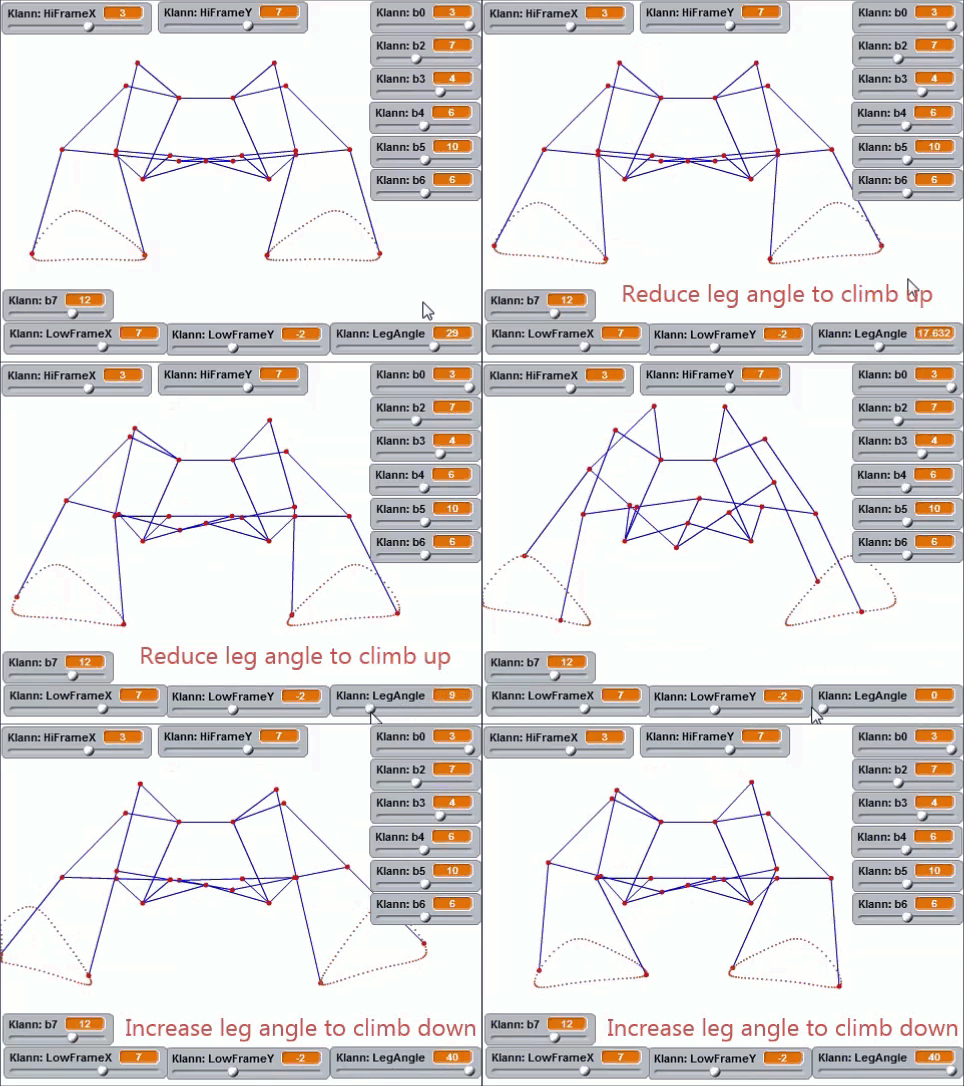
We tried using this 5-8-12 triangle for the below "clawfoot" version of Klann, but we accidentally installed it upside down, so Clawfoot Klann's knee angle is 17.63 degrees instead of the desired 29 degrees. It still walks well at small LEGO scales, and as shown in the GIFs below the video, reducing the knee angle improves Klann's ability to climb.
Reducing the knee bend to 17.6 degrees also reduces the rear leg's ability to clear obstacles like the 2x4s in the above video, but the claw-like "heel" we added more than compensates for this.
Further reducing Clawfoot Klann's 17.63 degrees knee angle may have prevented jamming during the below slope change experiment, but once past the V-bottom the angle would need to be increased immediately to walk efficiently:
Klann's ability to climb and descend can also be improved by bending the frame up and down at its center, and MaxBrix tested a variation this idea here which allowed his walker to climb relatively huge stairs:
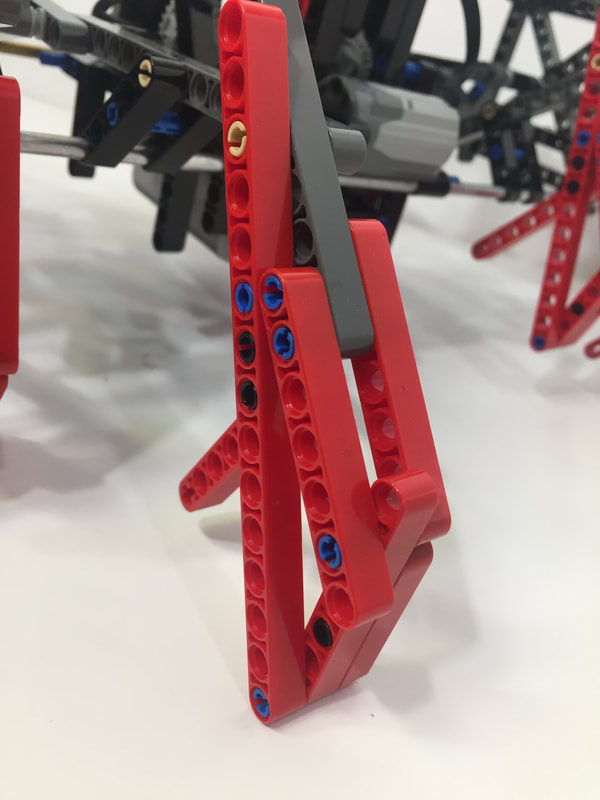
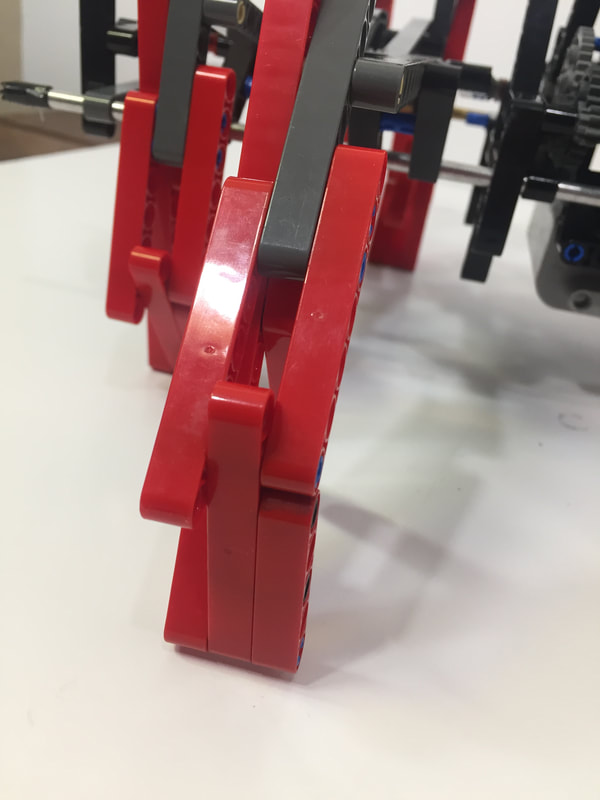
Below are some images of how we built the lower leg section, and other than that it's the same build as Long-Leg Klann Ver 3
Below is the "10x" simulator where the bar lengths have been multiplied by 10 and so can be changed by 1/10th of the above LEGO optimizer. Note: in the simulator you can choose the linkage from Klann's patent by pressing "k", followed by the space bar.
After changing a bar's length, click somewhere other than a slider bar and then press the space bar to see the new linkage and foot-path, and use your keyboard's left/right arrows to rotate the crank.
After changing a bar's length, click somewhere other than a slider bar and then press the space bar to see the new linkage and foot-path, and use your keyboard's left/right arrows to rotate the crank.
Below is an even higher-step possibility, but it may not function well due to the sharp angle at the top of the foot-path? Note that you would need to make a smaller angle for the legs (12 degrees vs. the above 29 degrees)
Below are a few more possibilities. Notice the leg angles.

