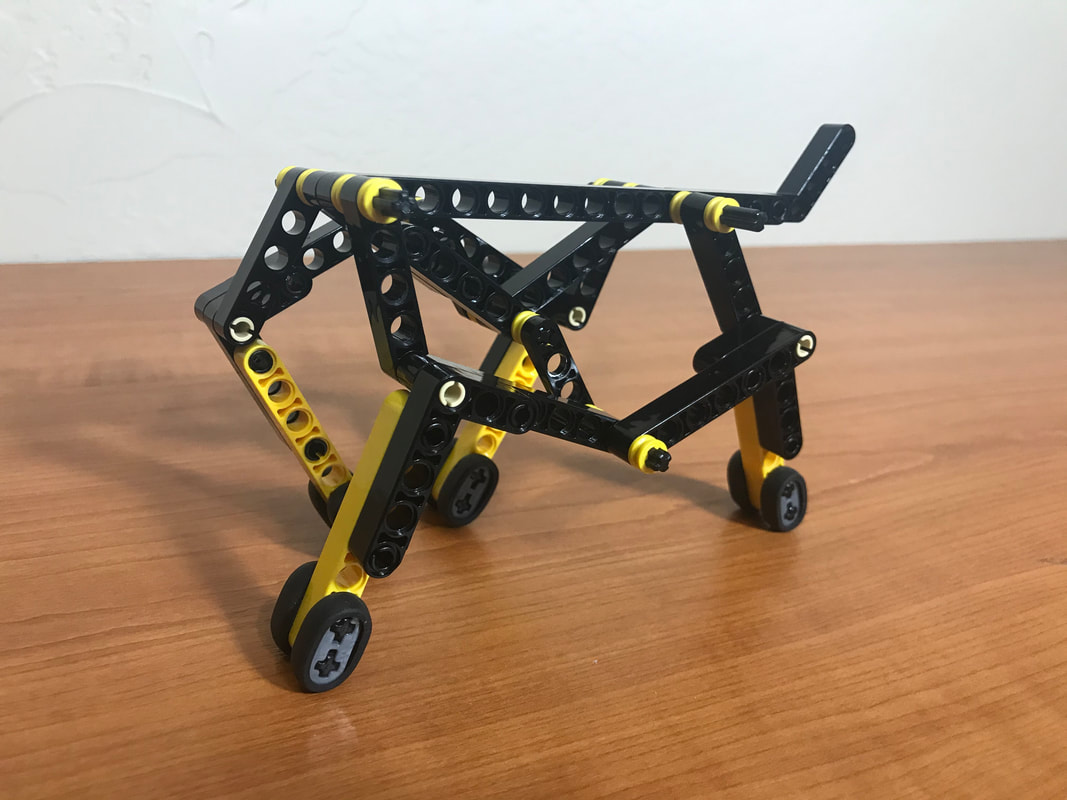
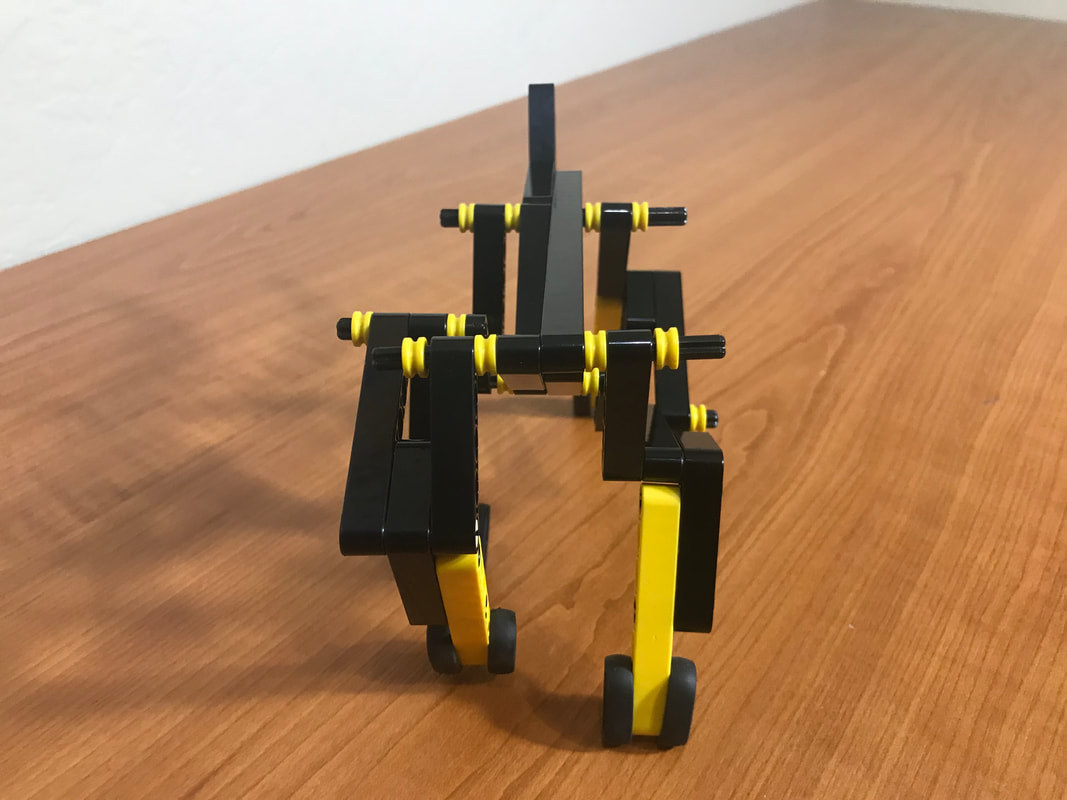
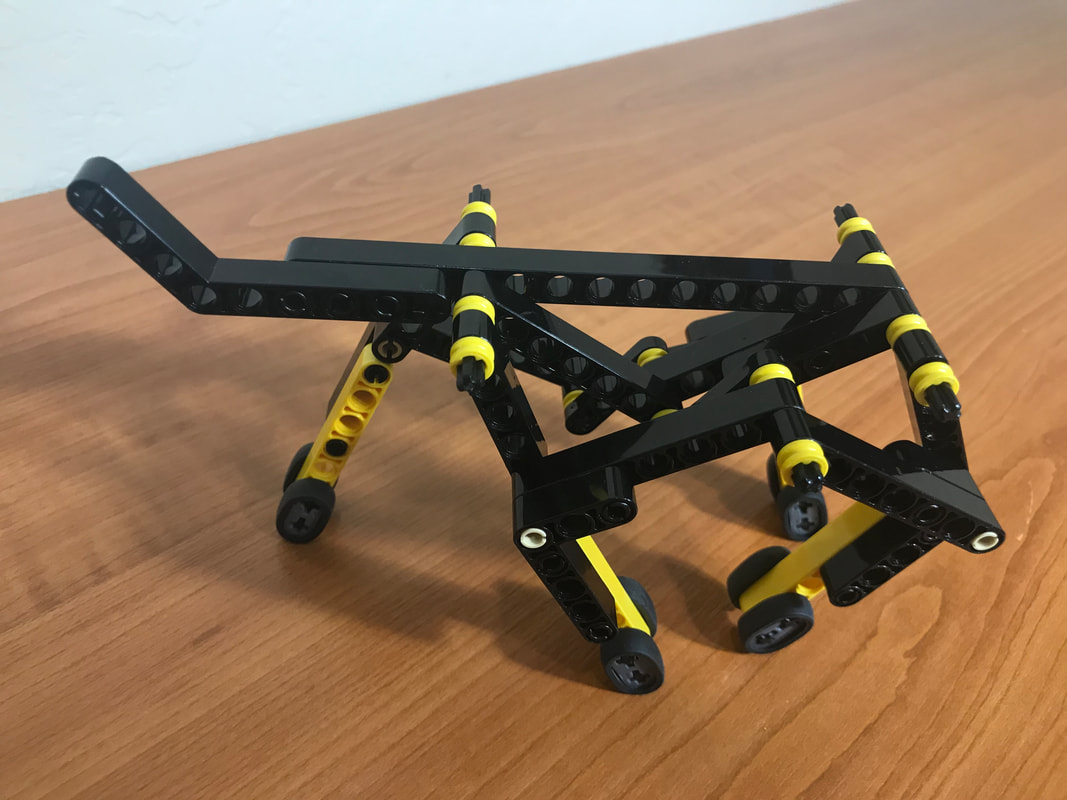
LEGO Spot Micro
Posted by Wade
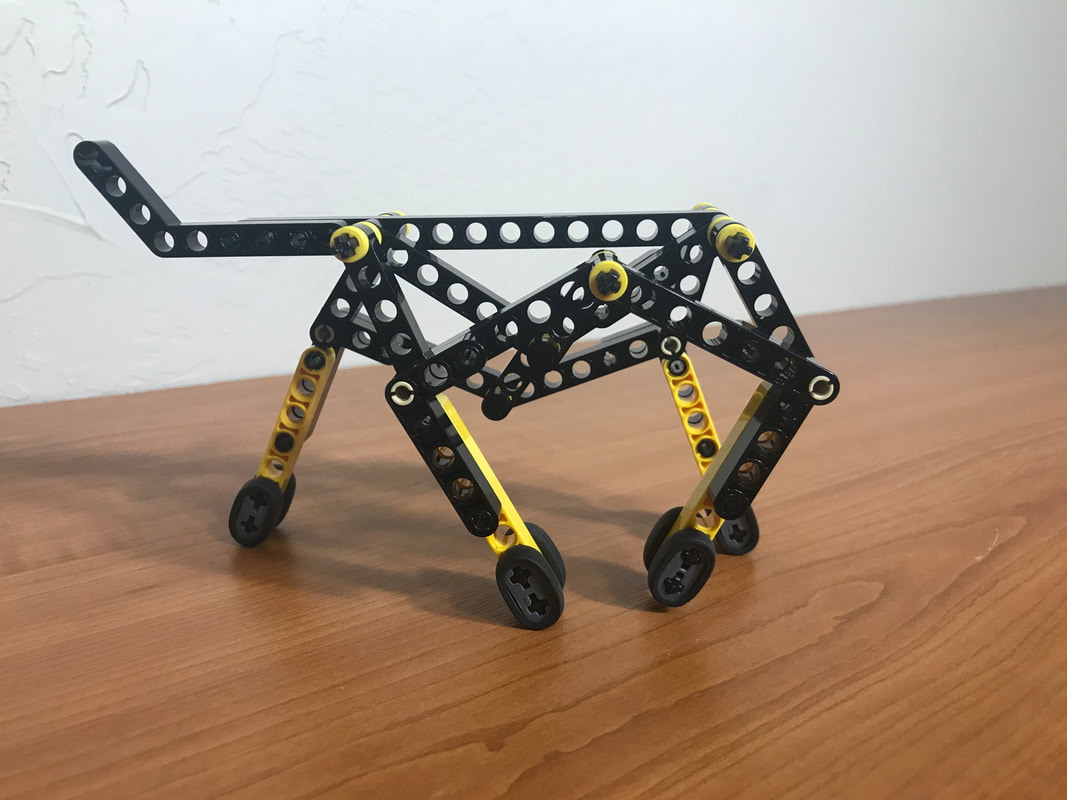
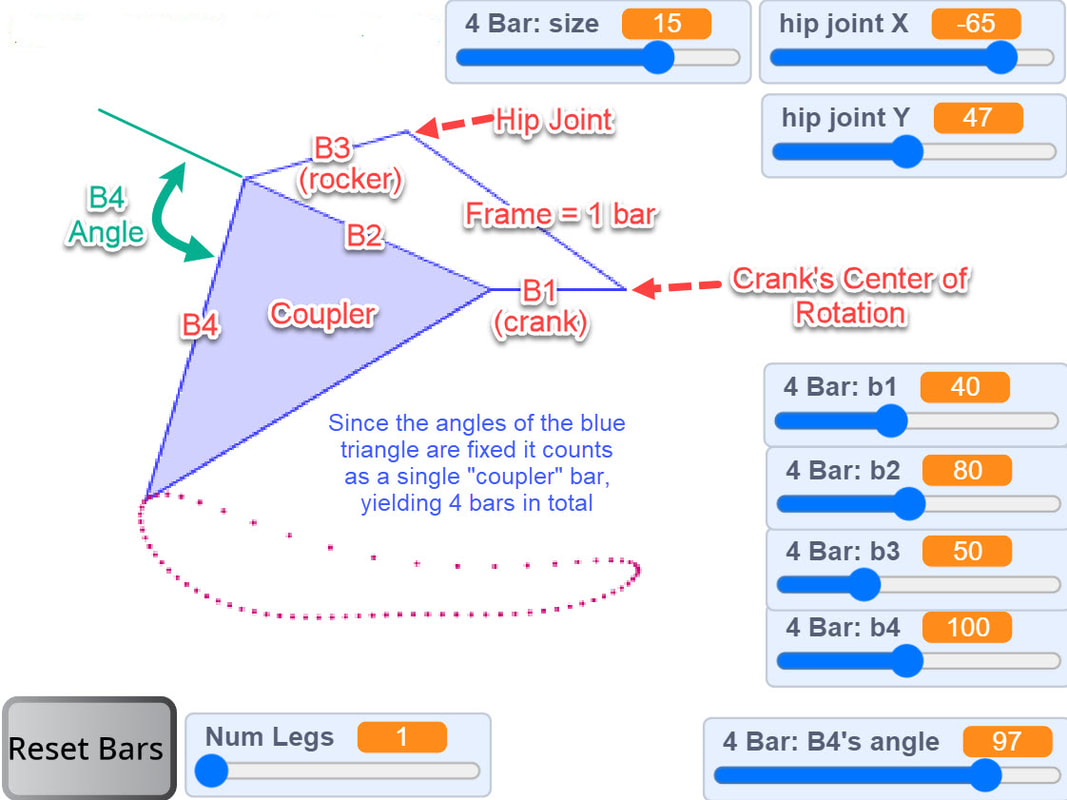
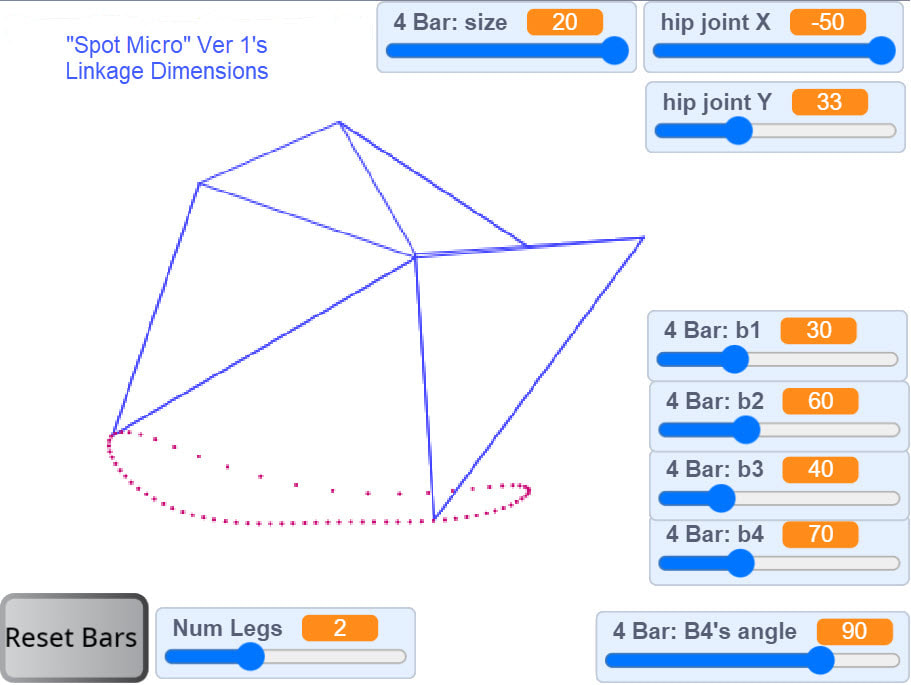
Spot Micro was developed using our interactive 4-bar walking linkage optimizer, which you can use to modify the linkage here, and below is a video of the simulator in action.
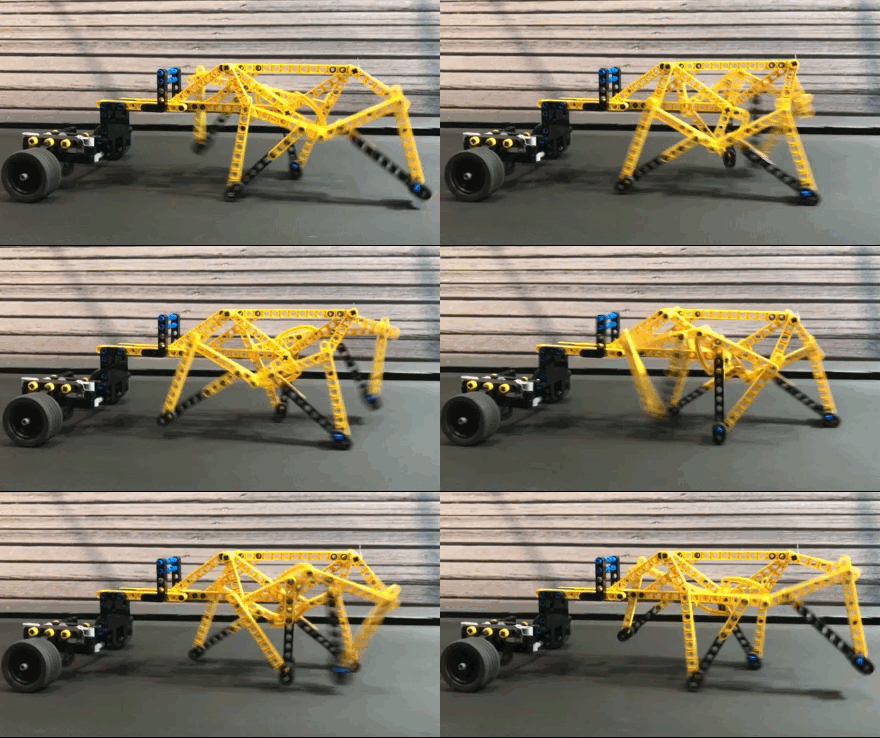
Spot Micro's linkage has a fairly consistent foot-speed, which can be seen in the above foot-path graphs where the distance between the red dots is nearly constant. This makes the mechanism a good candidate for rotating the crank by driving the legs (passive walking), as is done in the following treadmill video:
The mechanism can also be motorized by either motorizing the legs, or by adding motorized wheels (see further down)
Below shows how to make Hiro Labo's compact transmission used to motorize Spot Micro's legs above. I increased the transmission's length to add a second crank, spacing the front/rear legs 5 LEGO holes apart so that their cranks wouldn't collide. And be sure to put the front/rear legs 180 degrees out of phase as shown in the video above (if the rear crank is pointing at the rear's upper frame connection then the front crank should be pointing in the opposite direction - away from the front's upper frame connection)
Notice that the below version with a motorized chariot turns more efficiently than the version with motorized legs above. The legs are free to rotate at whatever speed the chariot is pushing them, so when turning the chariot the legs on the outside of the turn can rotate more quickly than the legs on the inside of the turn, acting a bit like a differential and reducing how much the feet skid.
|
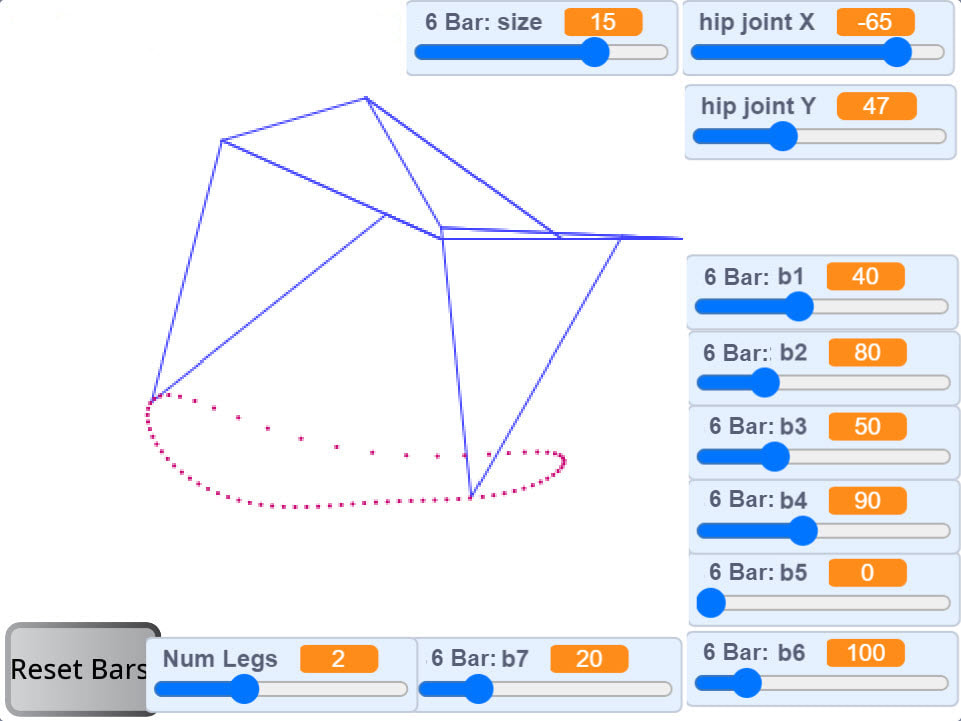
Spot Micro Ver 2 uses the linkage dimensions shown in the image on the right, scaled by 10x so that the crank (bar B1) equals 4 LEGO holes. It differs from the GIF at the top by shortening the lower leg section (B4) by one LEGO hole so that the front/back feet don't collide when the crank is at 12 o'clock. Note: this image of the linkage was created using our 6-bar optimizer which doesn't use an input angle for B4 and instead uses bars B6 and B7 to make a lower triangle with an angle for B4 of 99 degrees |
Ver 1 Building Instructions
The following video includes step-by-step instructions for building the smaller version 1:
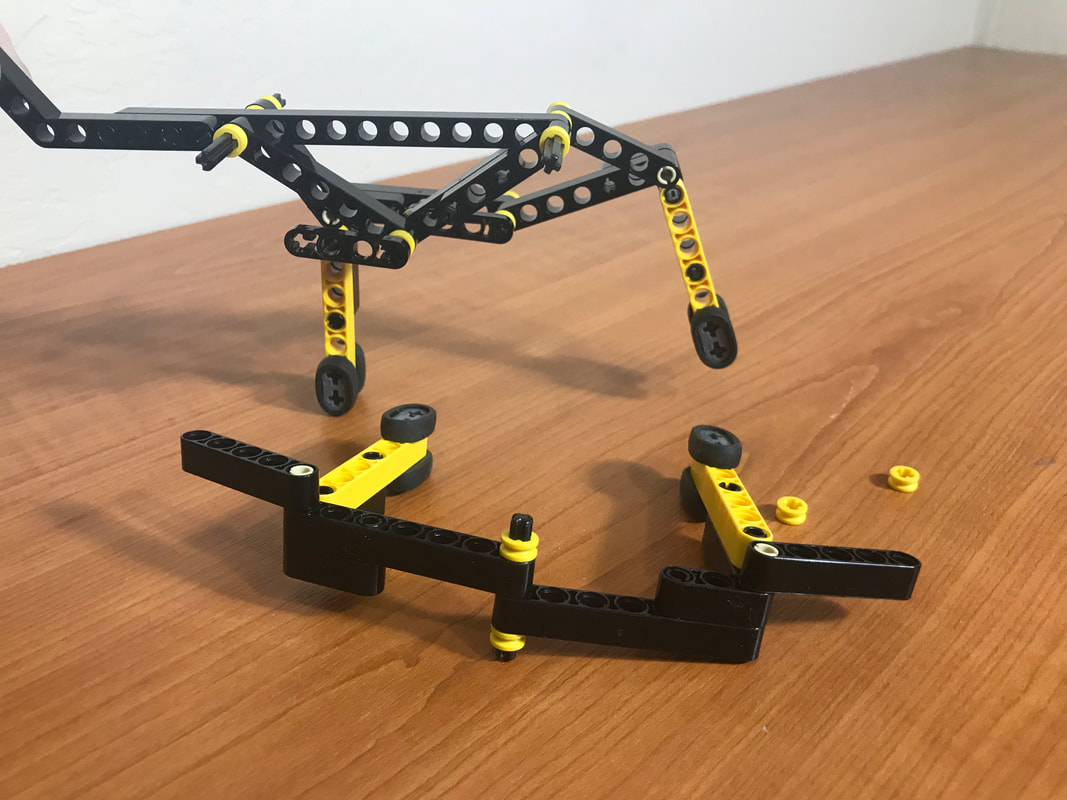
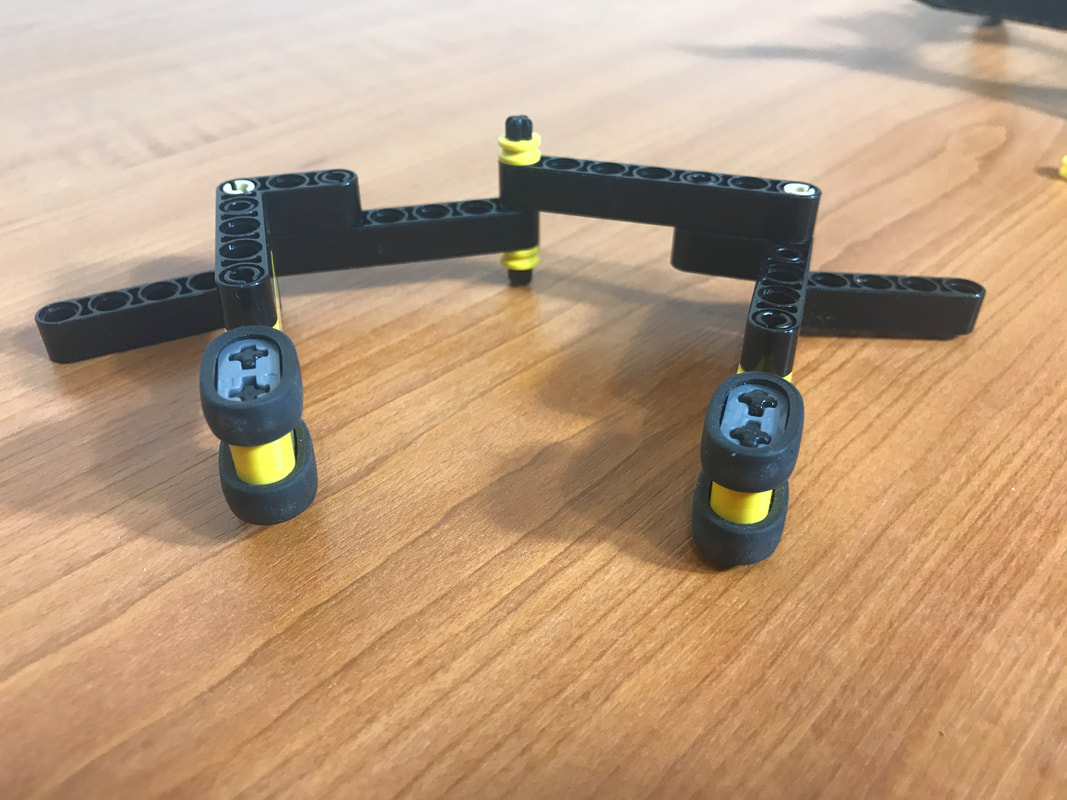
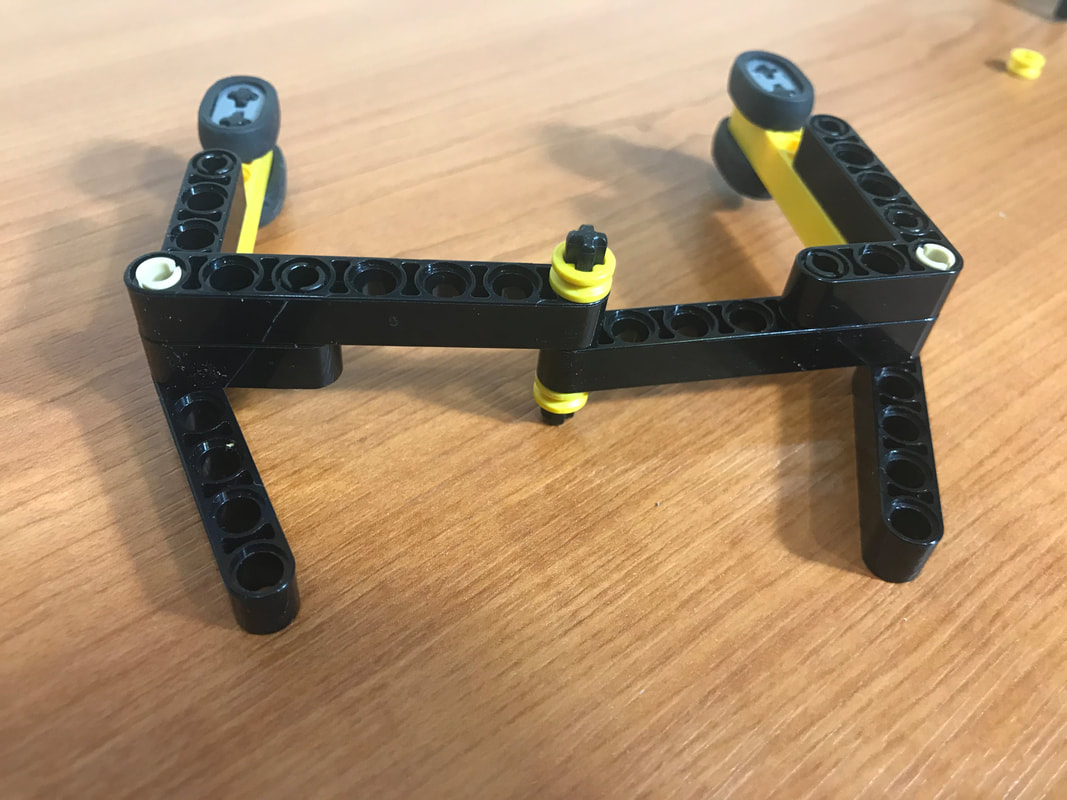
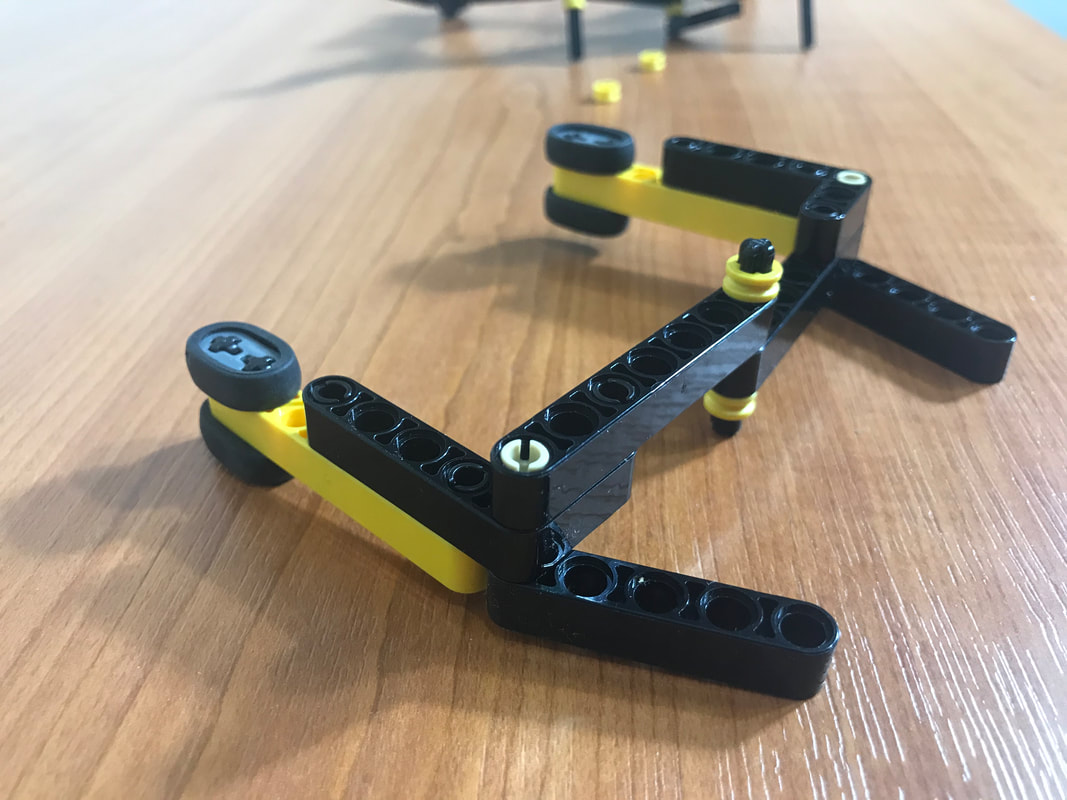
Regarding the rubber tires used as feet I found dozens of these smooth small tires in one of our LEGO parts bins, but I don't remember the source or part #. Approximate ID is 1.2mm, OD is 1.4mm. Alternatively, you could put pins thru the lower holes and wrap a rubber band around the foot for traction, or use part #45590.
https://www.brickowl.com/catalog/lego-flexible-rubber-axle-connector-45590

