Klann's Mechanical Spider
Using EV3's Brick
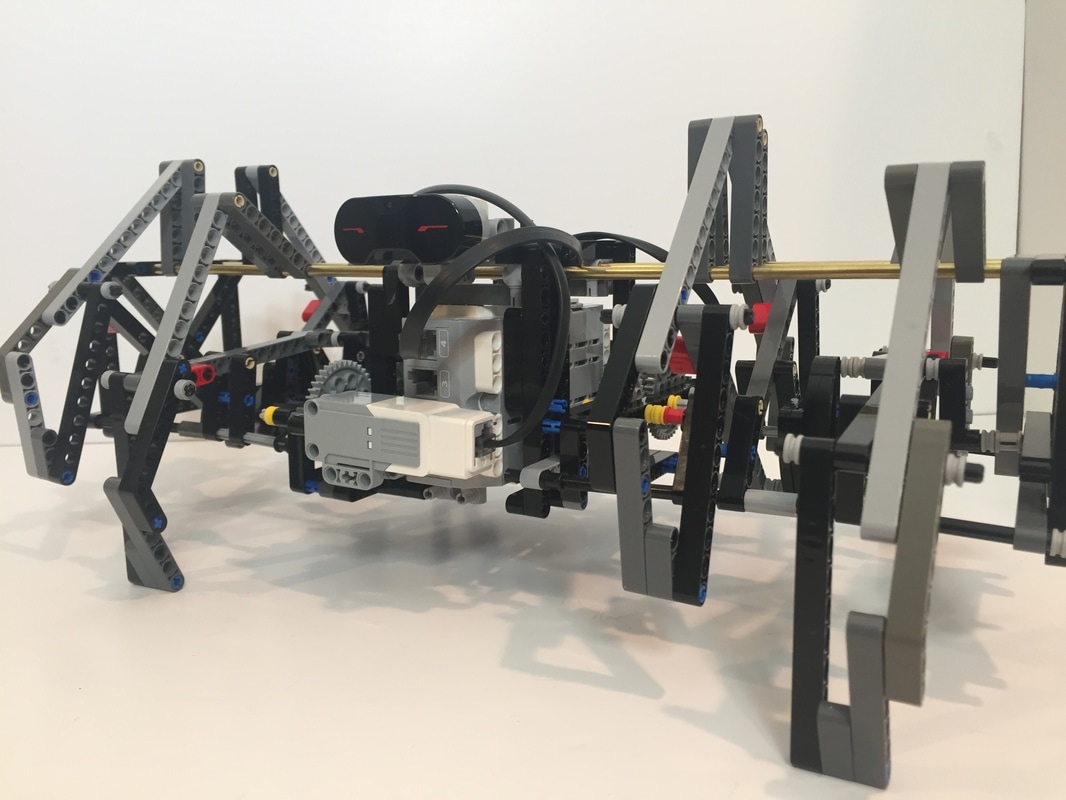
Klann's Spider is a BEAST!
These instructions cover building the frame to mount Klann's mechanism onto the EV3 brick. After building the frame see these instructions to build the legs and cranks.
Here's how this LEGO approximation of Klann's linkage compares to his patented version:

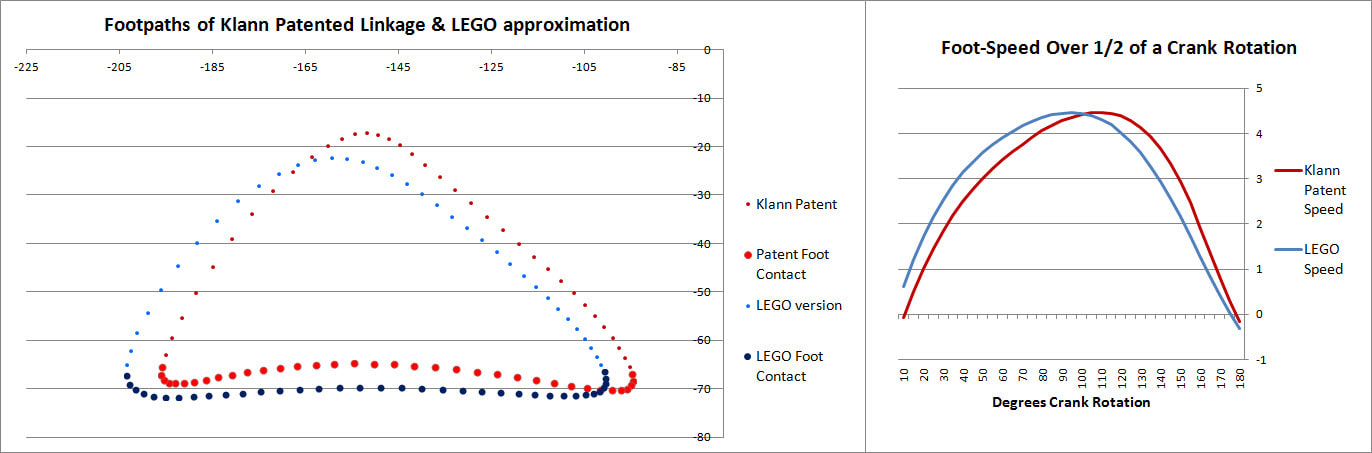
Foot-paths and speed of Klann's patented linkage and this LEGO approximation
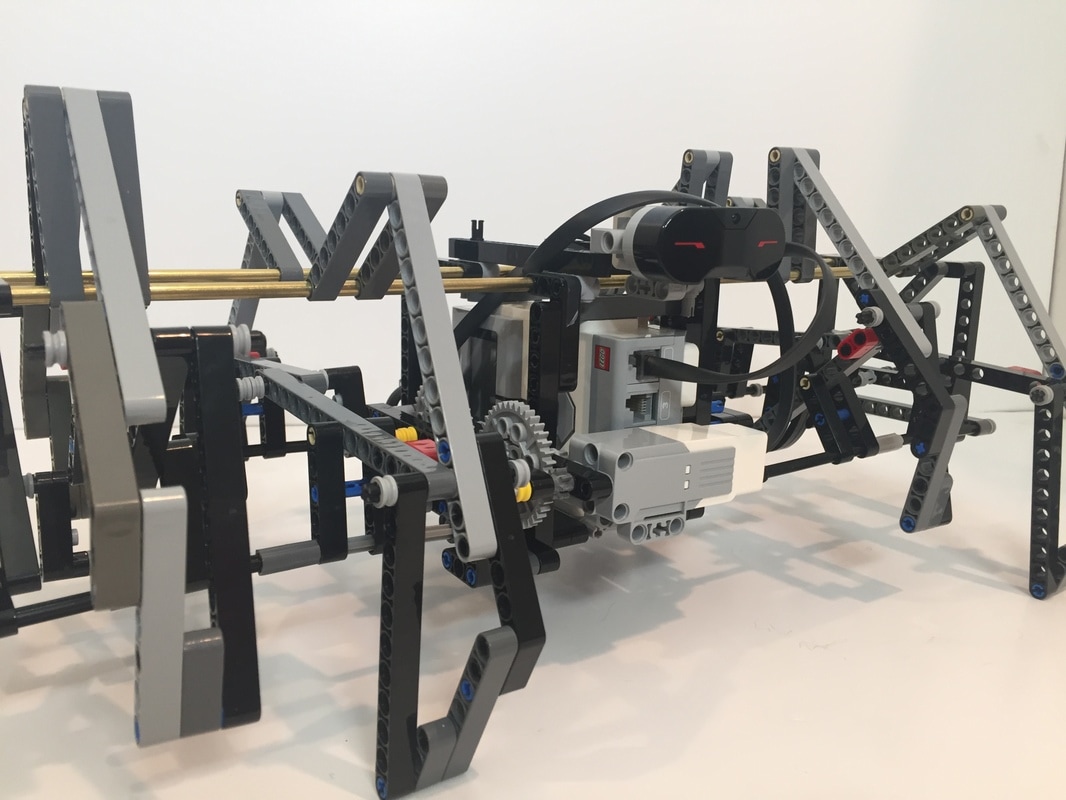
Below is Klann ver 3 with longer-legs, along with passively rotating feet to smooth Klann's speed. This build incorporates a few other changes, including switching to a medium size motor which allowed metal rods to be used for the lower frame connections (my LEGO axles kept coming apart - maybe Scotch tape would secure the axles to the axle-joiners?).
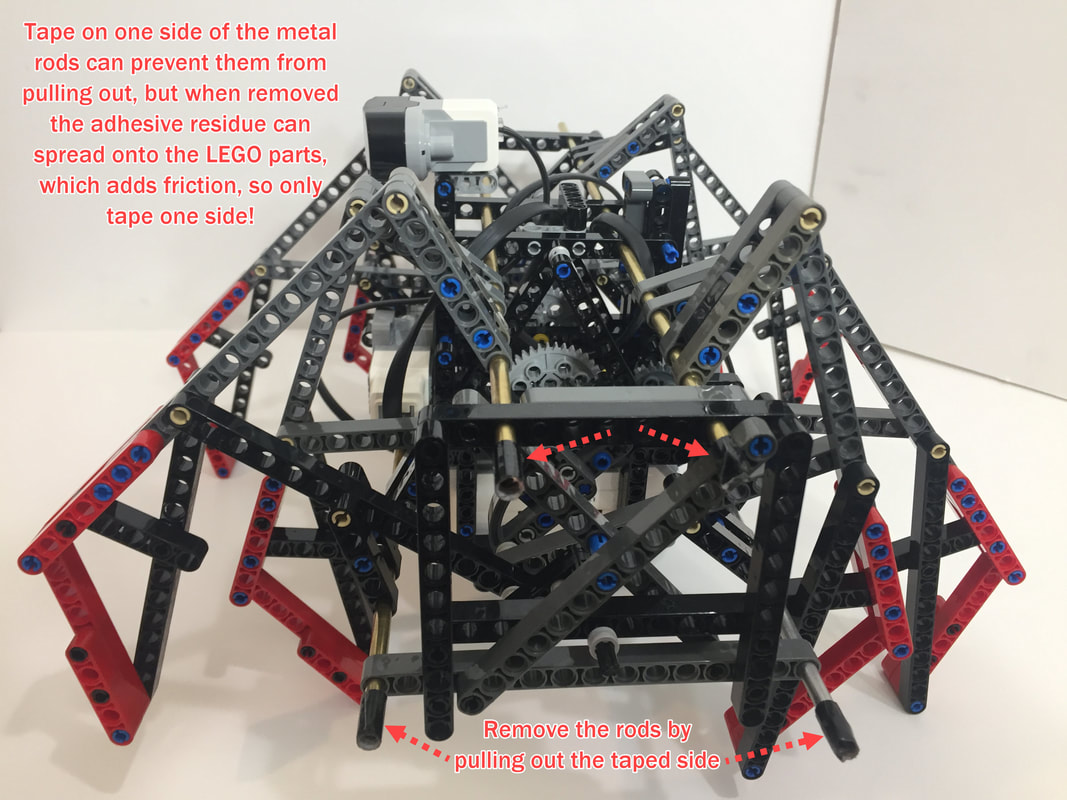
Hot glue or sections of pipe cleaner are better options than tape
These instructions cover building the frame to mount Klann's mechanism onto the EV3 brick. After building the frame see these instructions to build the legs.
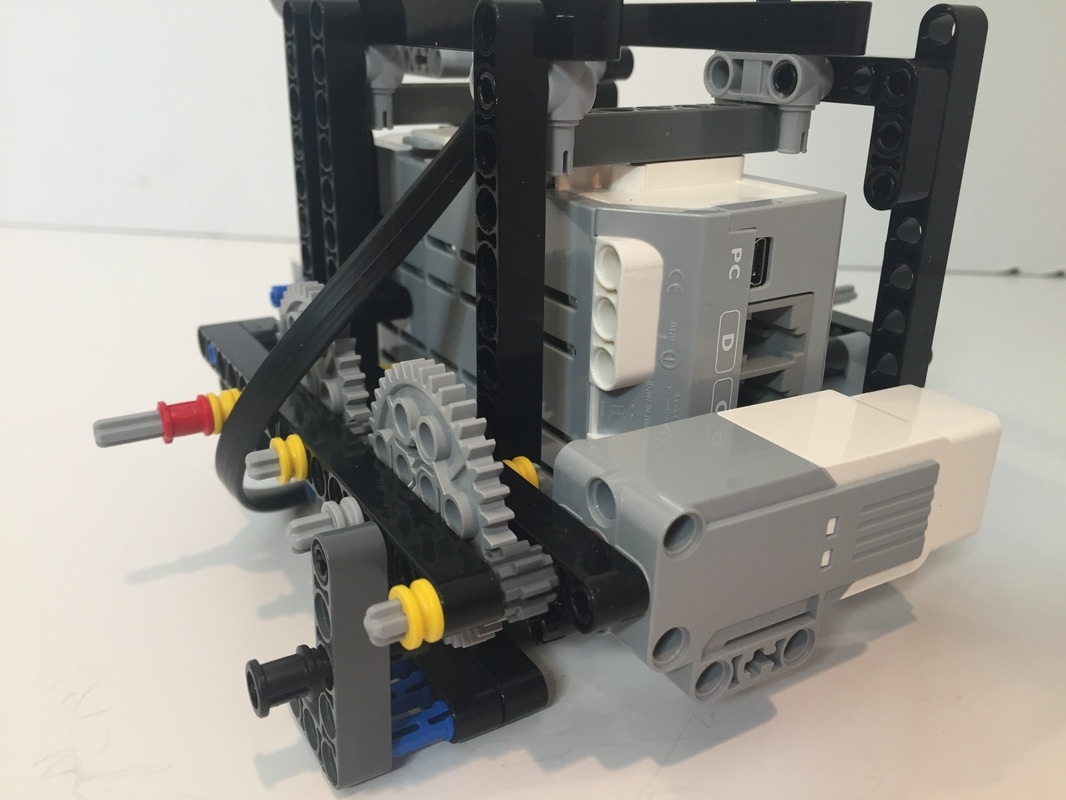
Klann's sturdy mechanism is well suited to handle the weight and width of the EV3 brick. However, I still wanted to reduce the width to improve how Klann turns, so I mounted the EV3 brick sideways. Mounting the brick sideways was somewhat of an experiment, and I chose the frame's parts a bit haphazardly, so I'm confident you can improve it!
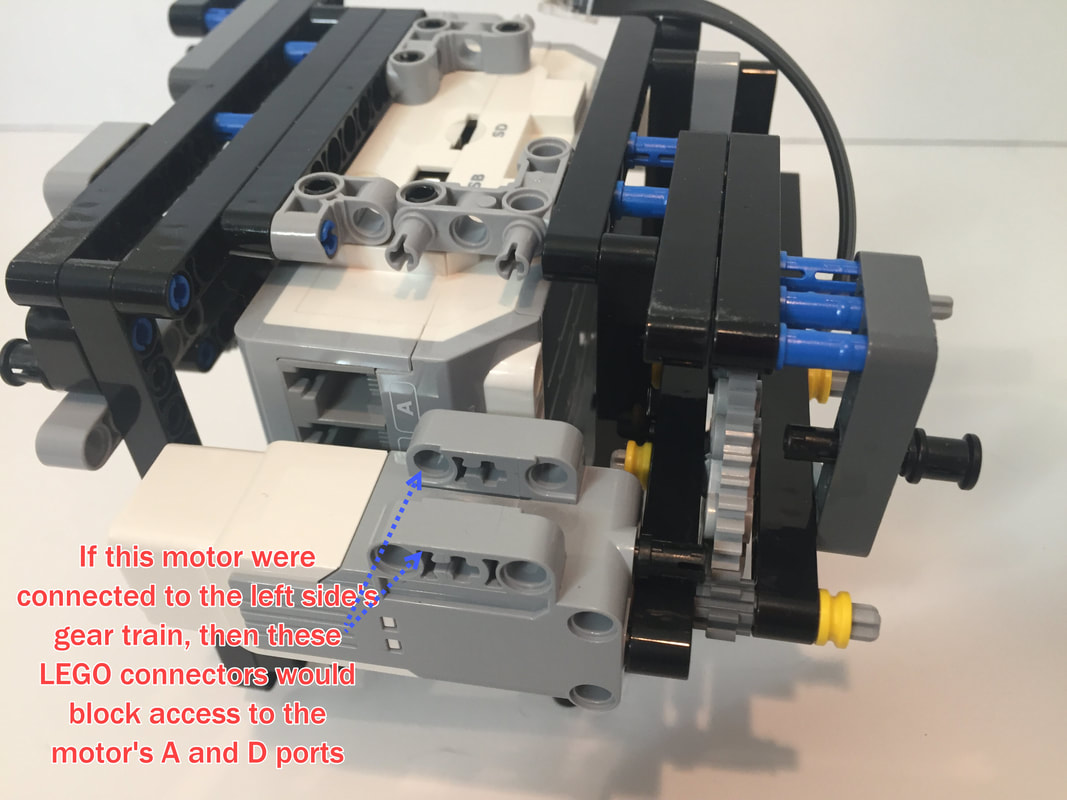
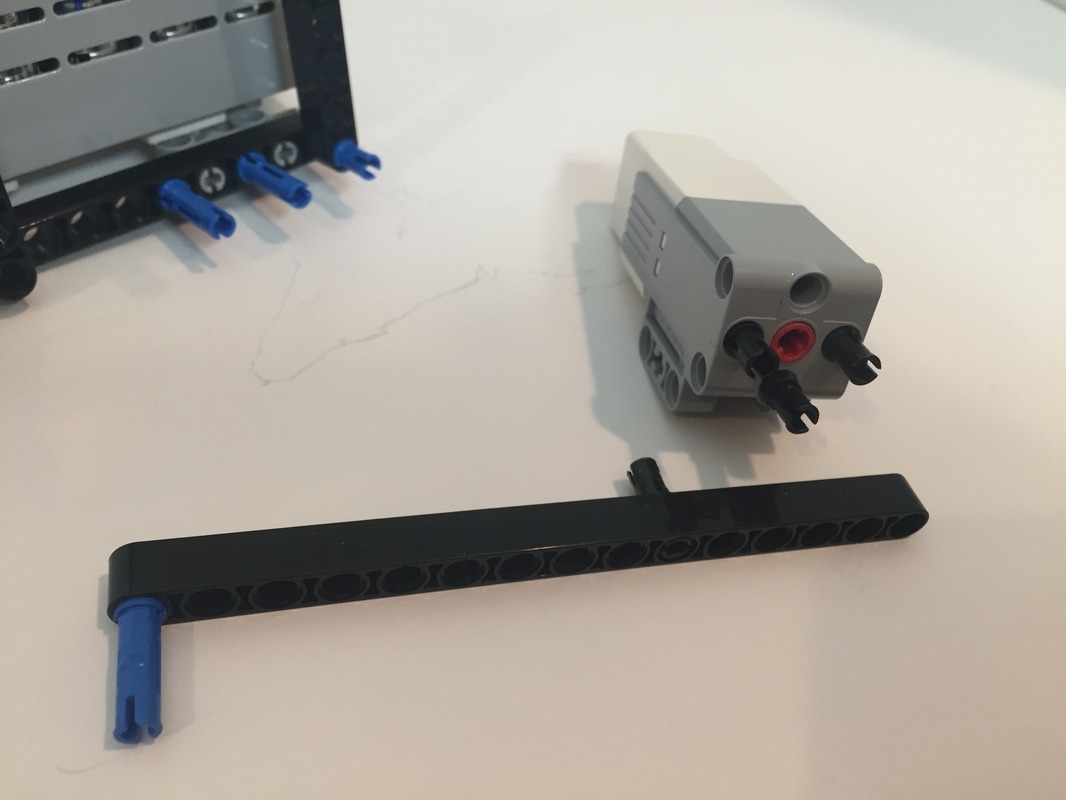
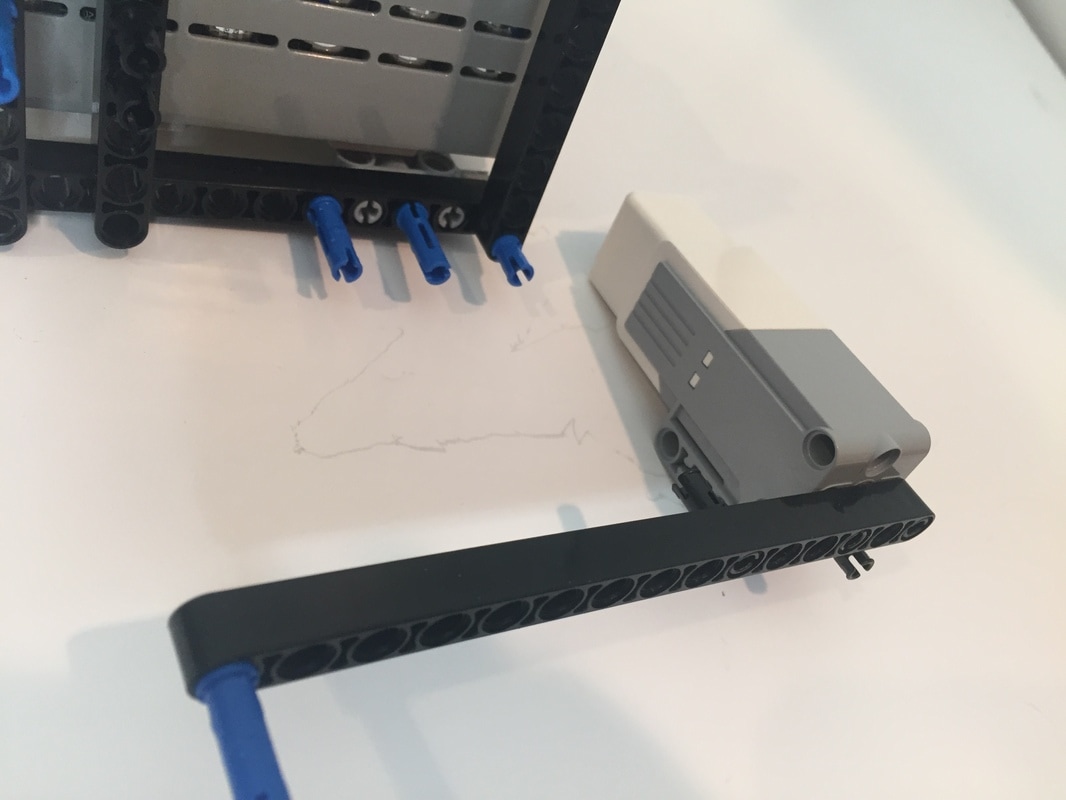
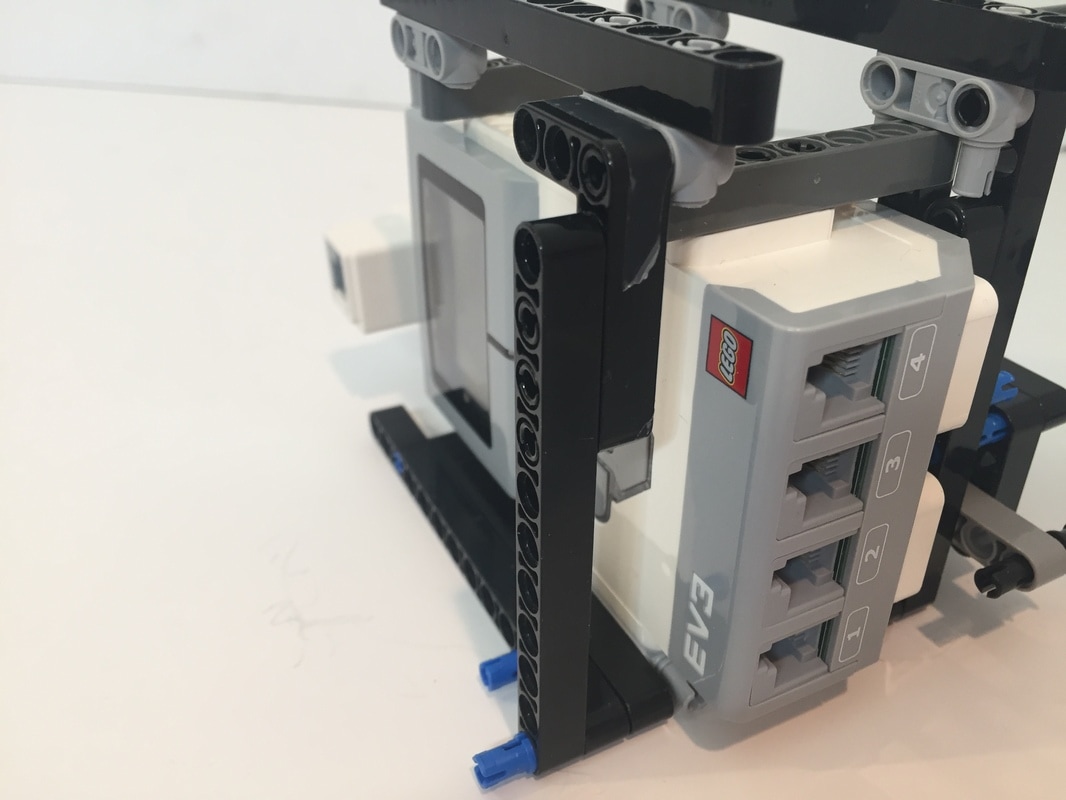
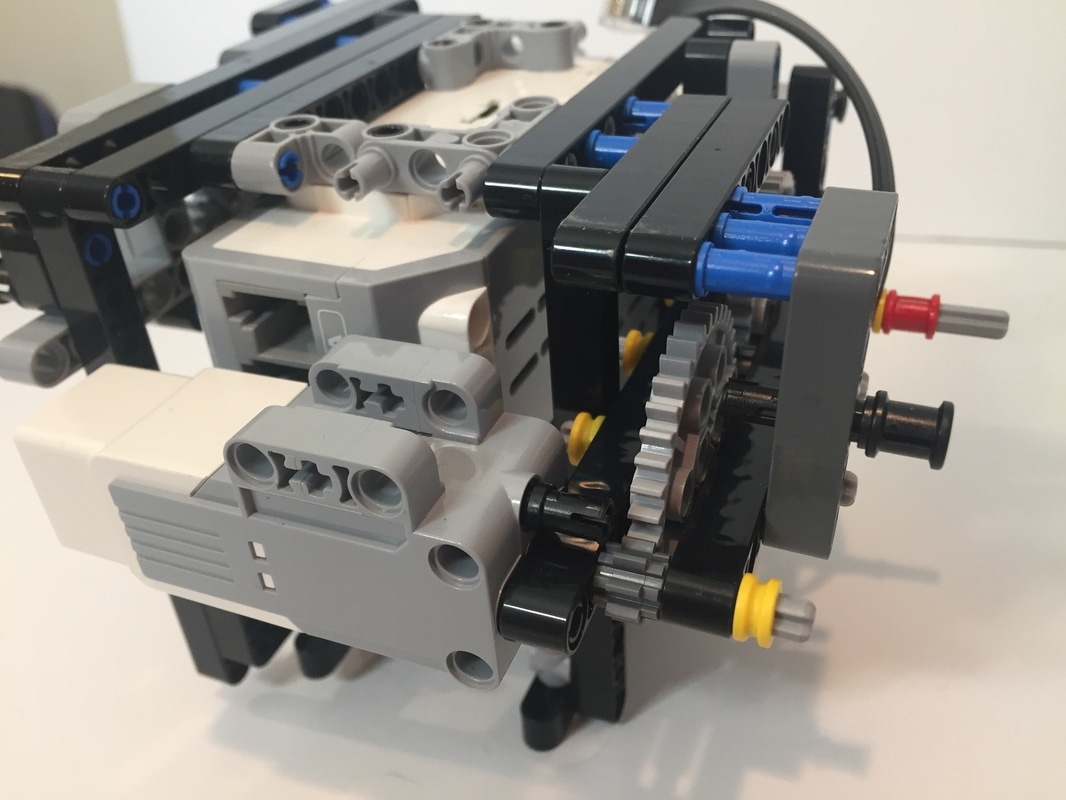
NOTE: in order for the motors to plug into the brick's A and D ports the brick's LED screen has to be on the right side of the robot. As you can see in the next 2 images, this prevents the wide part of the M motor from blocking the lowest port, allowing the motor cables to attach to the A and D ports.
For batteries I recommend using Lithium Ion AA batteries as they are lighter, last longer, and will improve walking performance.
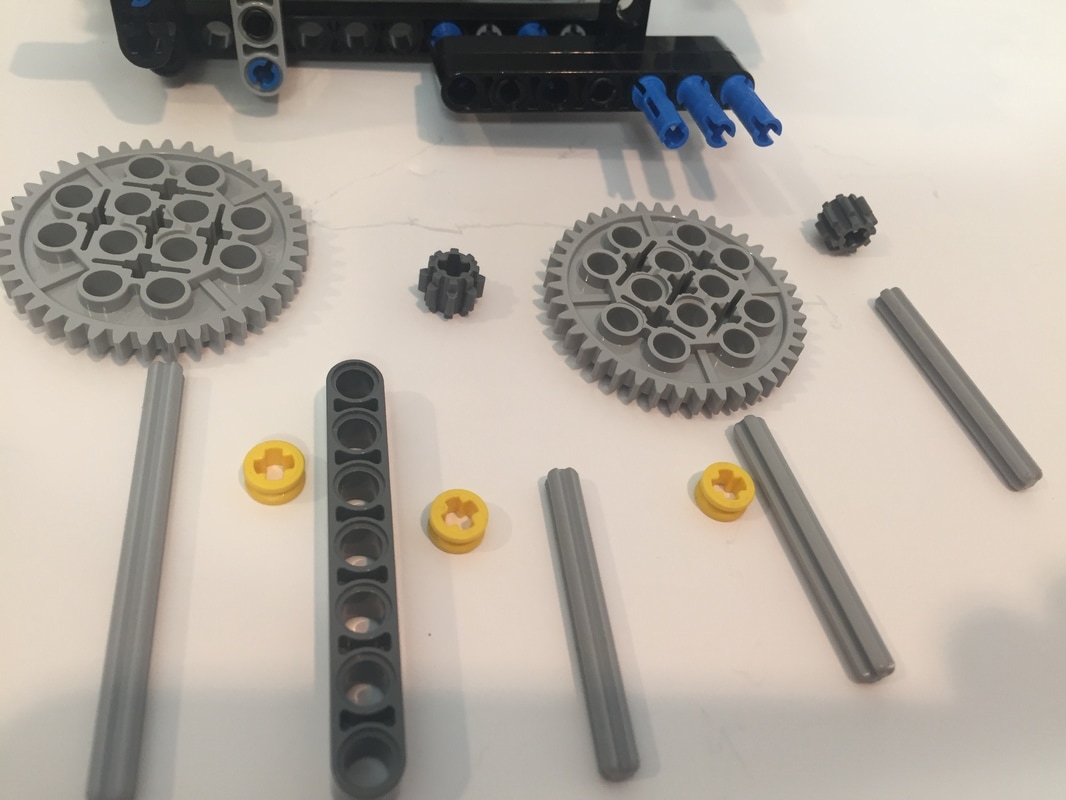
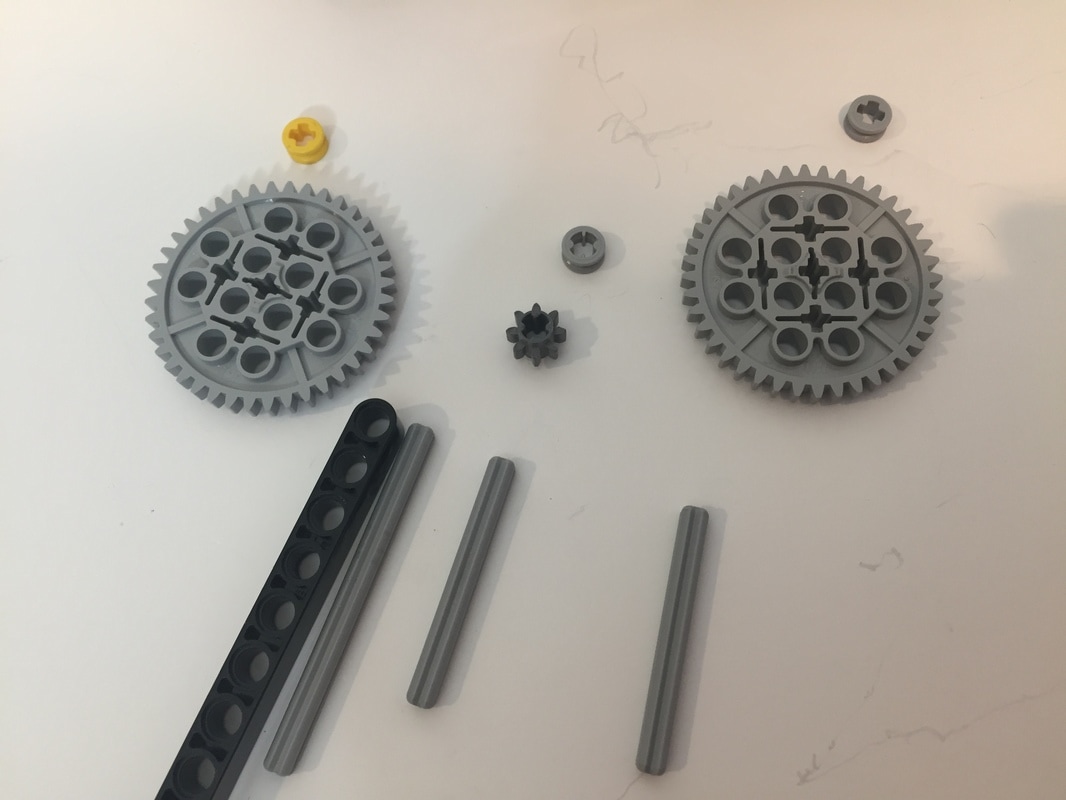
Parts Used: In addition to the Technic beams, pins, gears, etc. this build requires a programmable EV3 brick, and 2 EV3 Medium Servo Motor (45503). Also, to better bear the robot's weight I used 3/16" OD brass tubes for the leg's long connections to the frame (aluminum rods are fine too) rather than LEGO's plastic axles, cut to 18" in length.
I purchased the plastic LEGO parts from Bricklink. If you've never used Bricklink, an easy way to browse for parts is by going to a larger store. Here's a list of stores in the USA.
I purchased the metal support rods from my local hardware store
Build Instructions
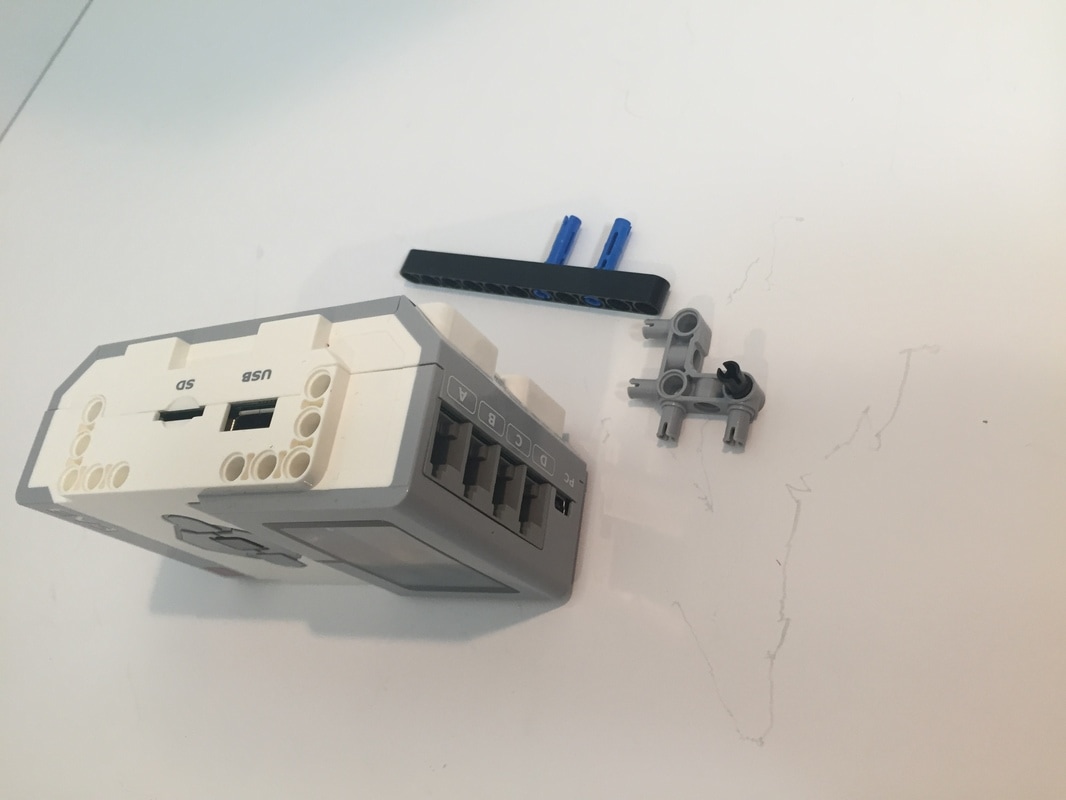
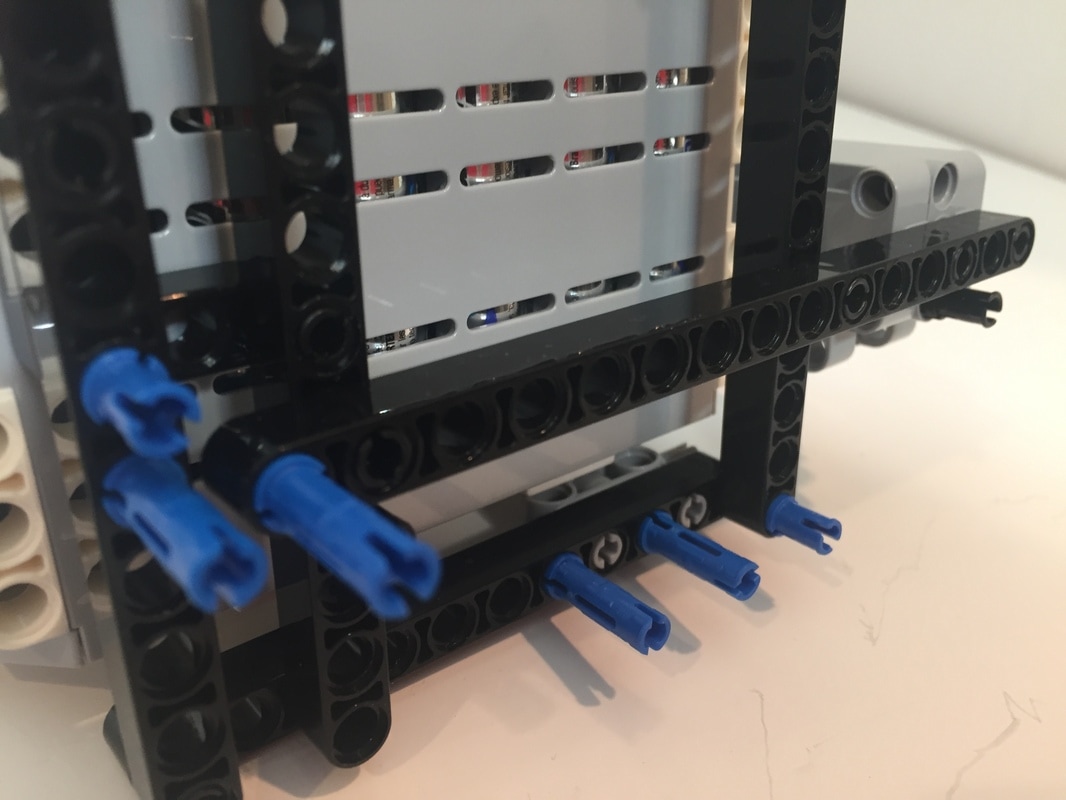
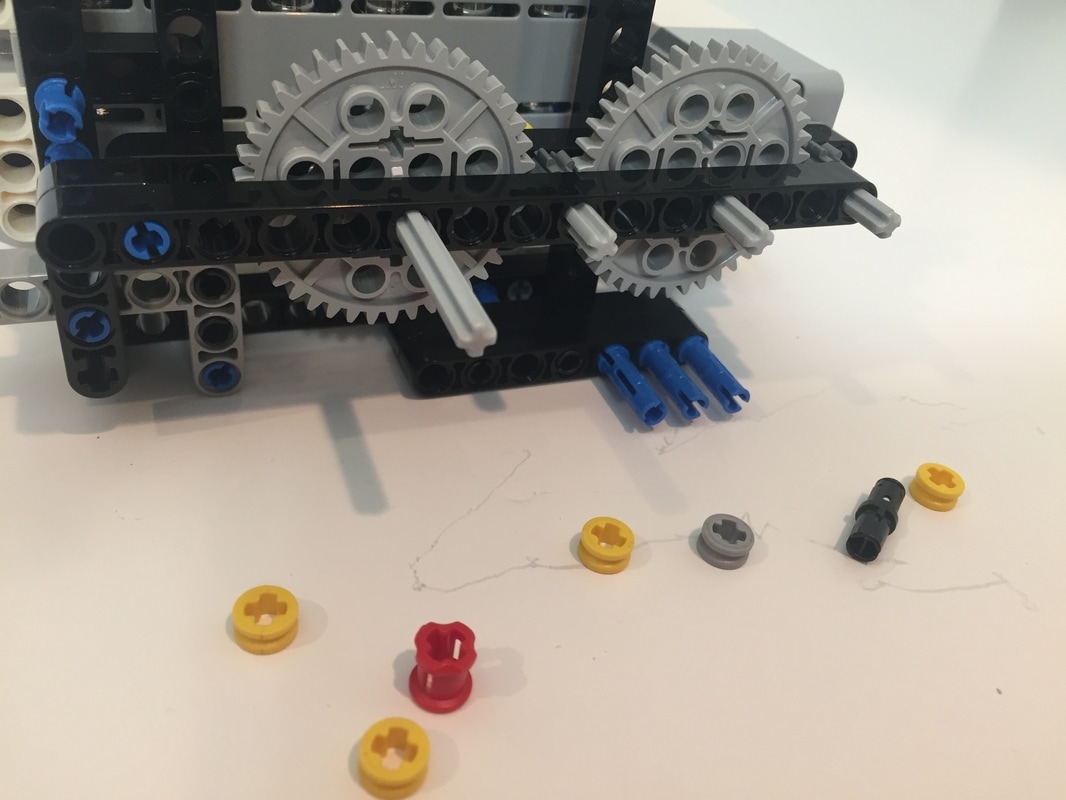
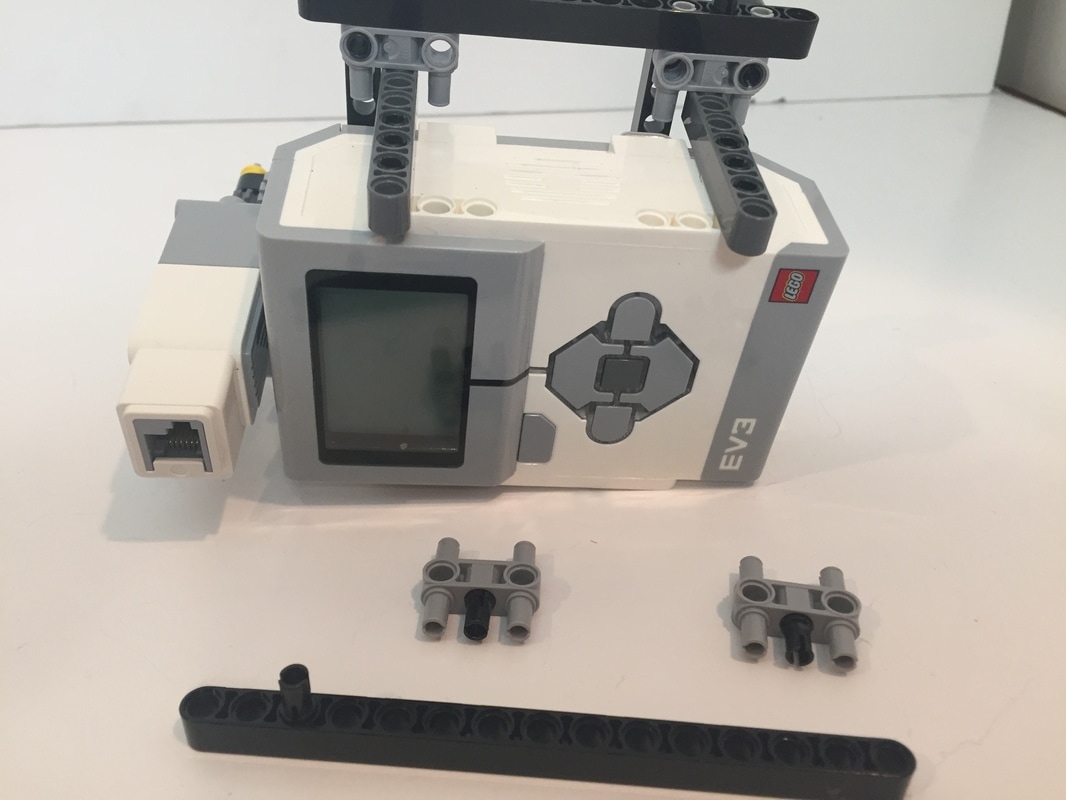
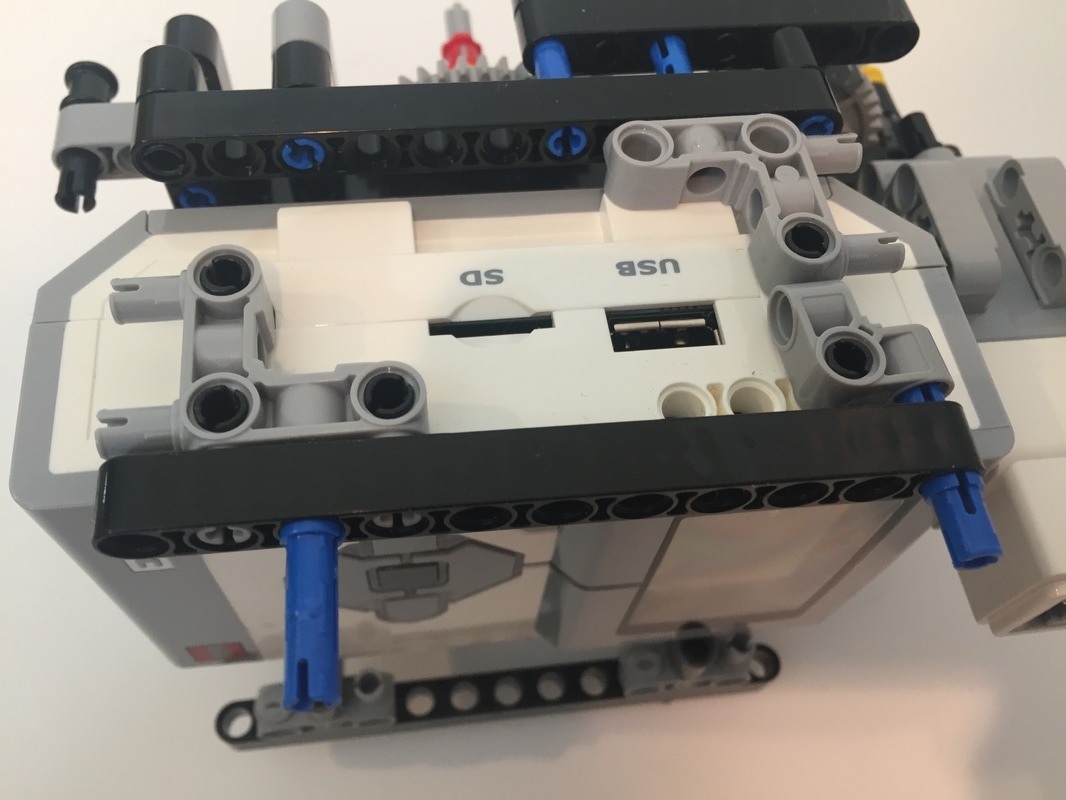
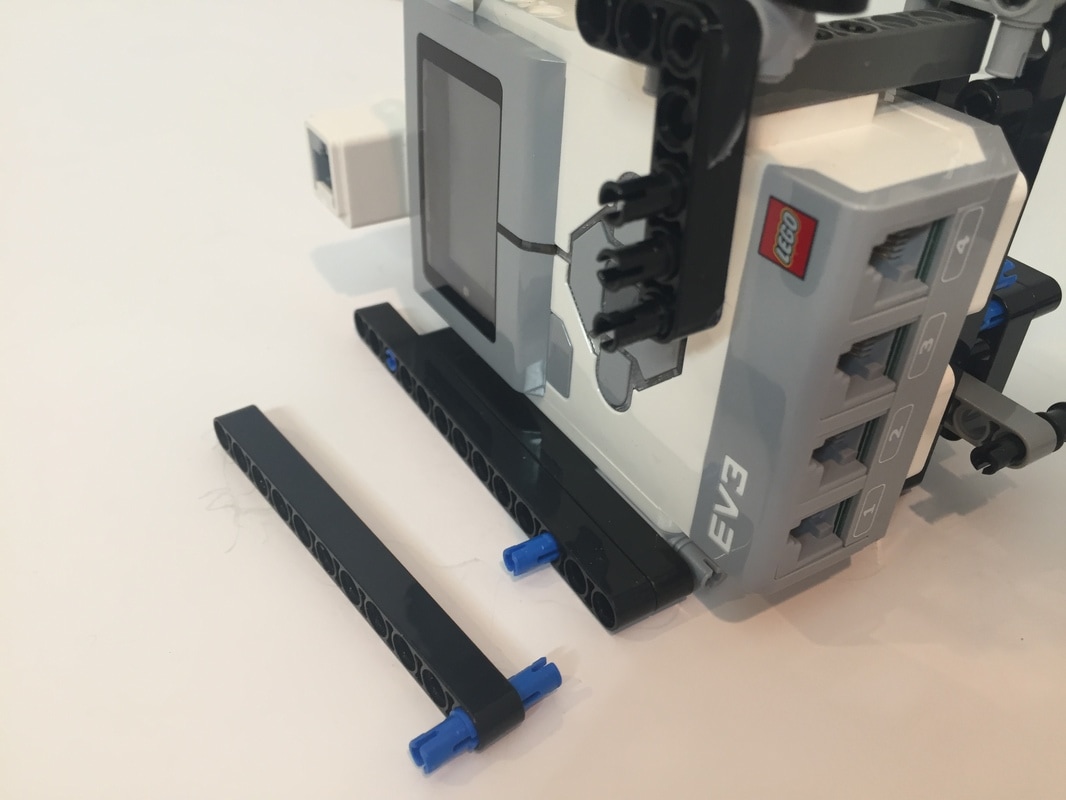
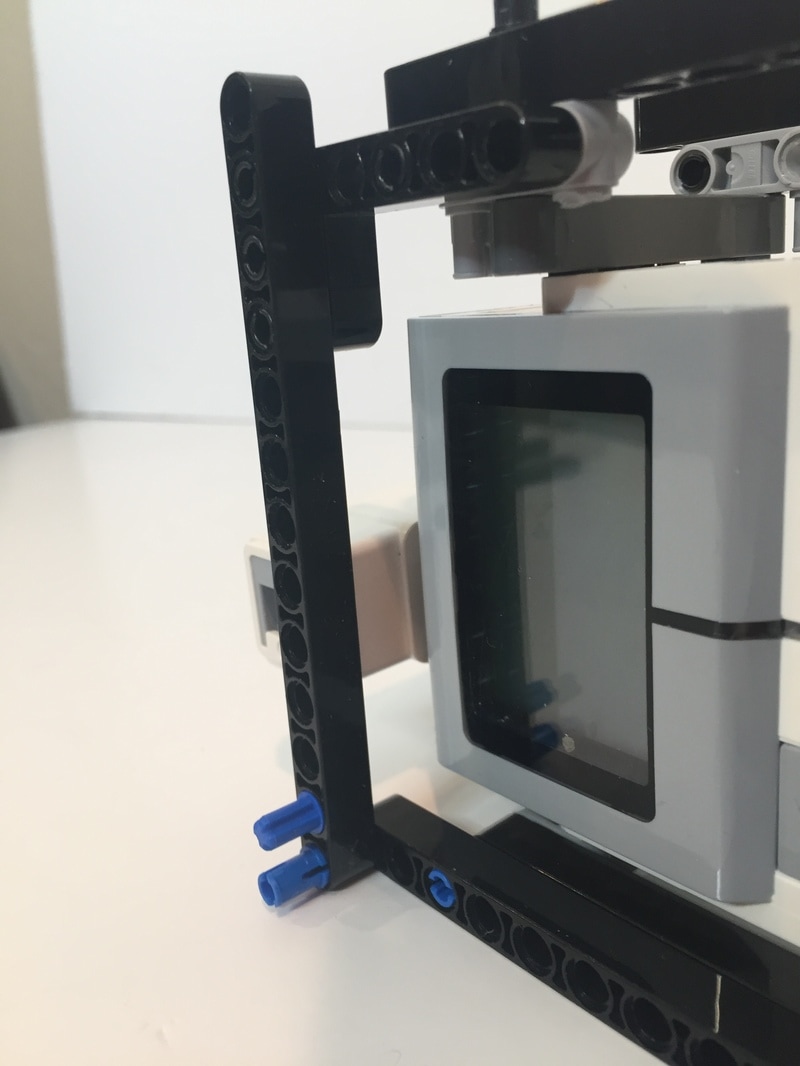
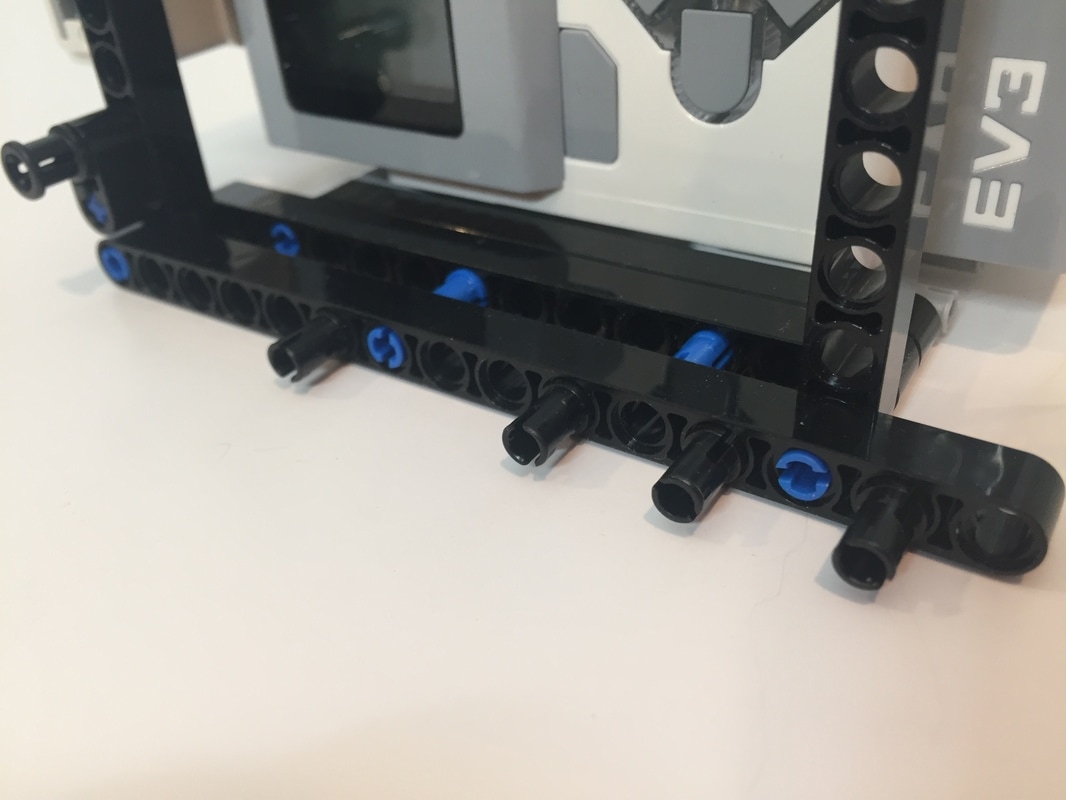
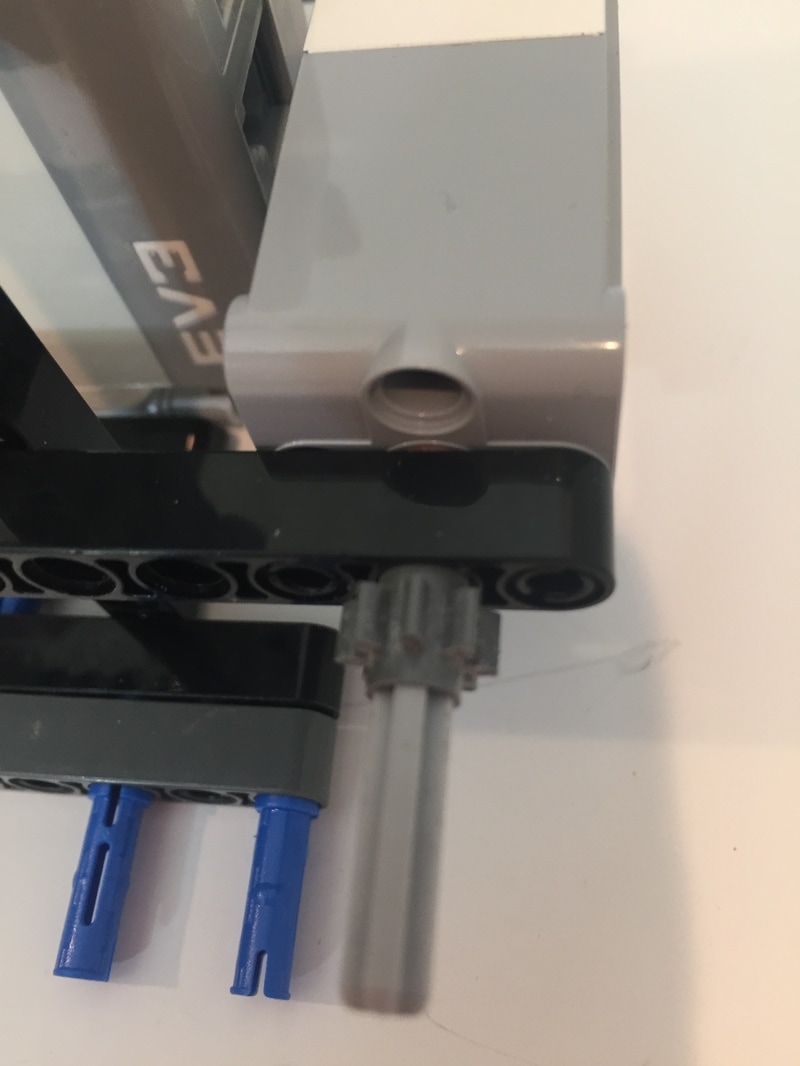
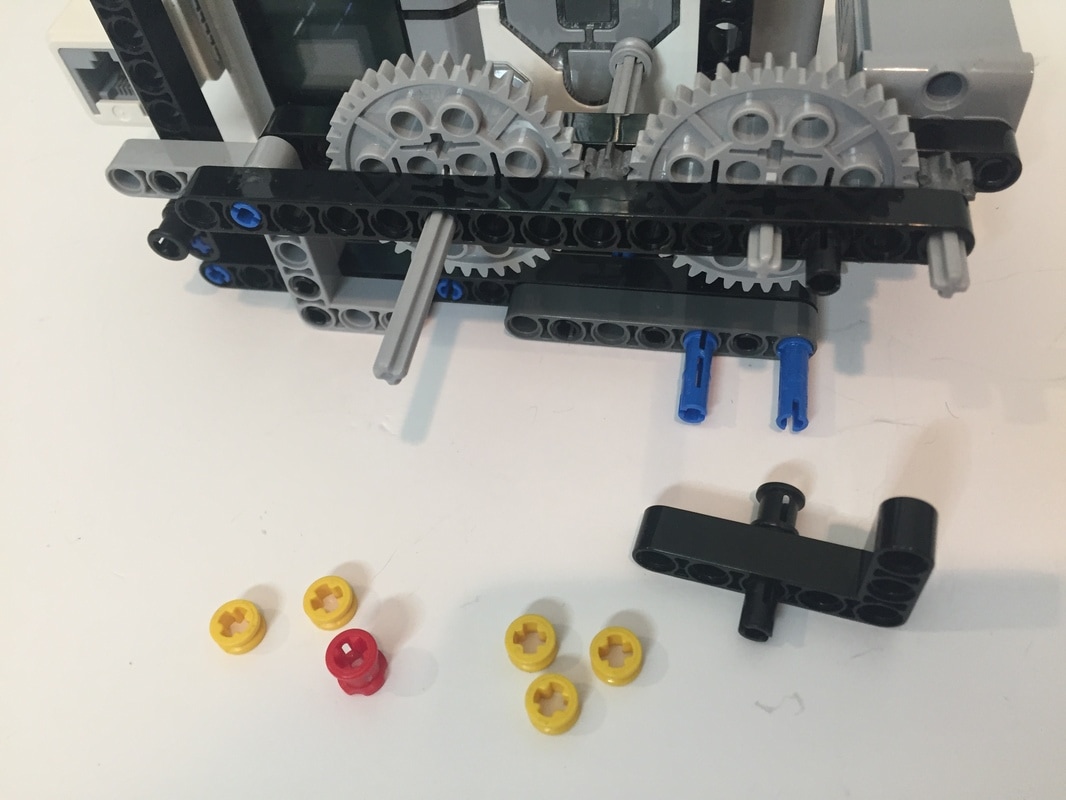
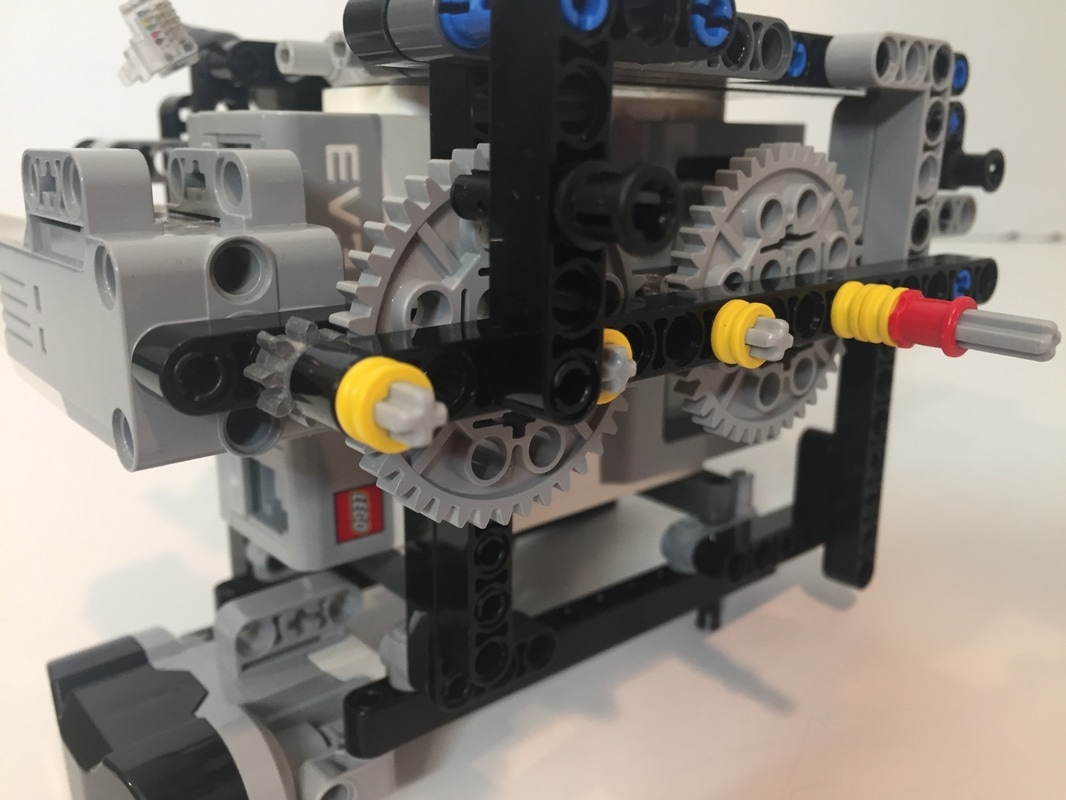
For the inner frame I relied on the strength of the brick, and attached part to it. I started by adding parts to what will be the bottom of Klann's frame:
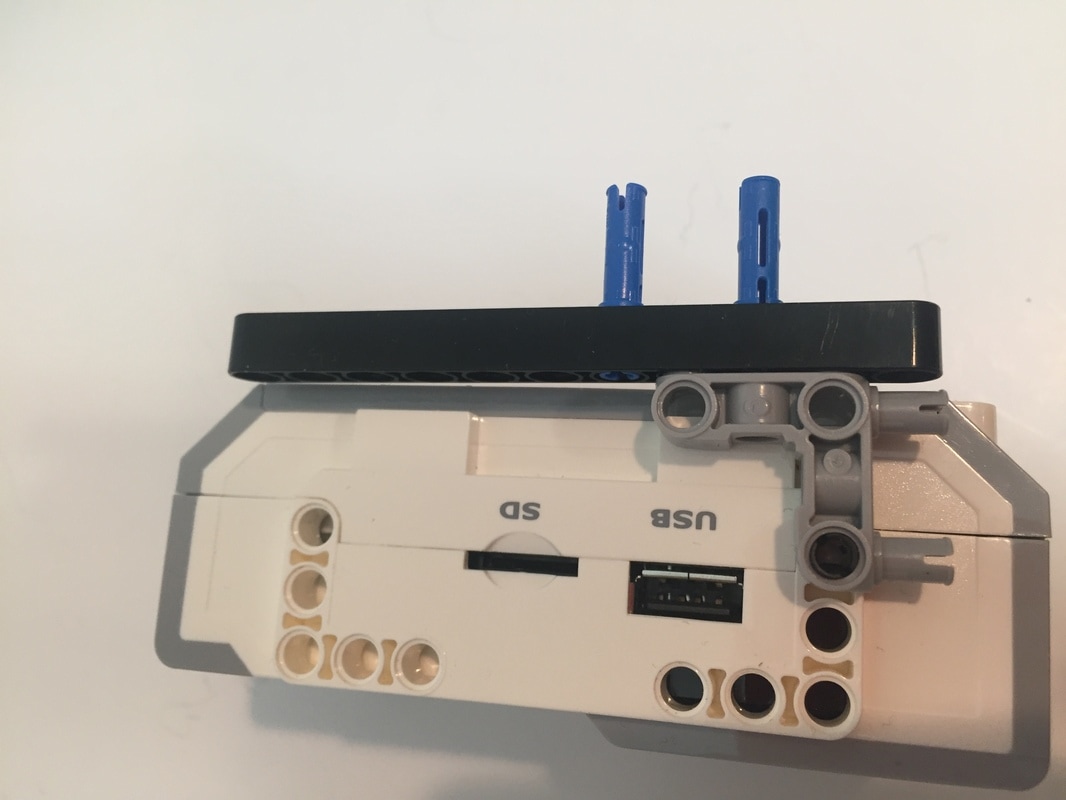
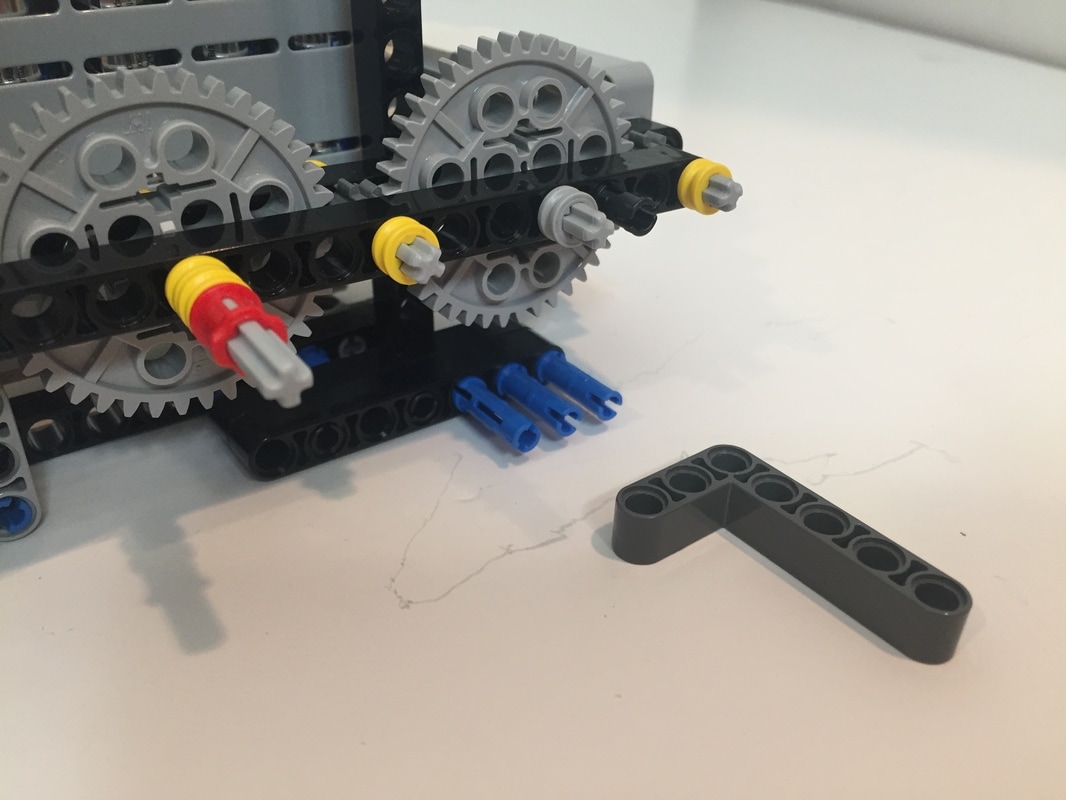
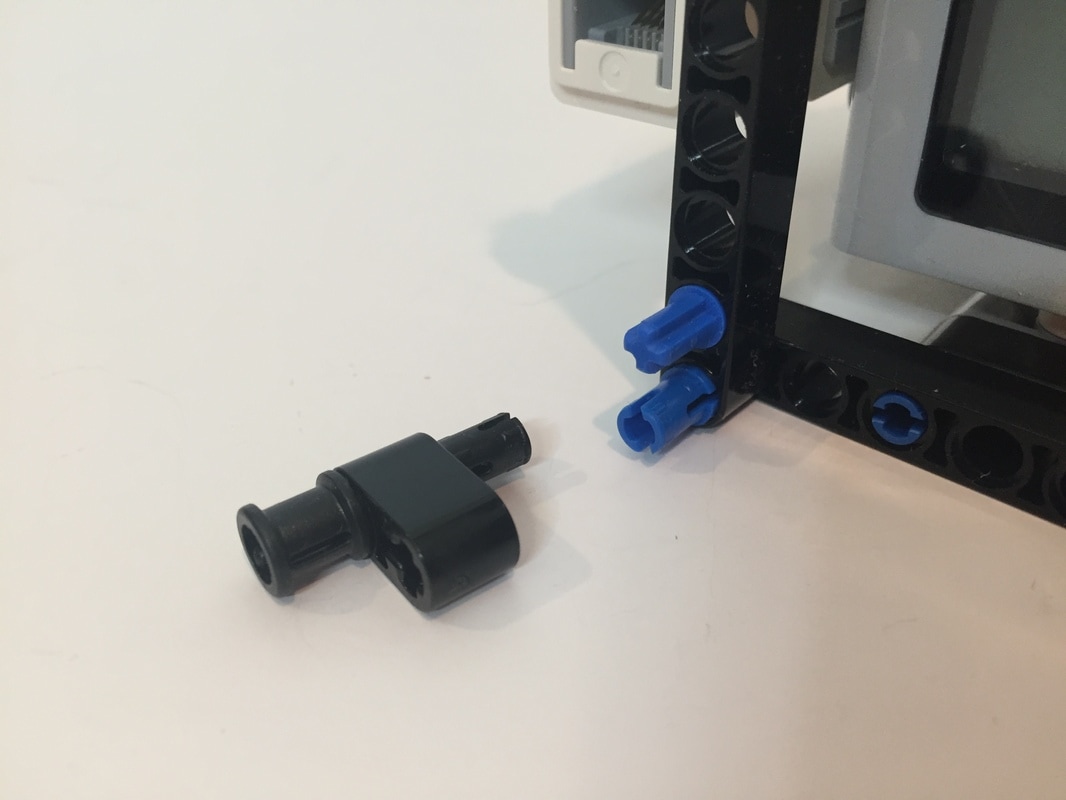
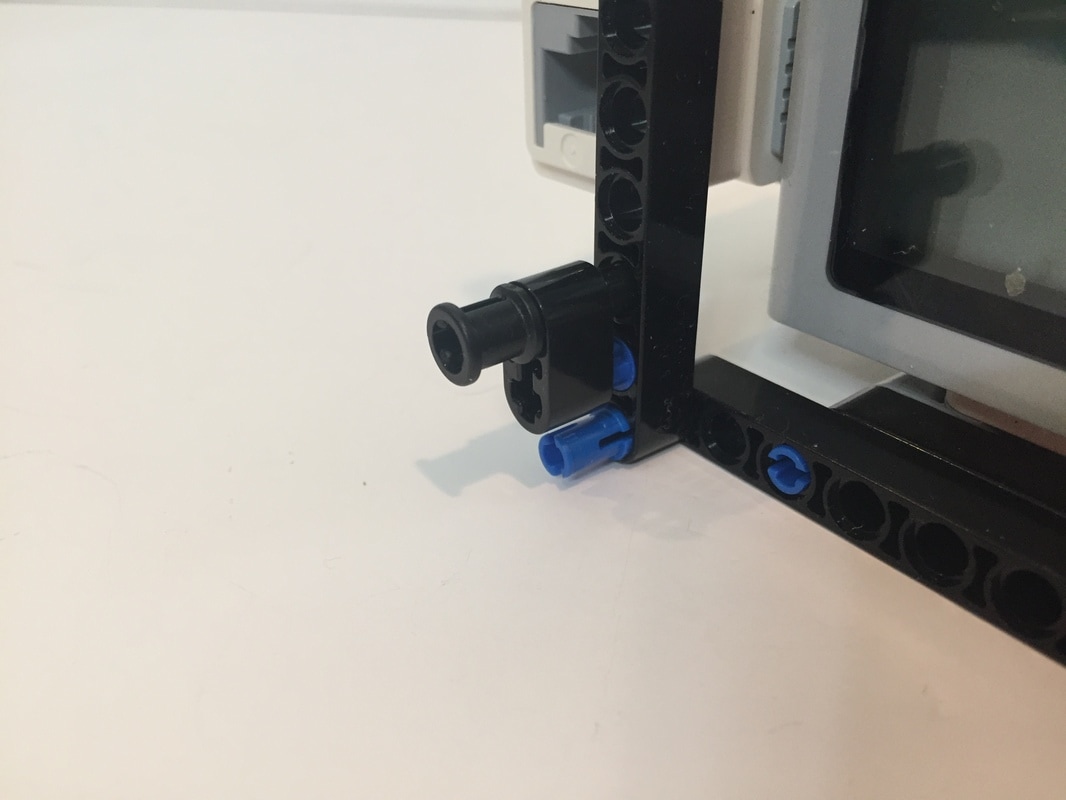
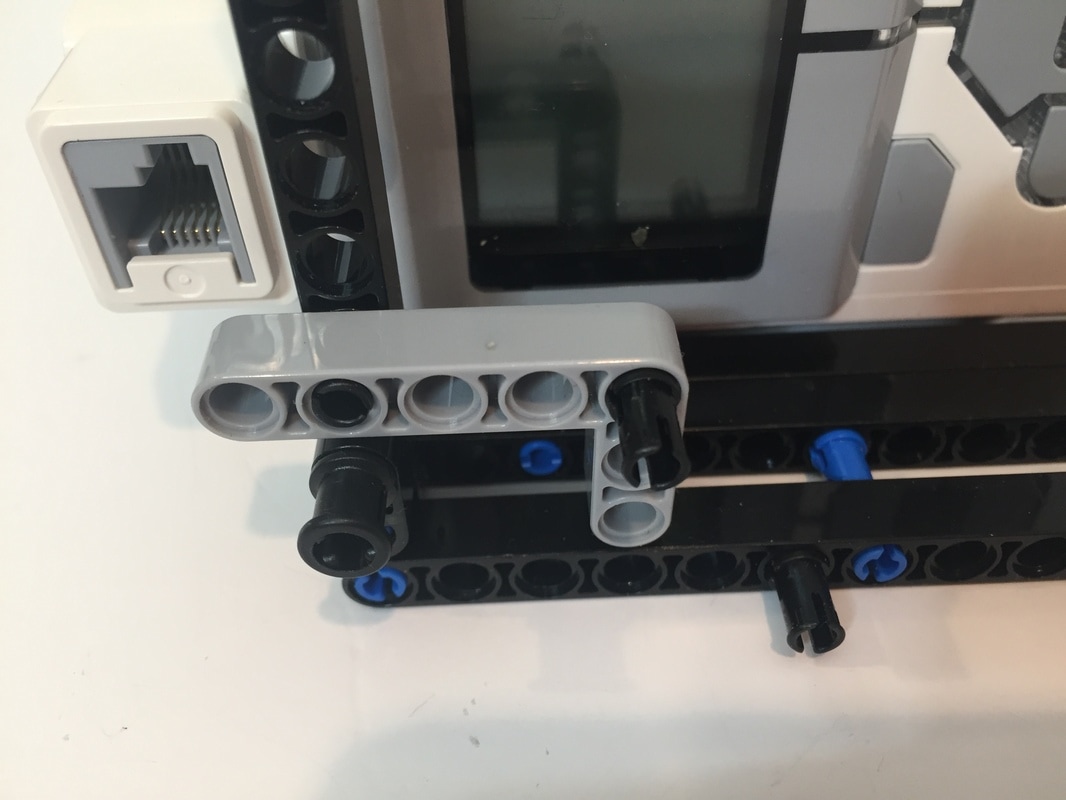
I add the remaining bottom parts later. Next I added parts to the top:
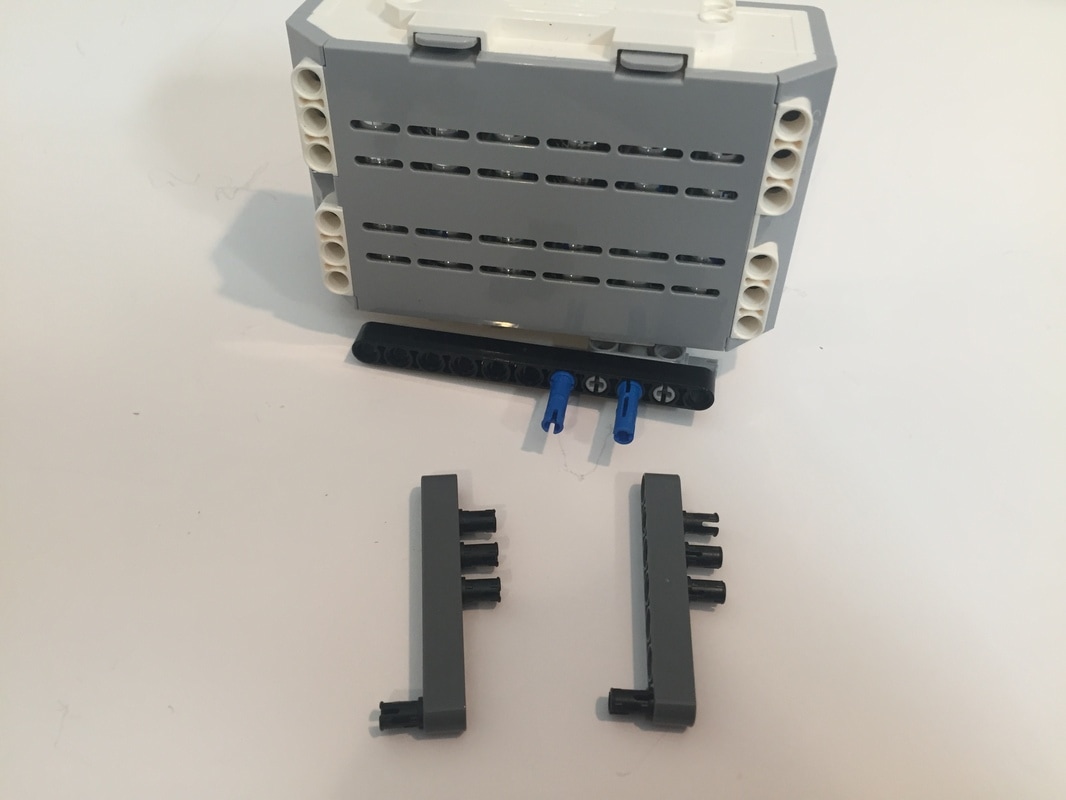

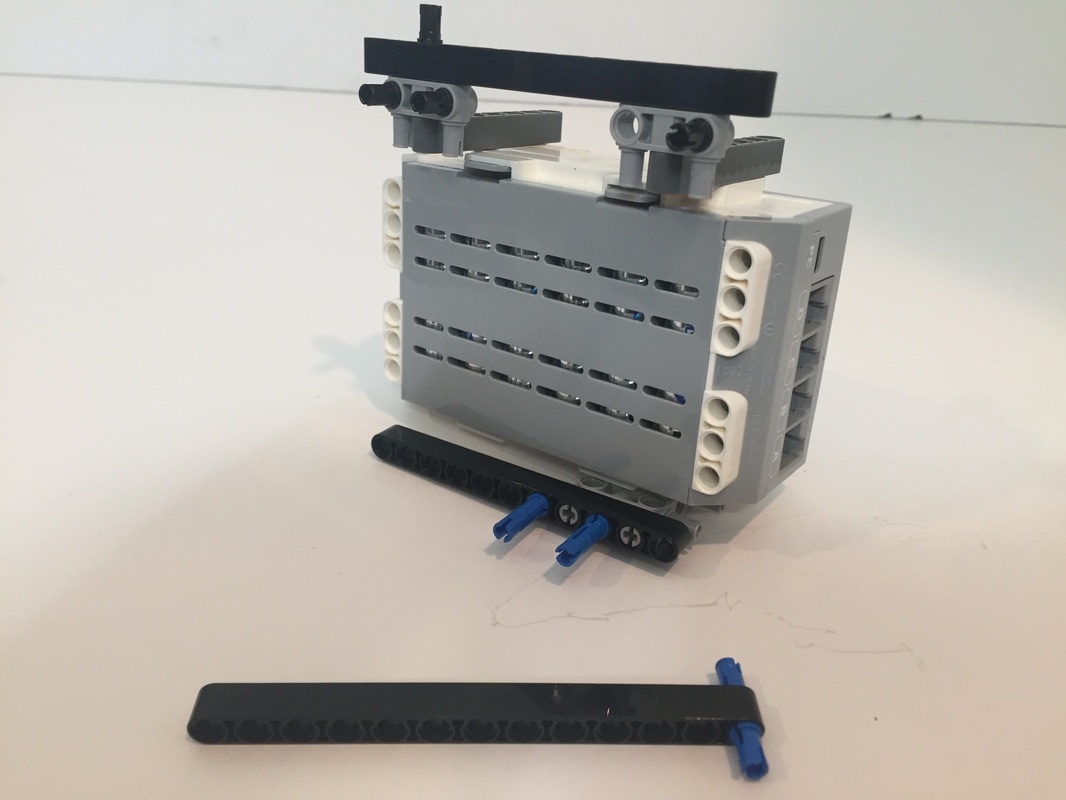
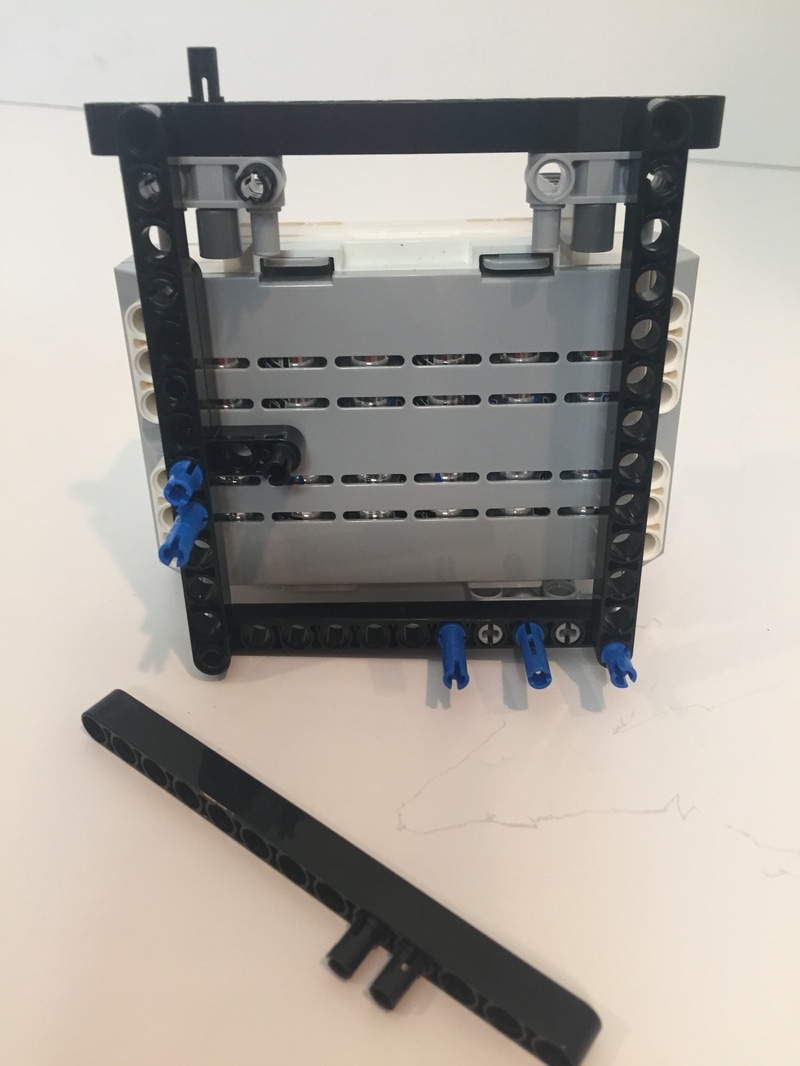
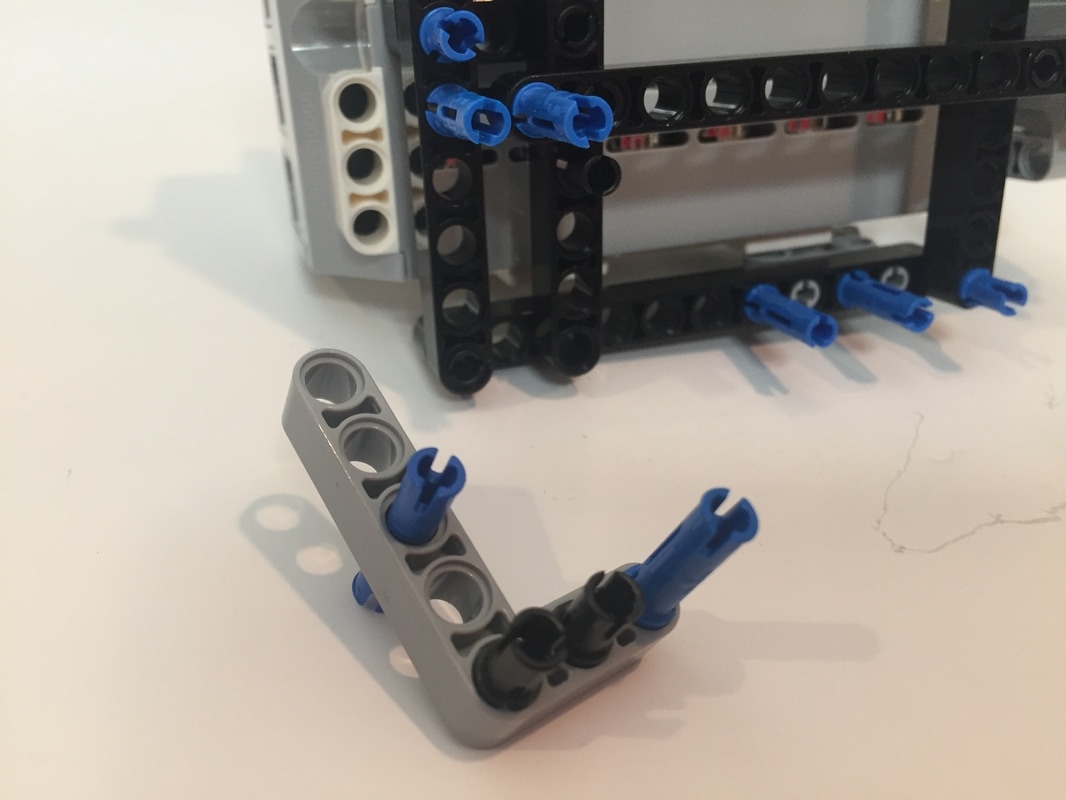
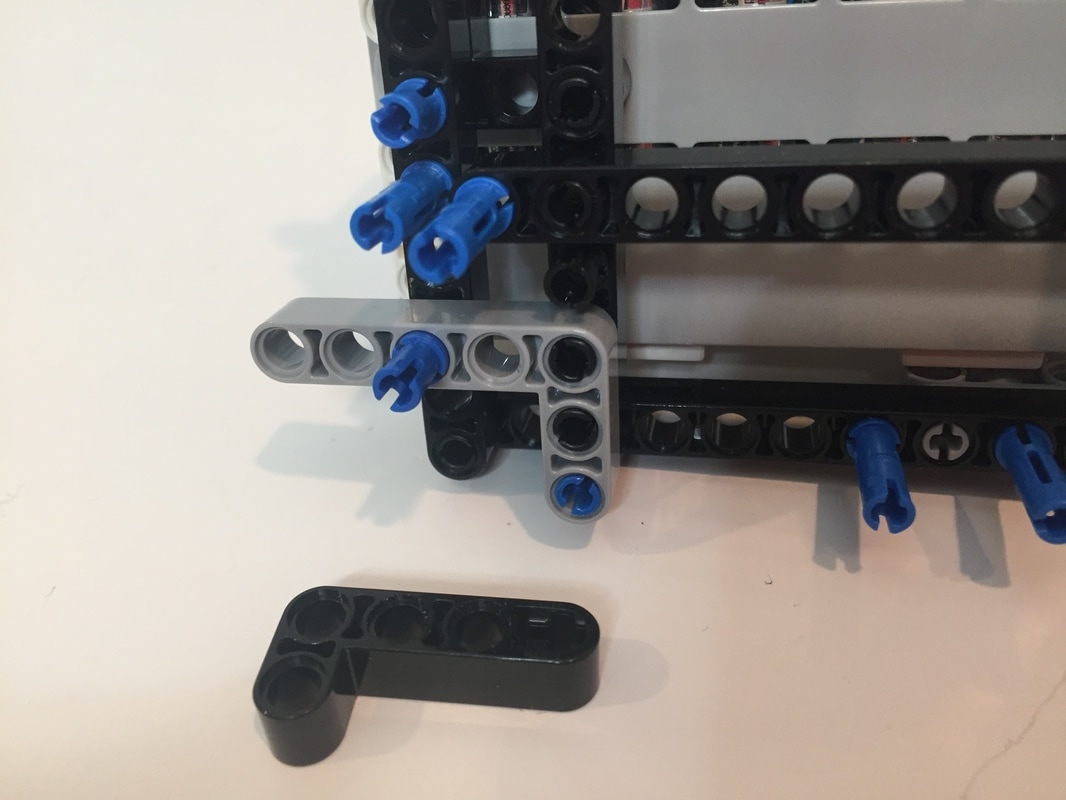
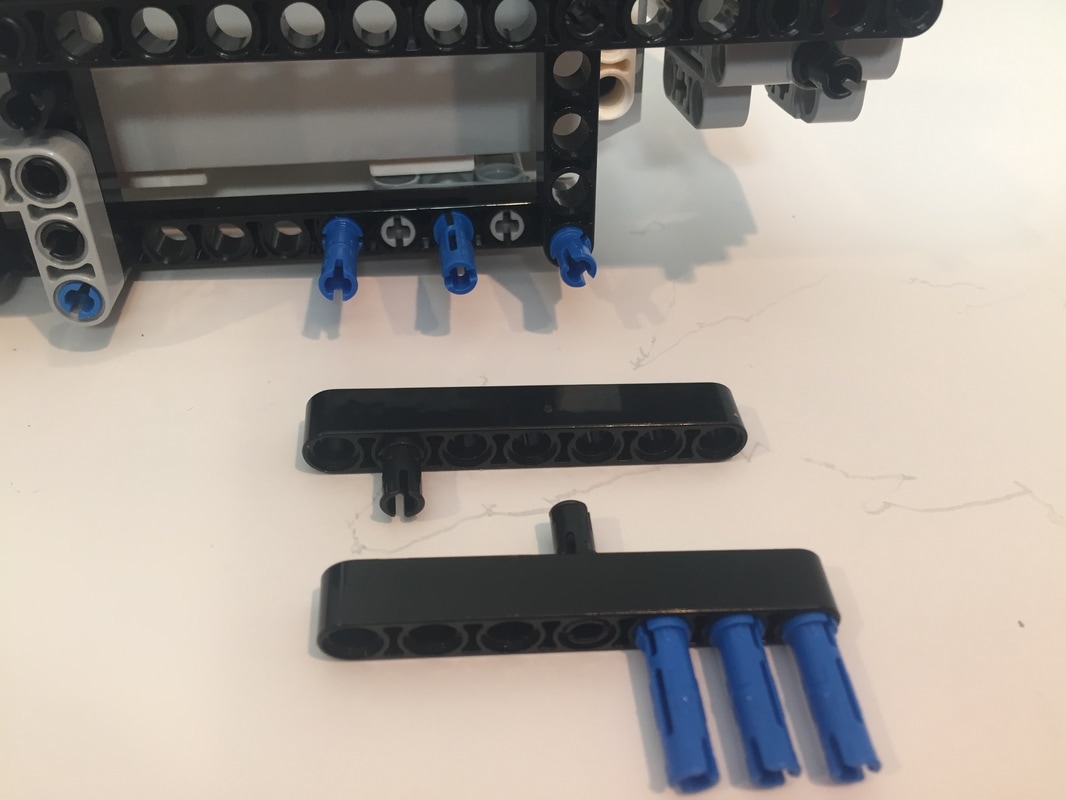
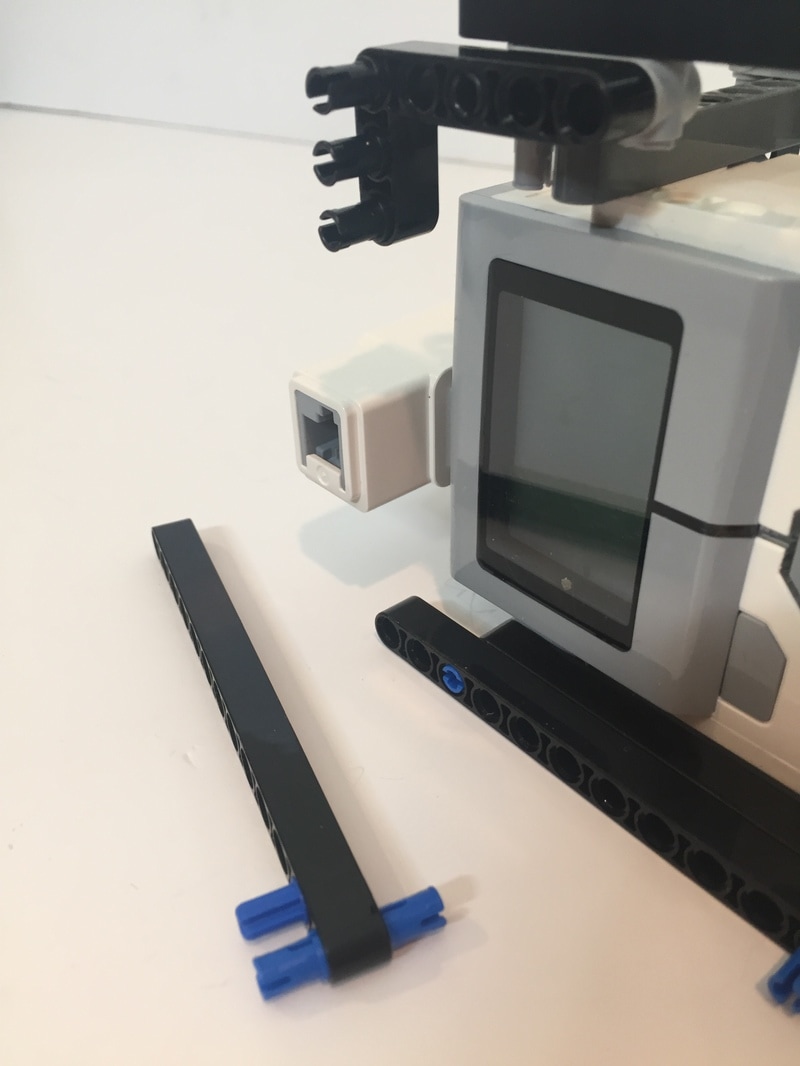
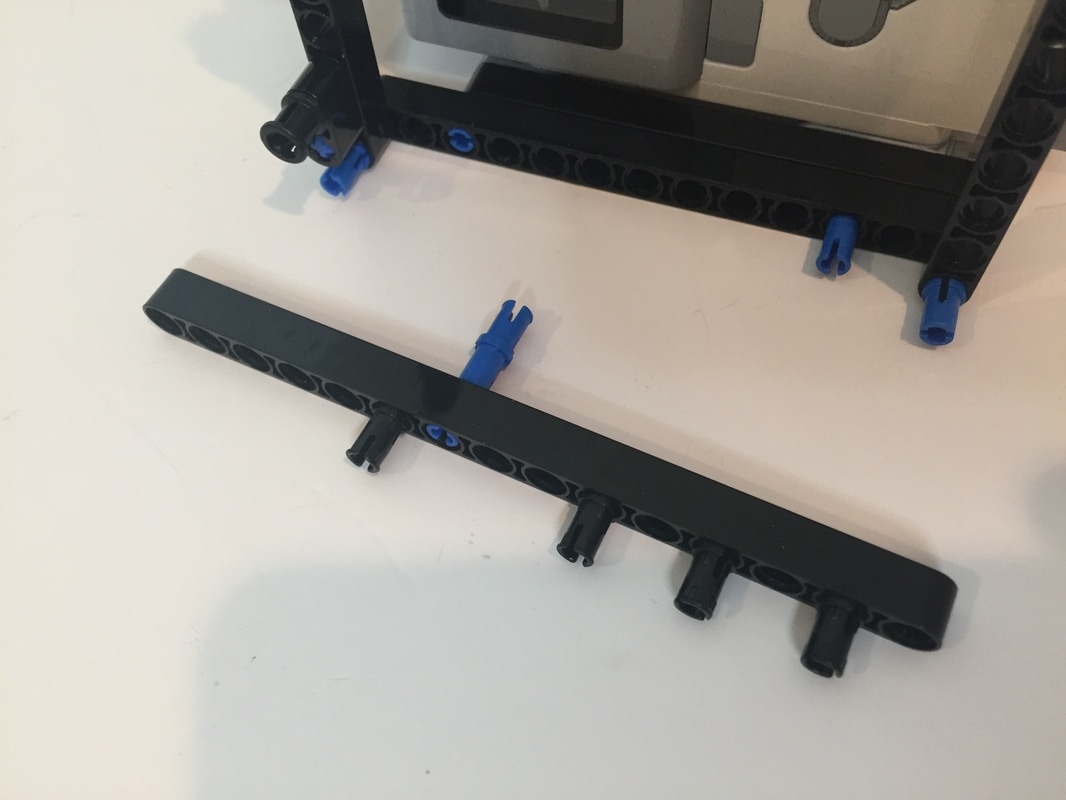
The above 7 hole beam is there to show the length of the axles.

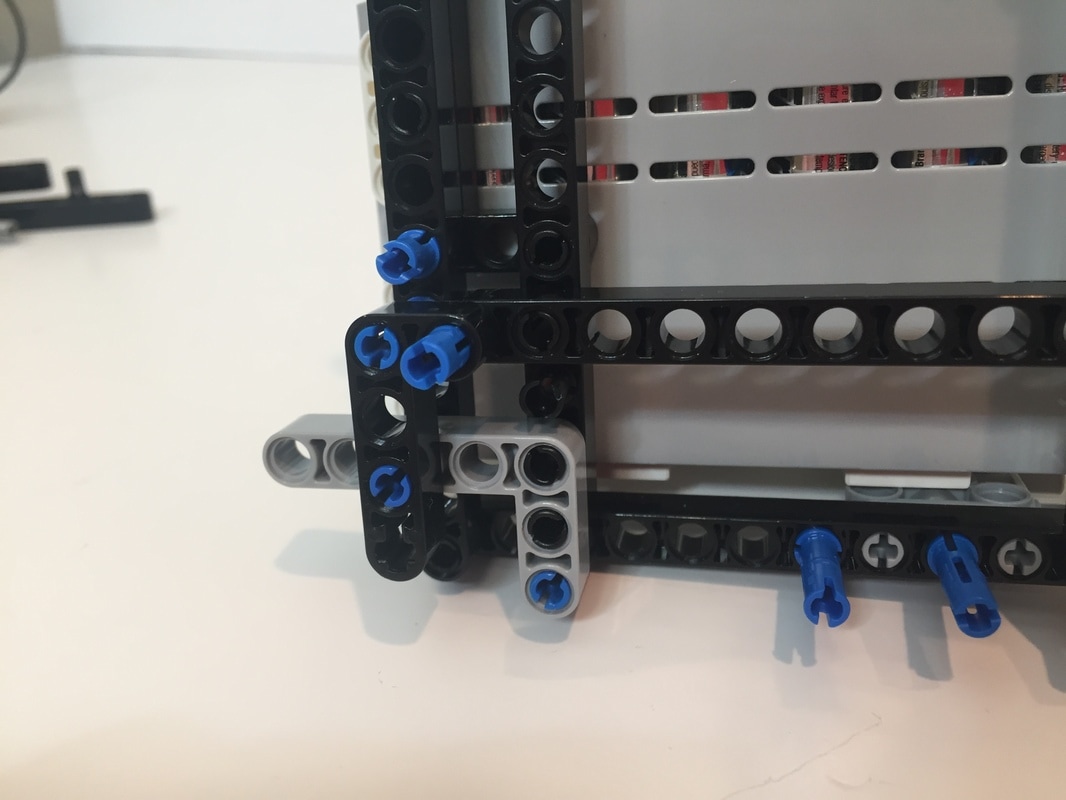
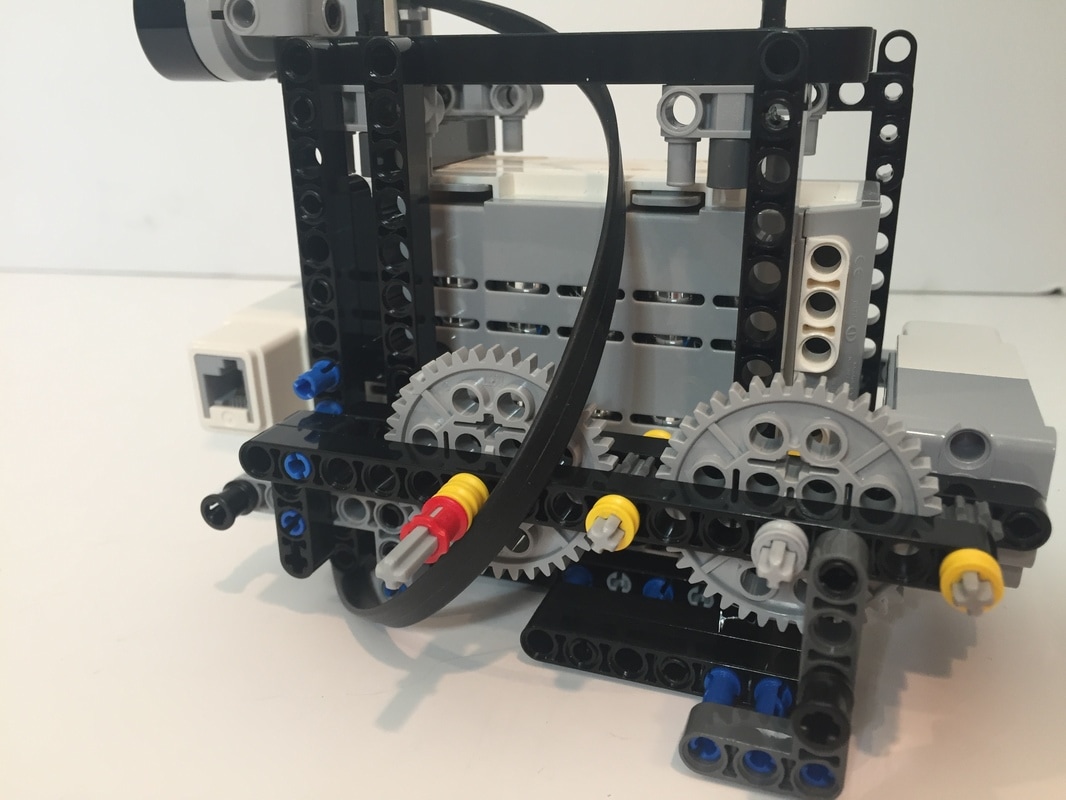
When building the frame on the LED side try to avoid blocking the screen with parts or it can be really hard to see. Also, make sure parts don't block the buttons.
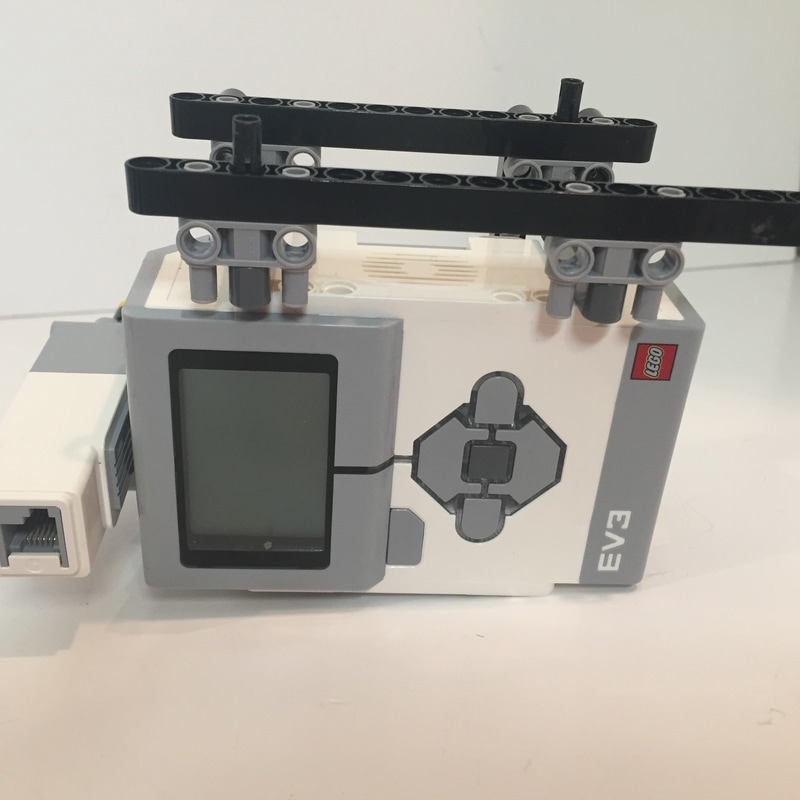
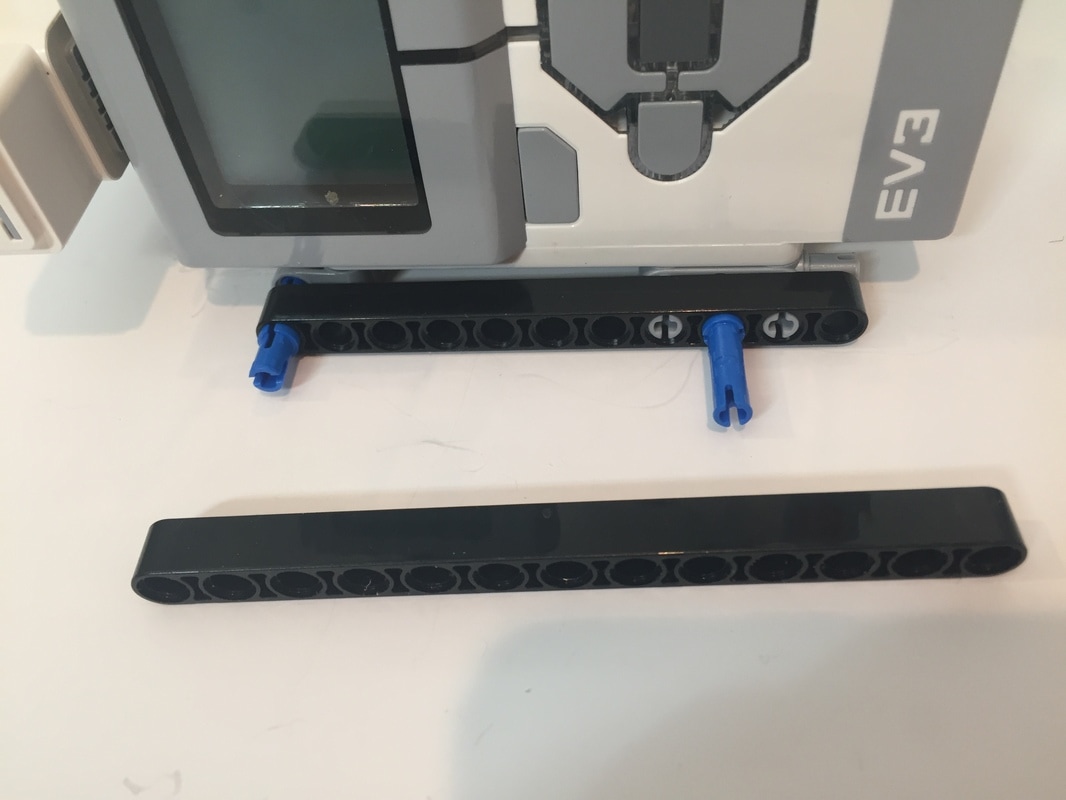
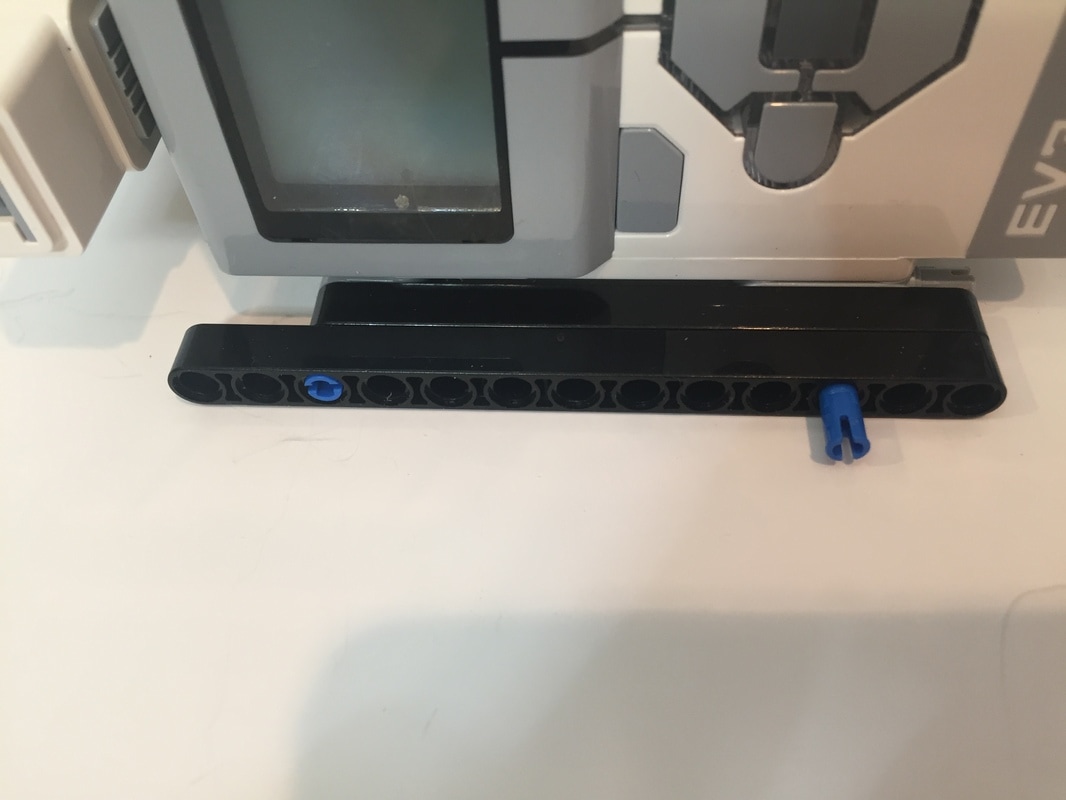
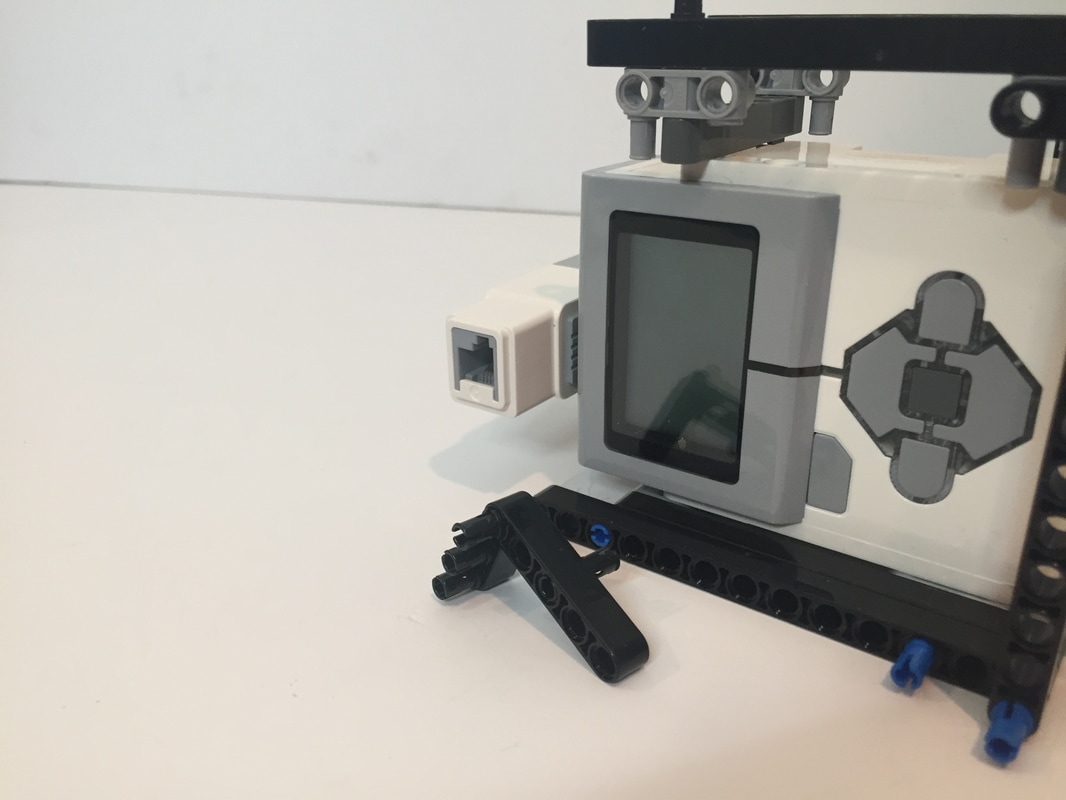

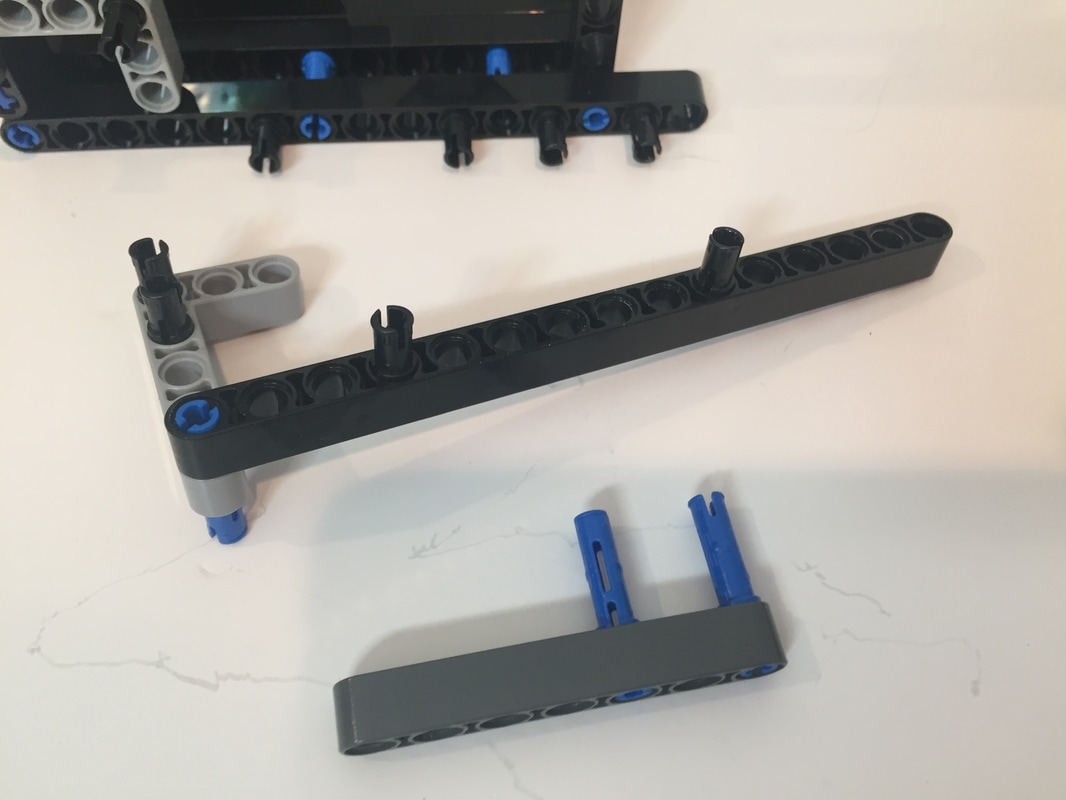
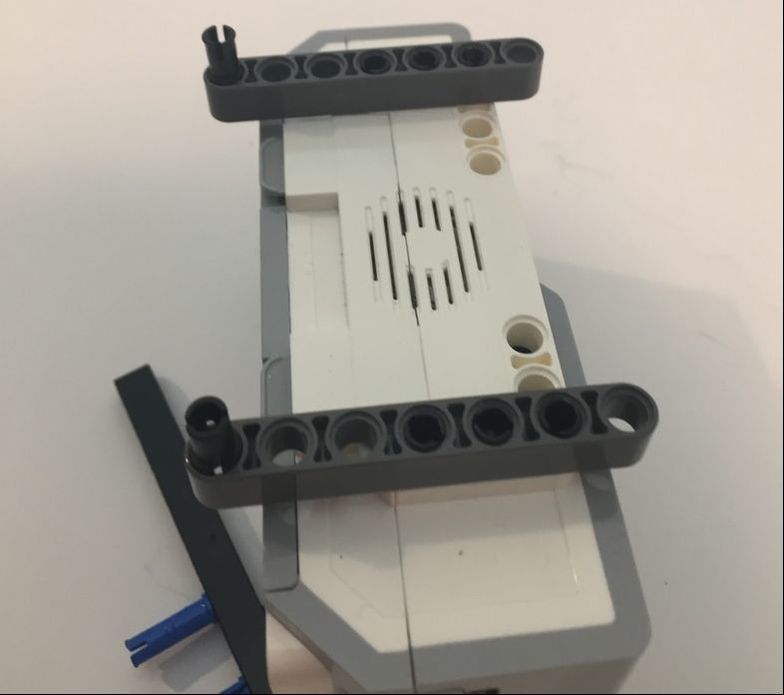
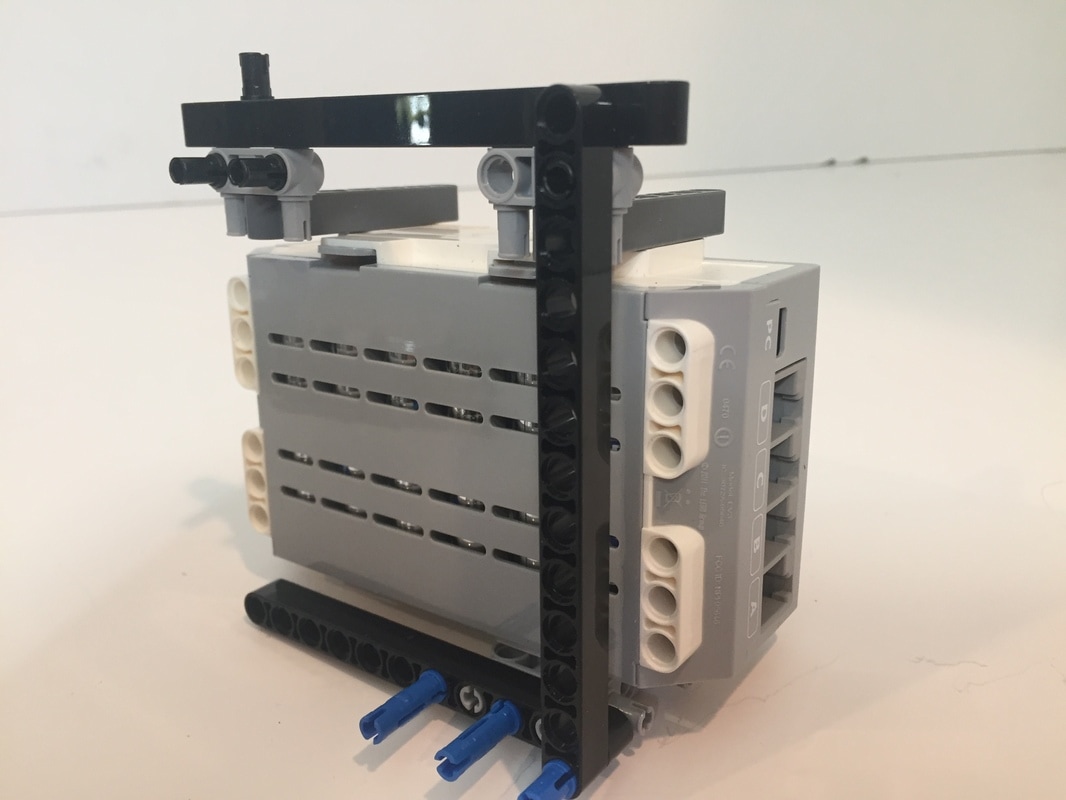
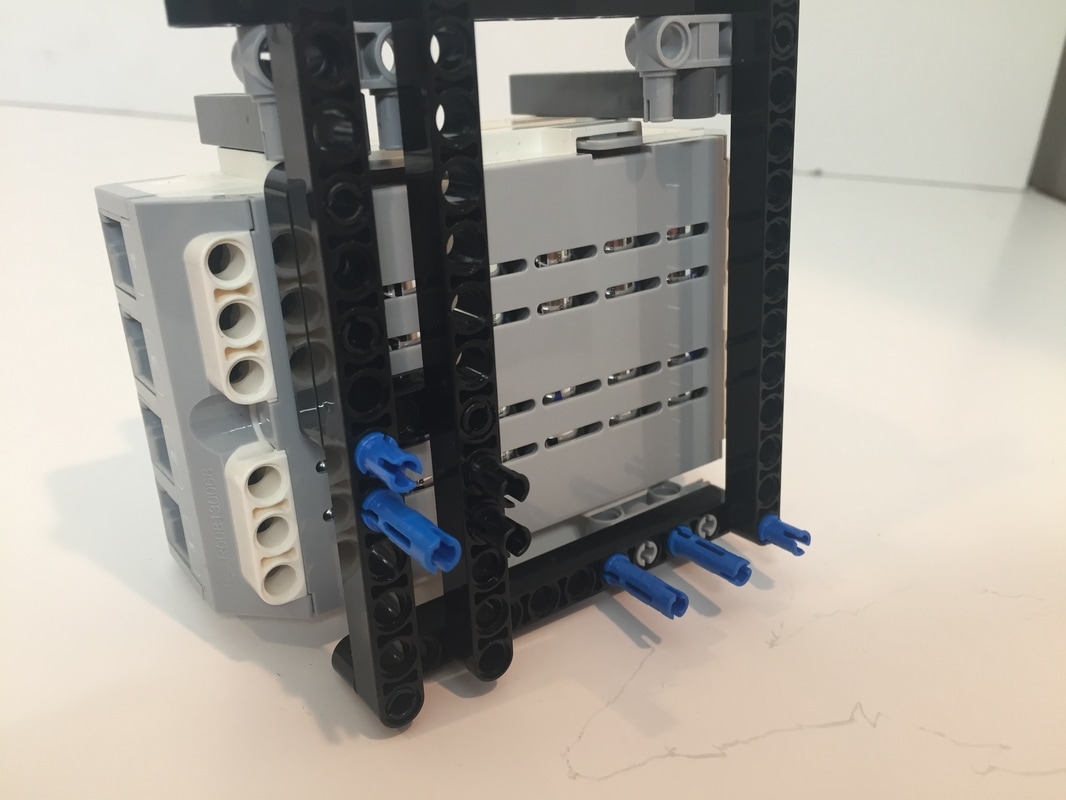
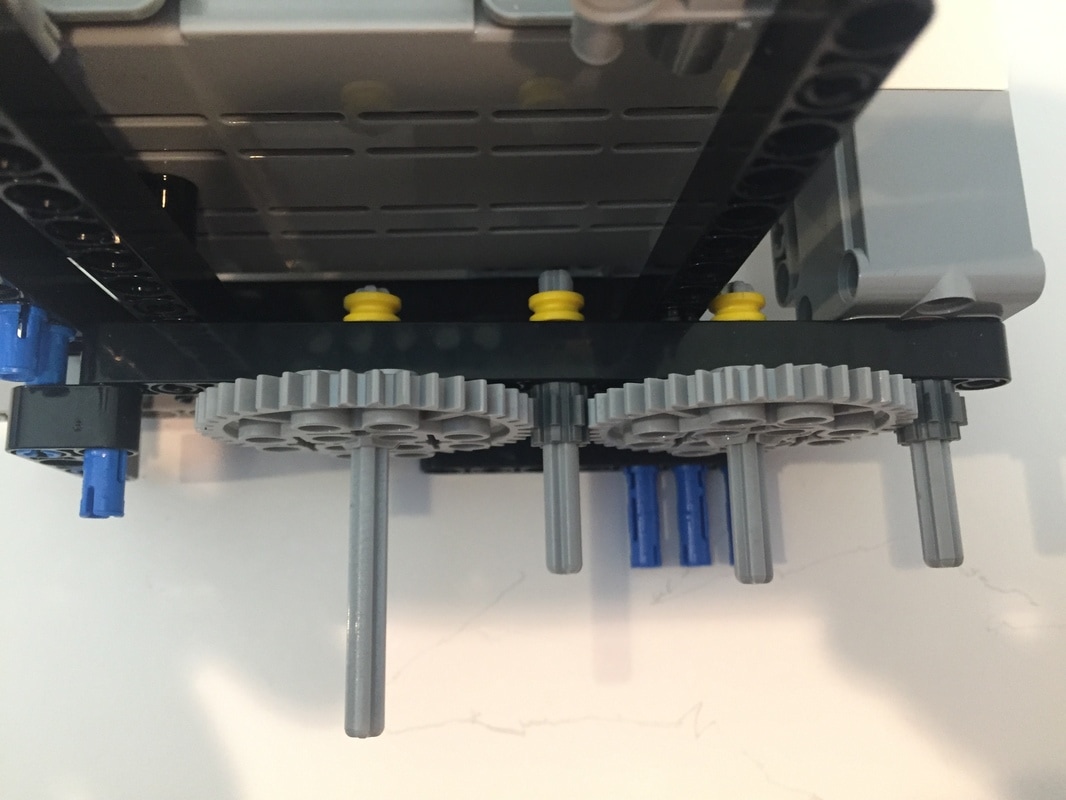
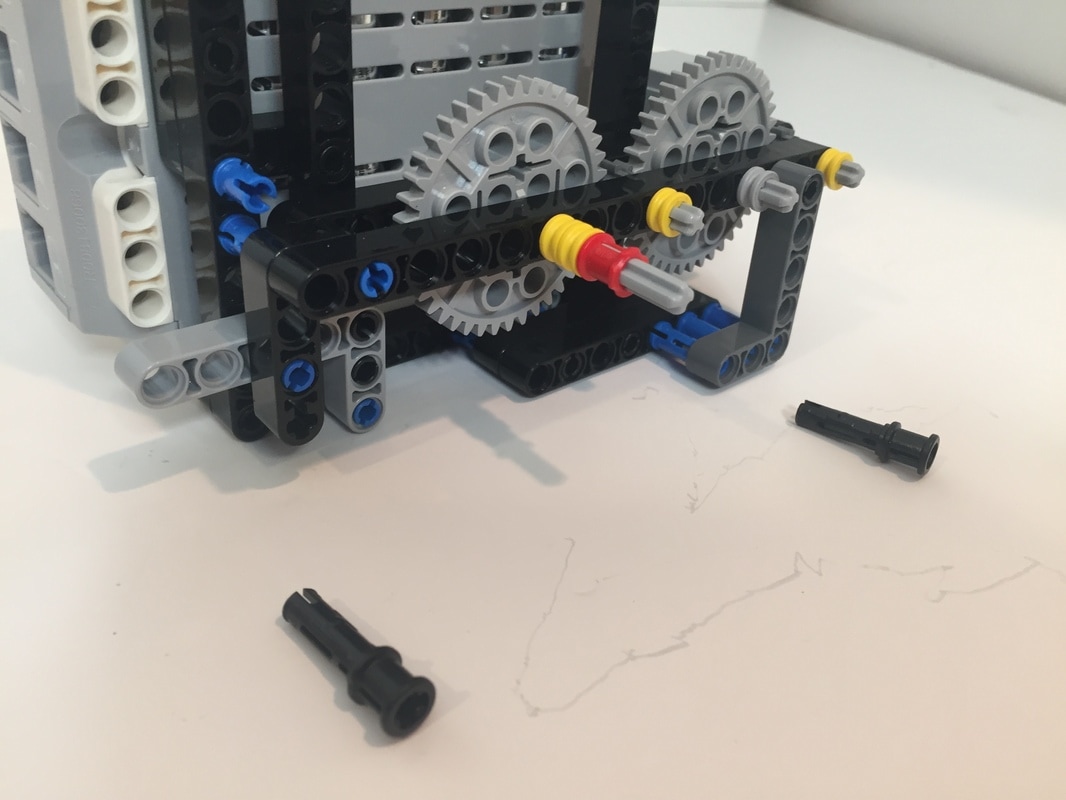
The following pic skips ahead a few steps to show where I mounted the above parts:

The above 9 hole beam is there to show the length of the axles.
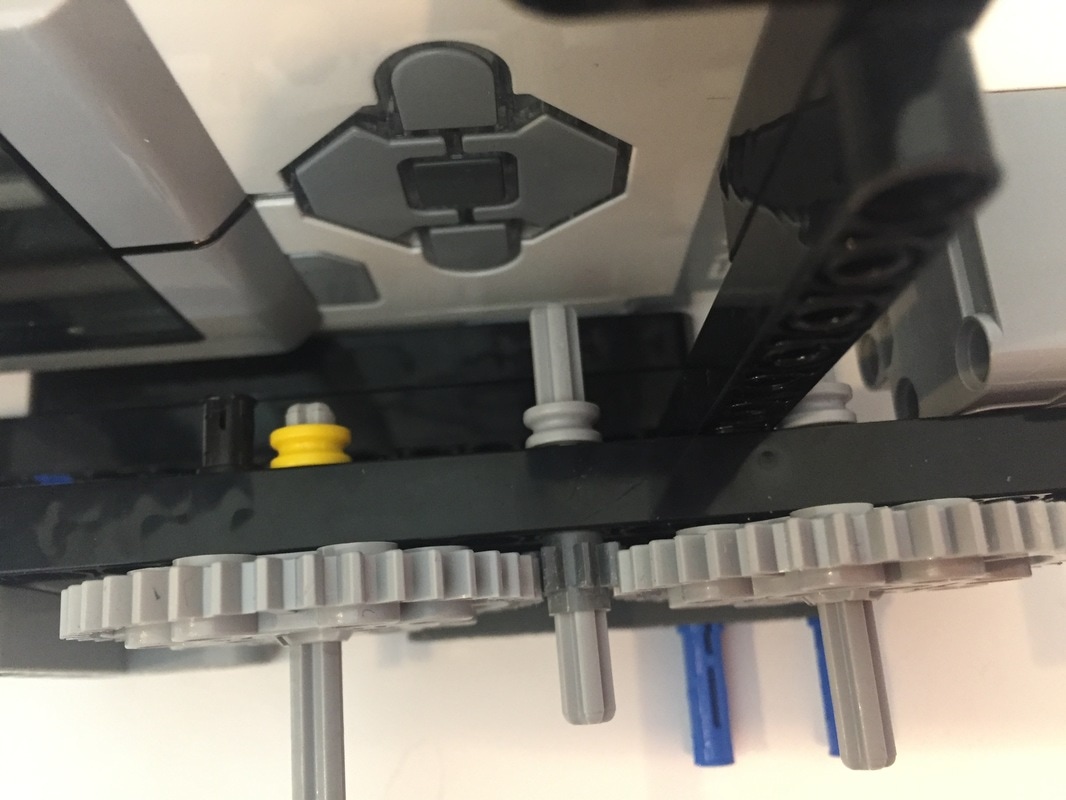
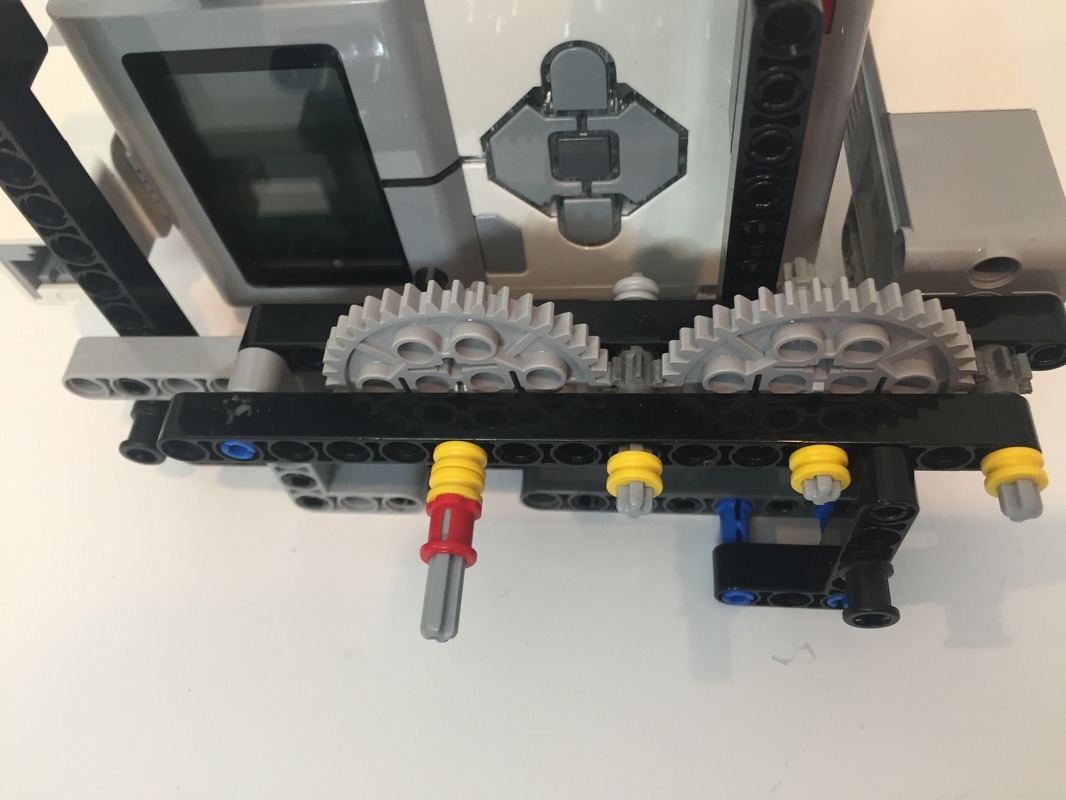
Notice the beams don't block either the LED screen nor the buttons.

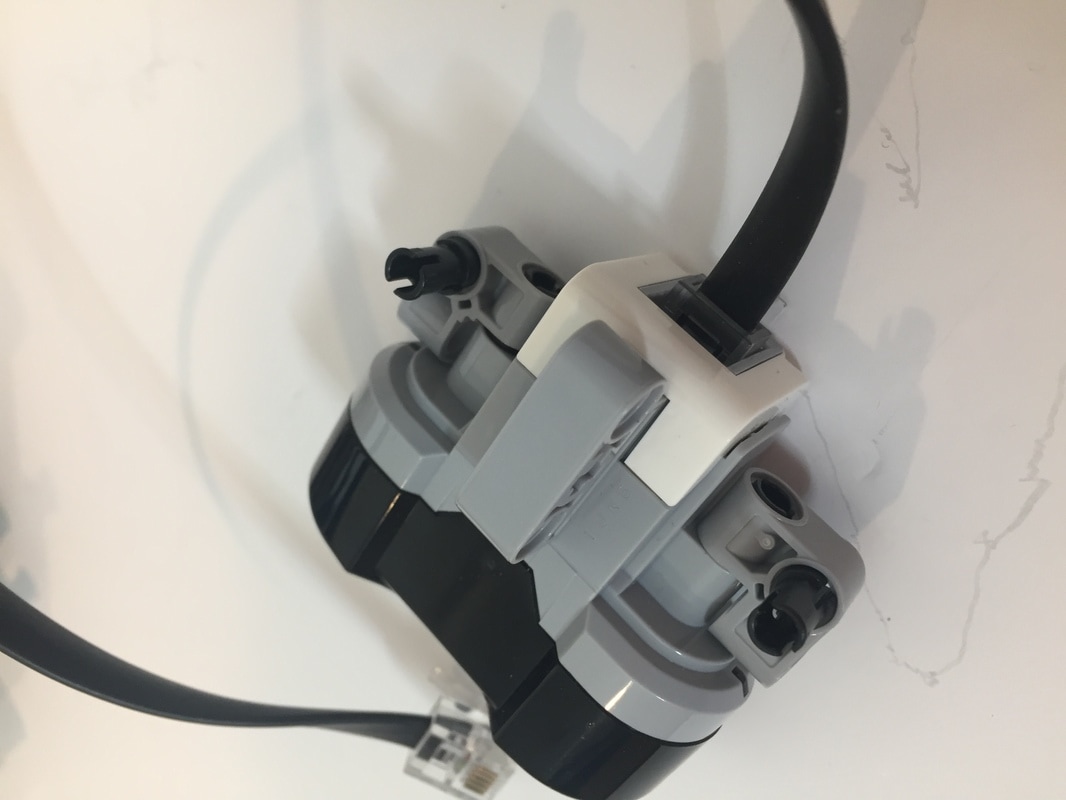
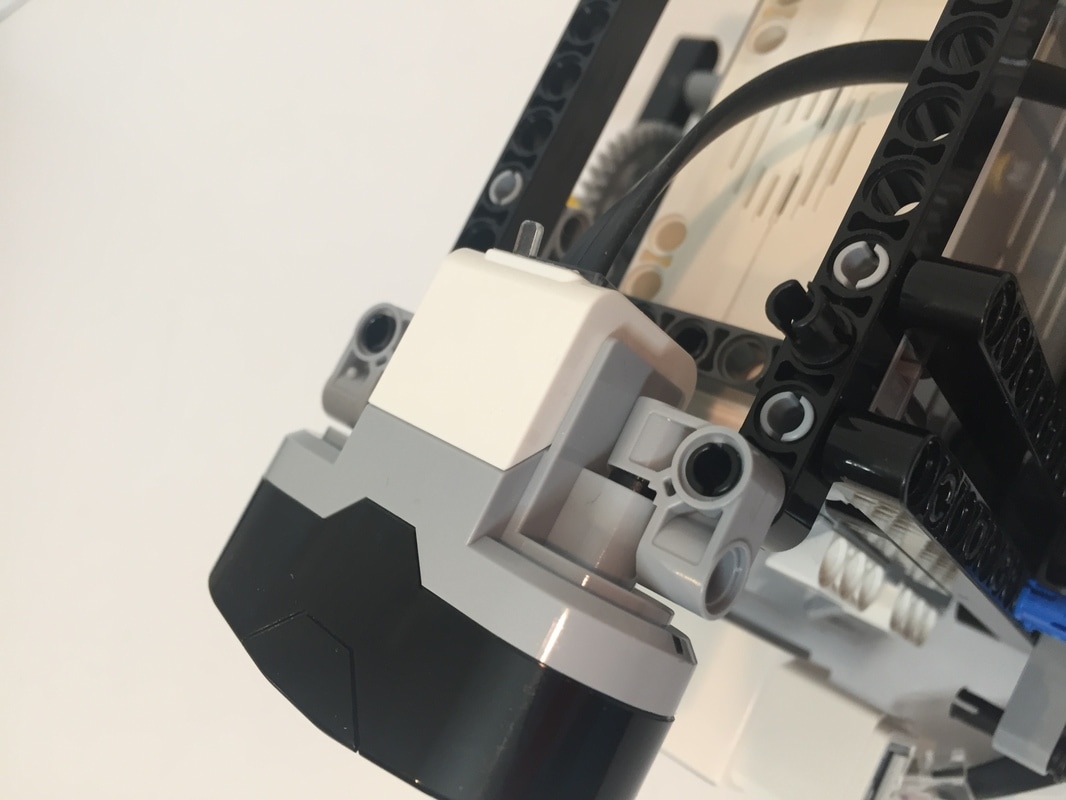
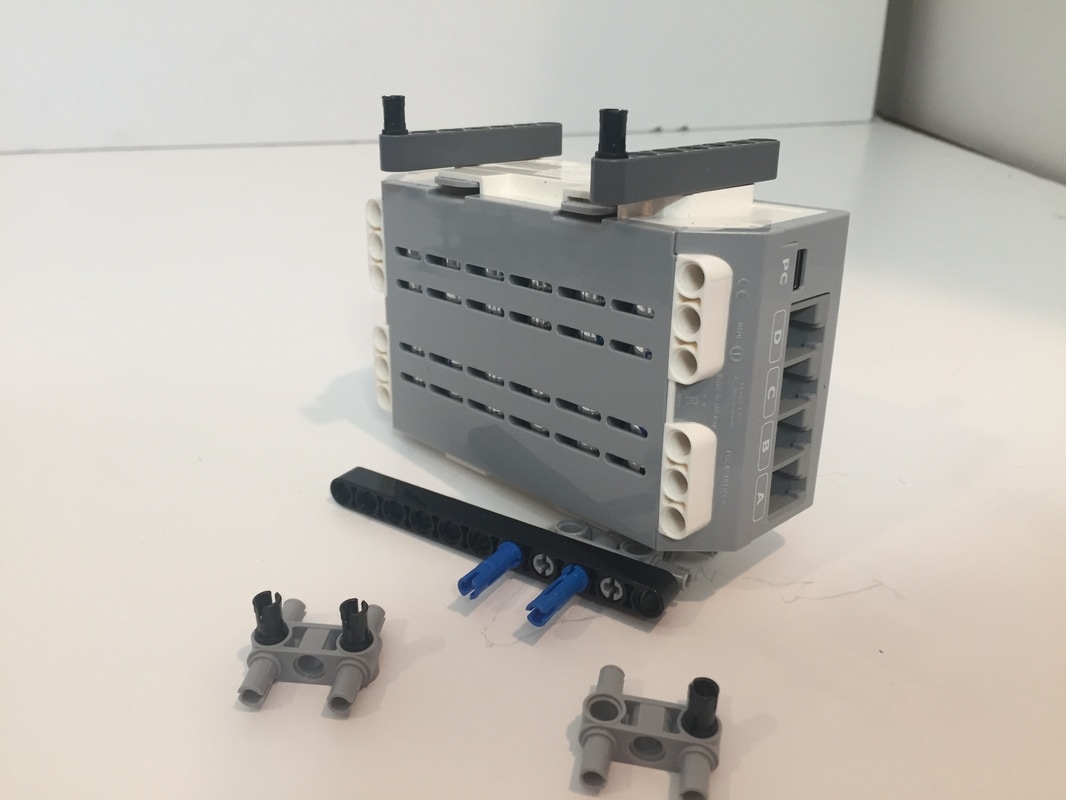
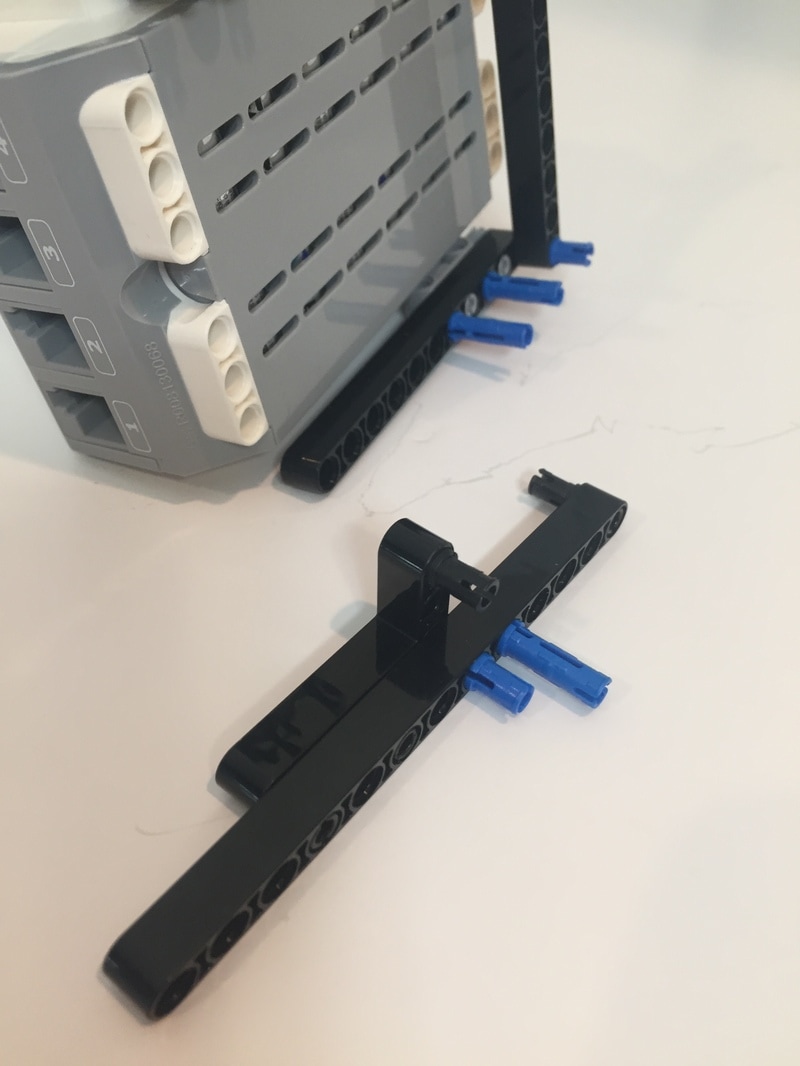
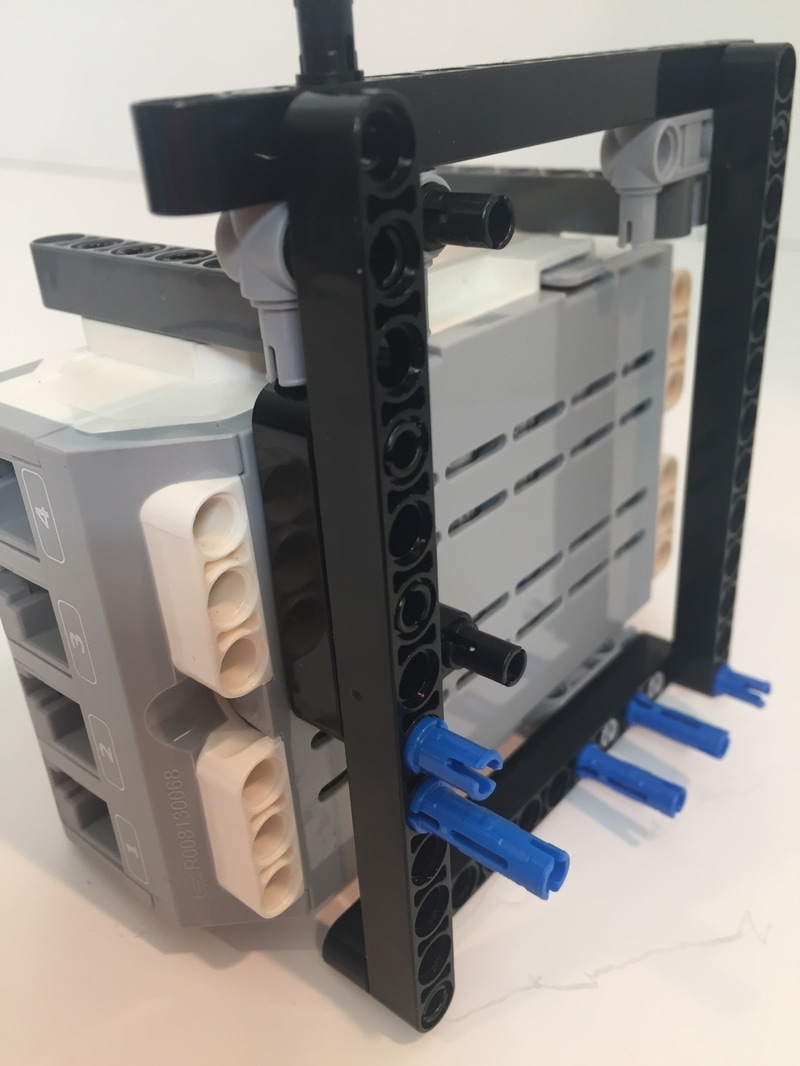
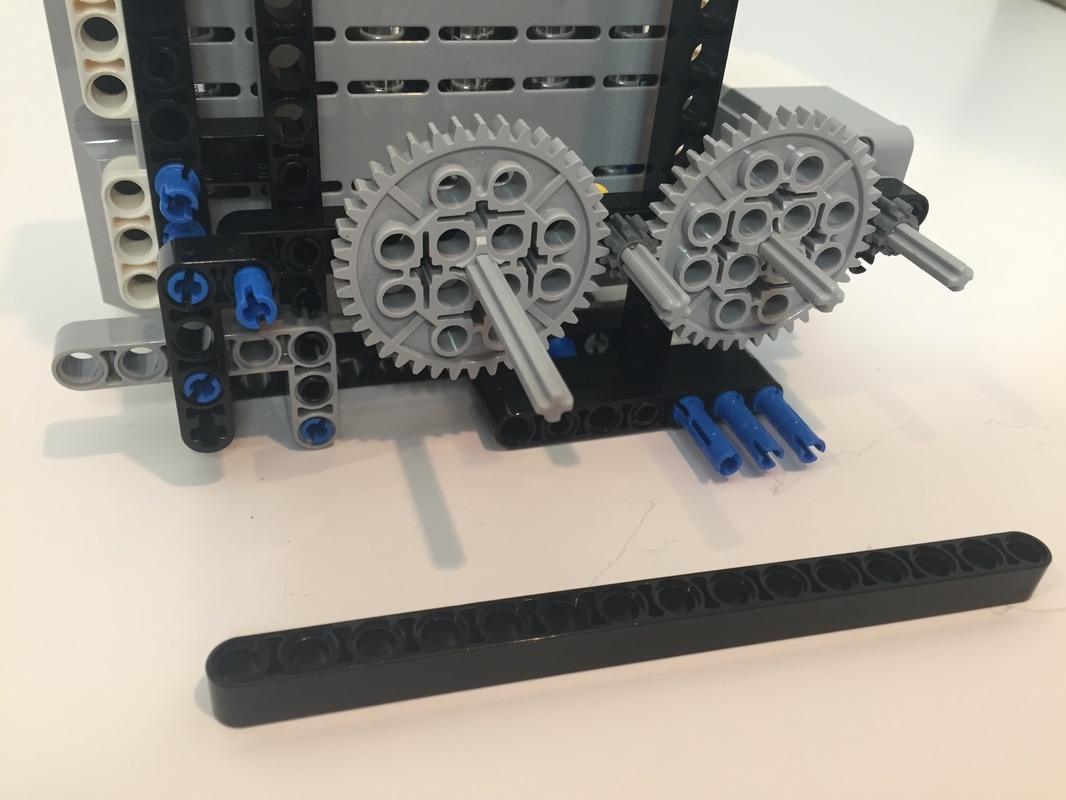
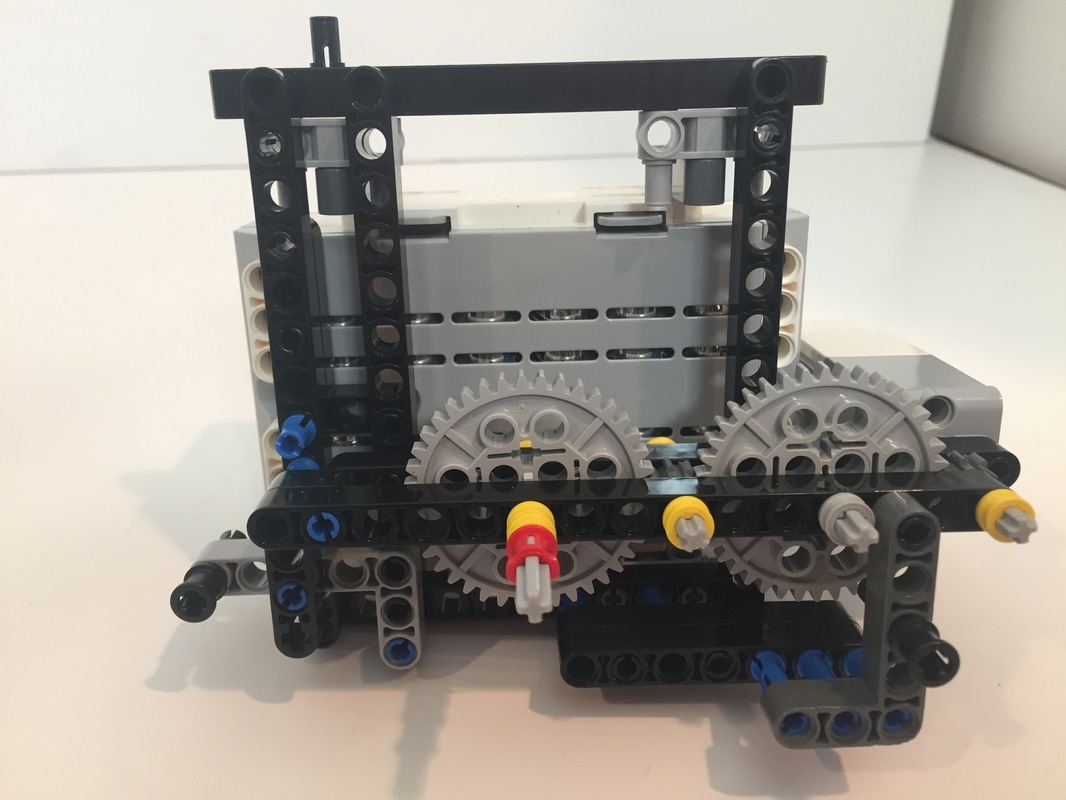
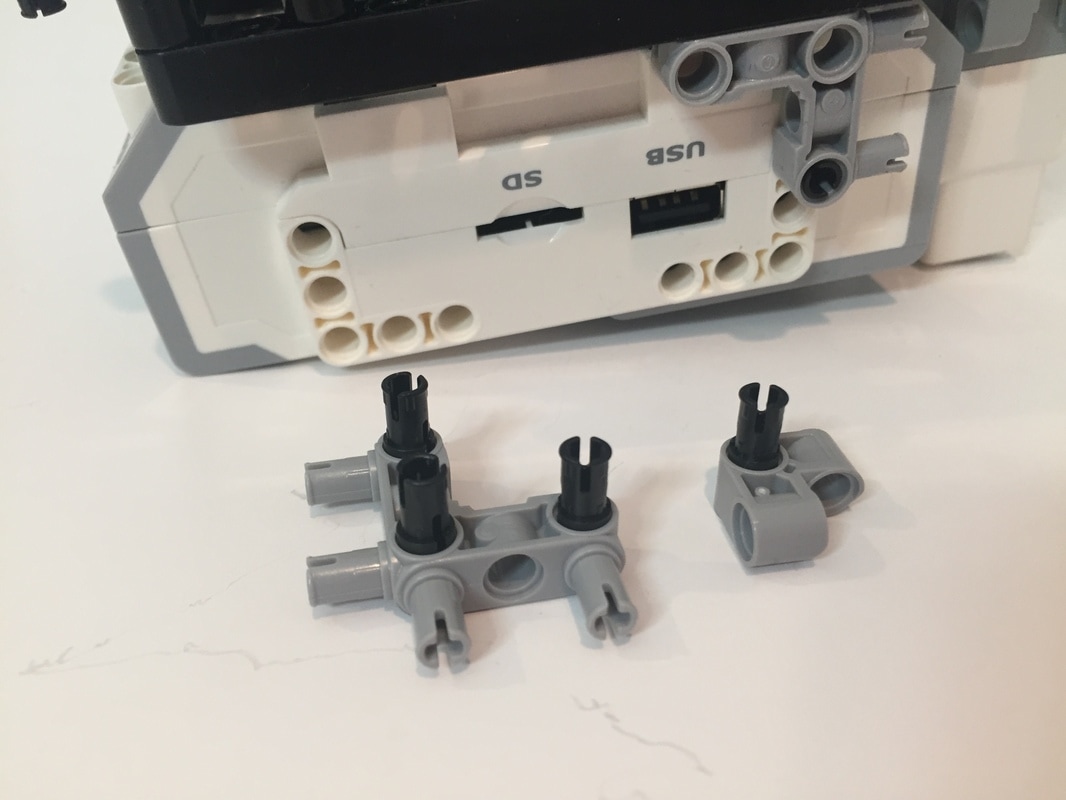
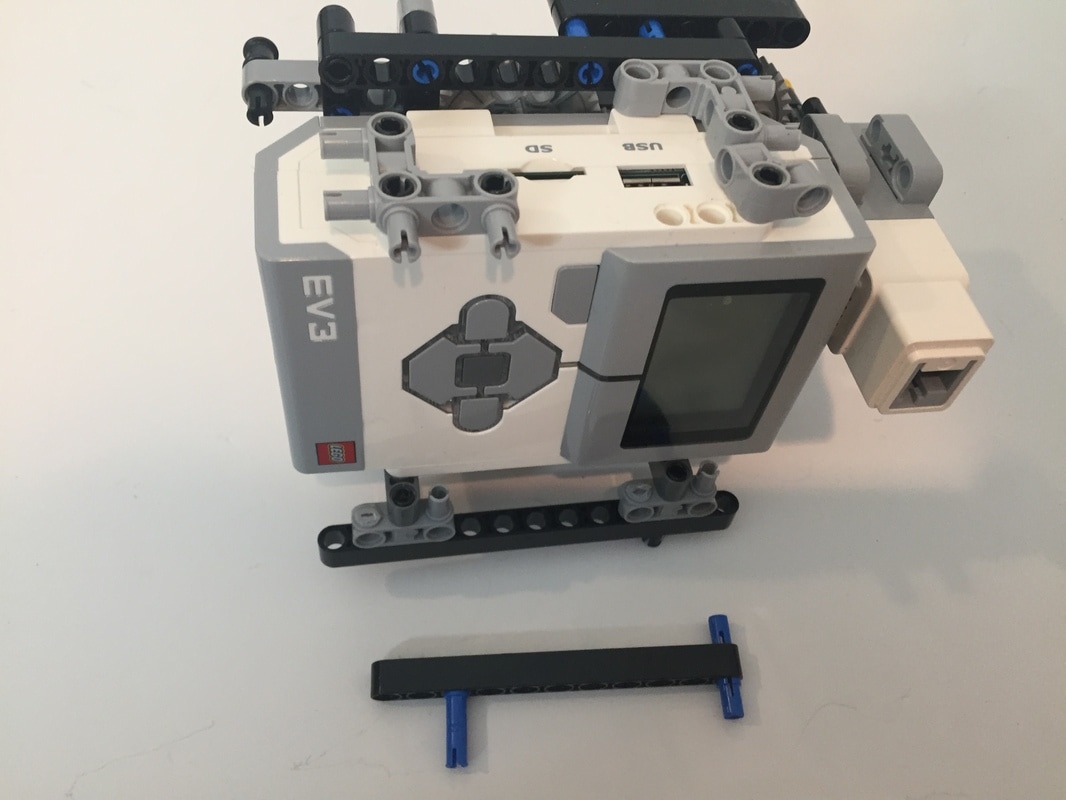
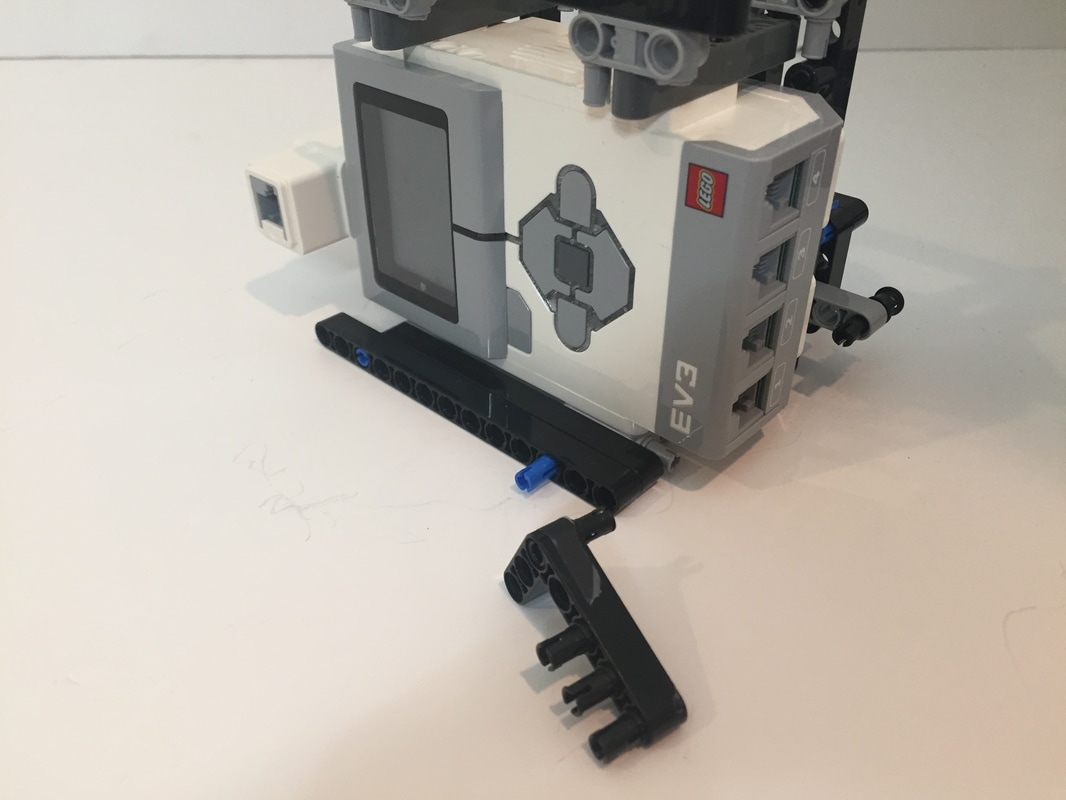
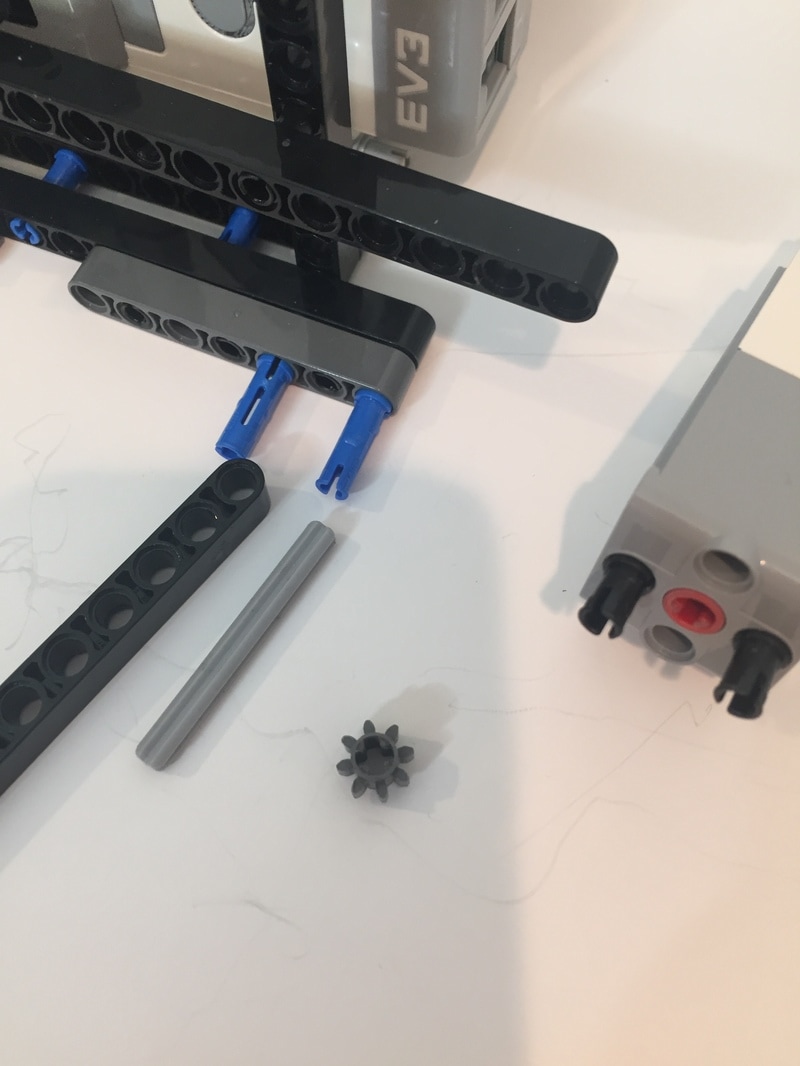
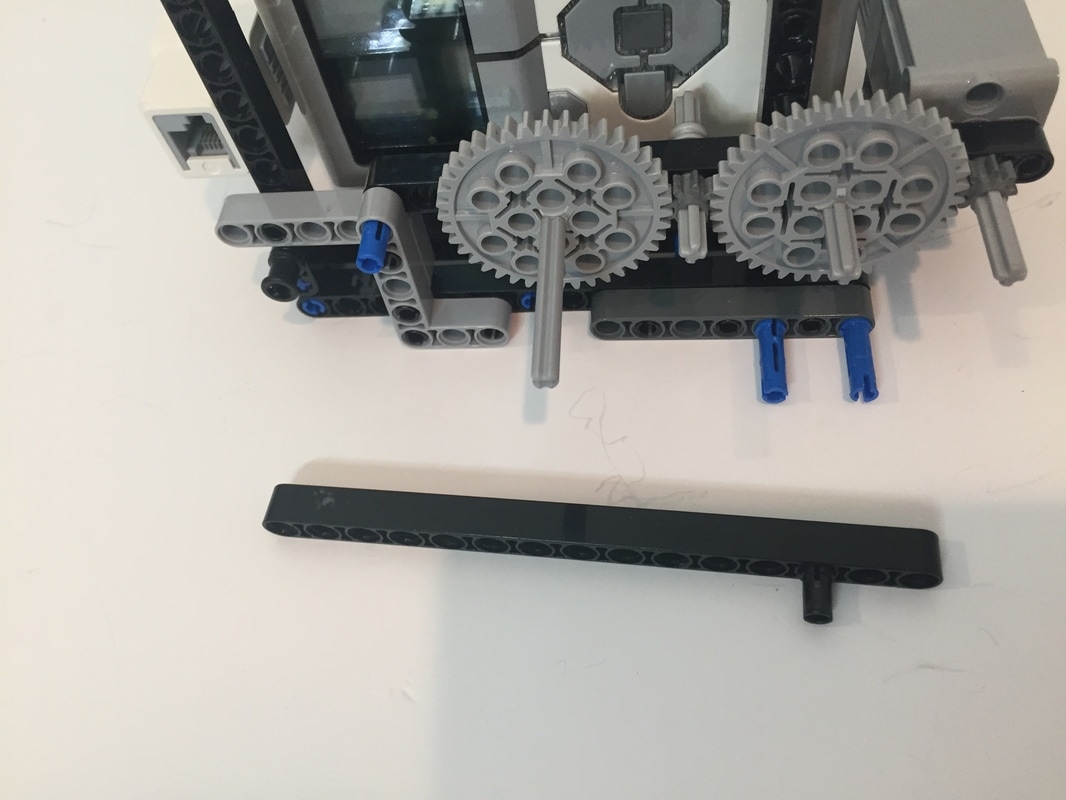
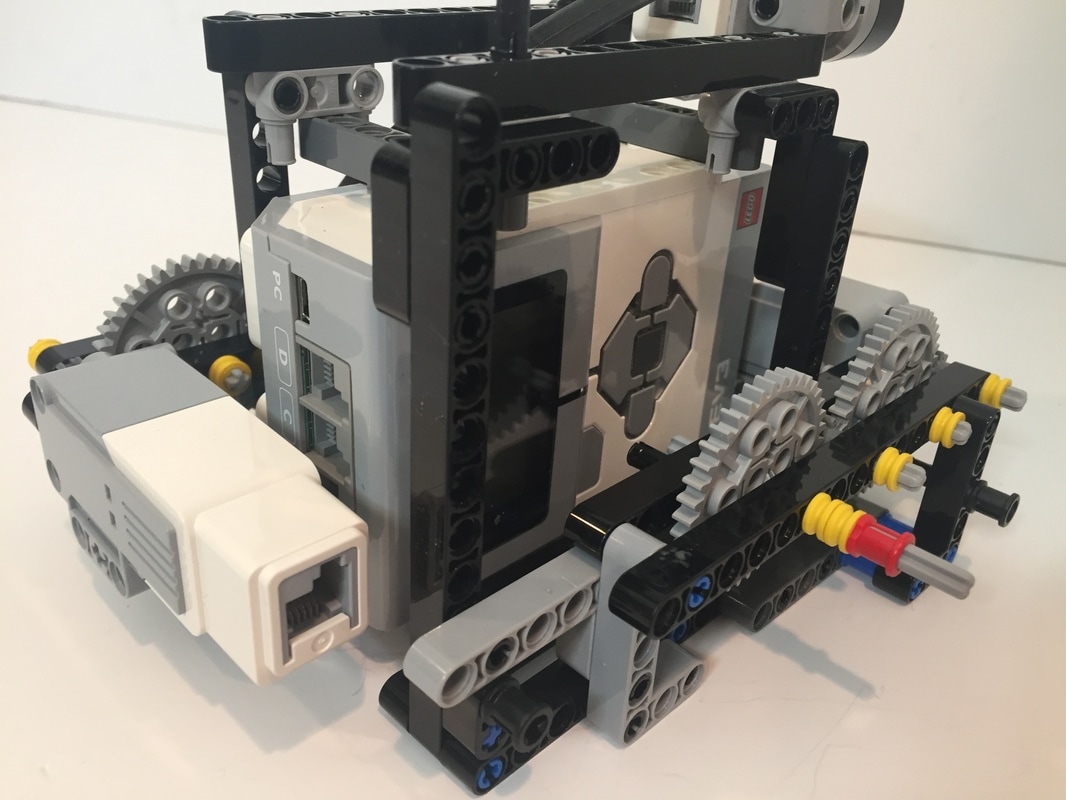
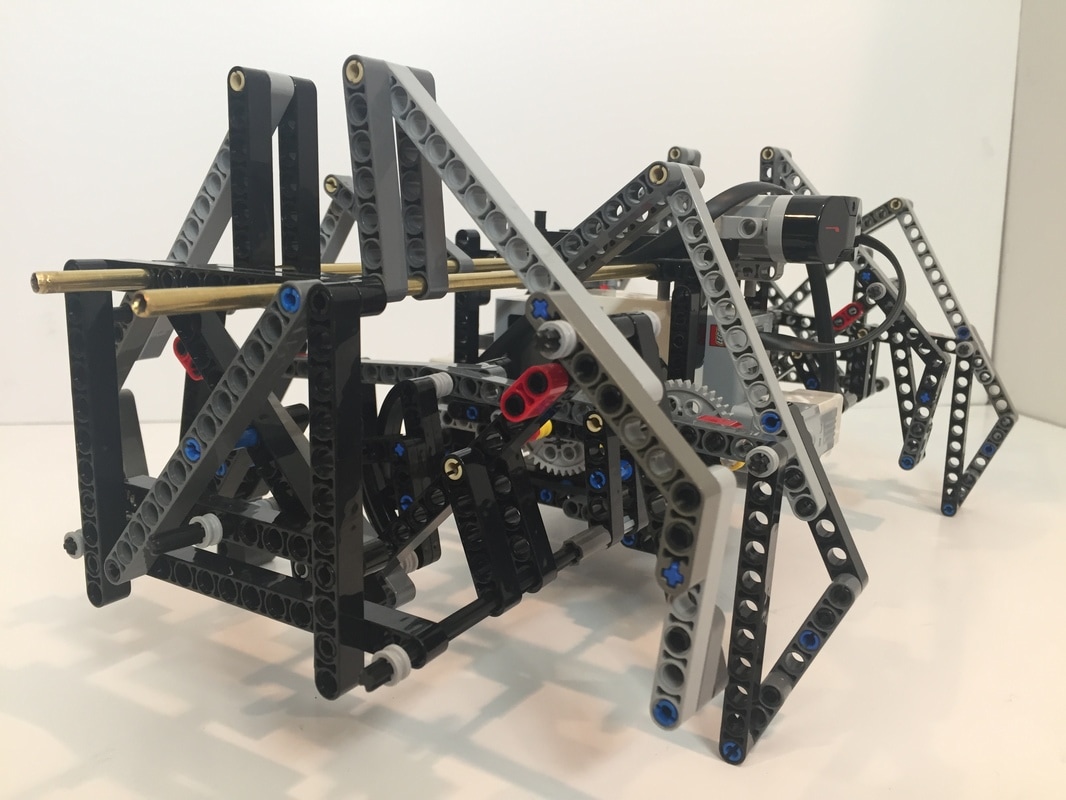
The following are a few shots of the frame from different angles:

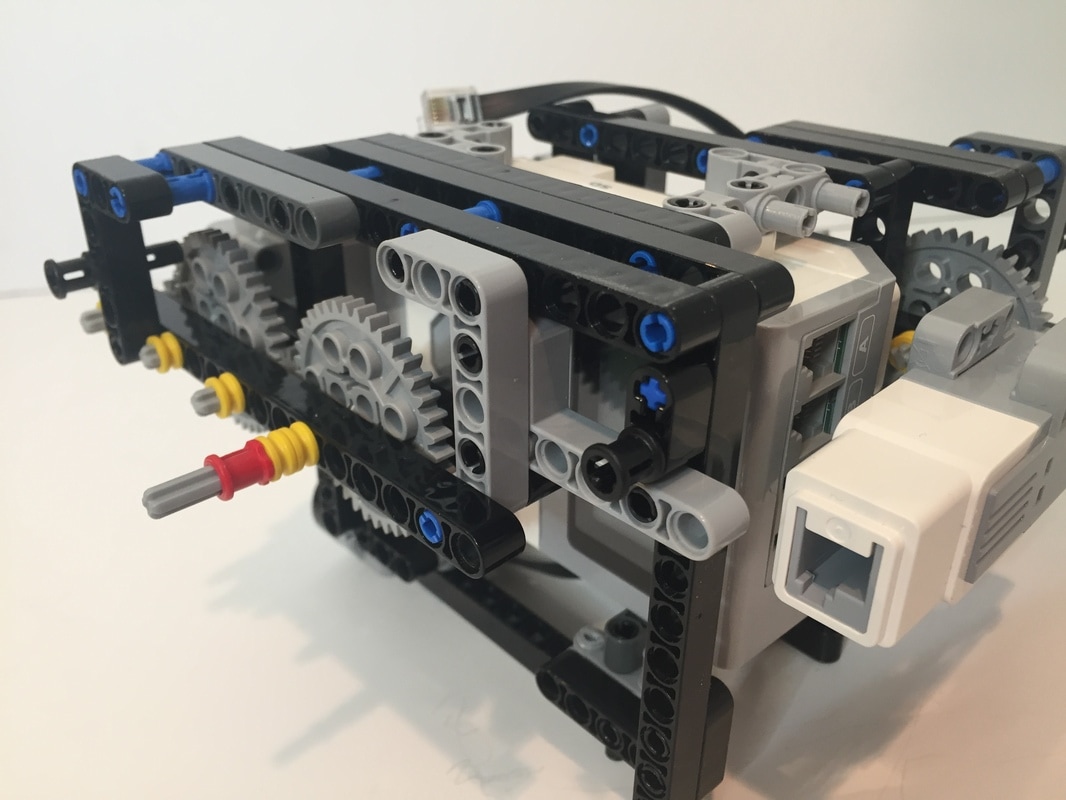
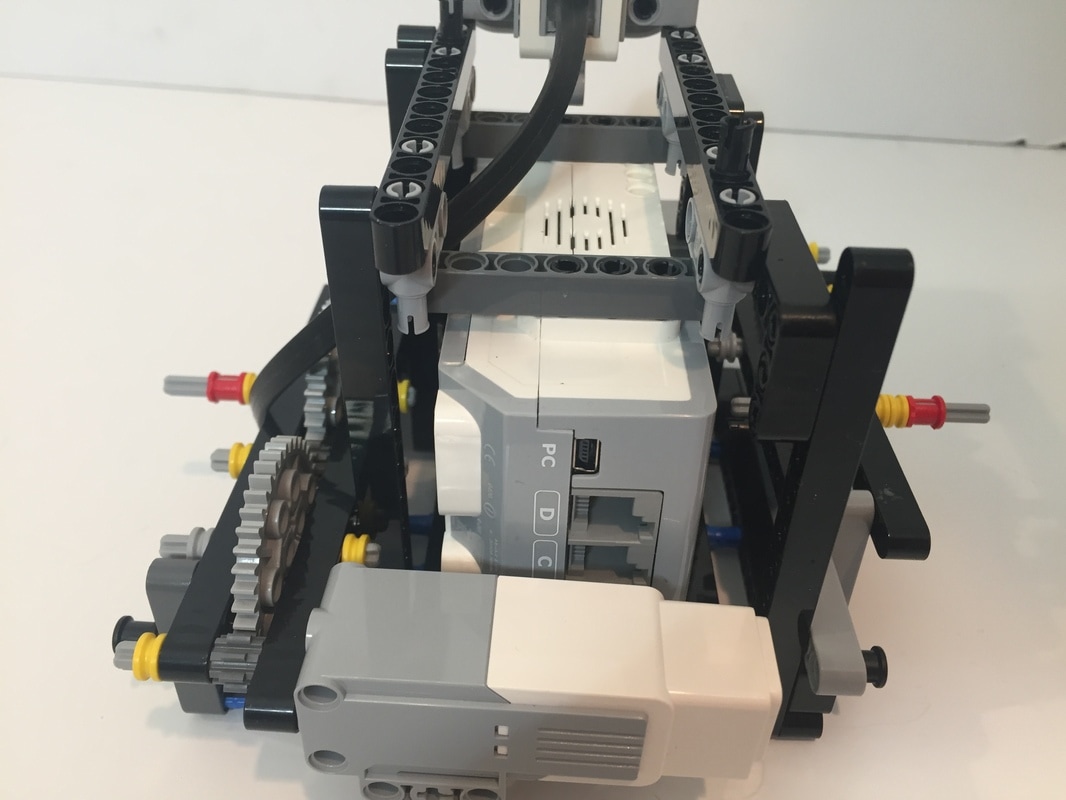

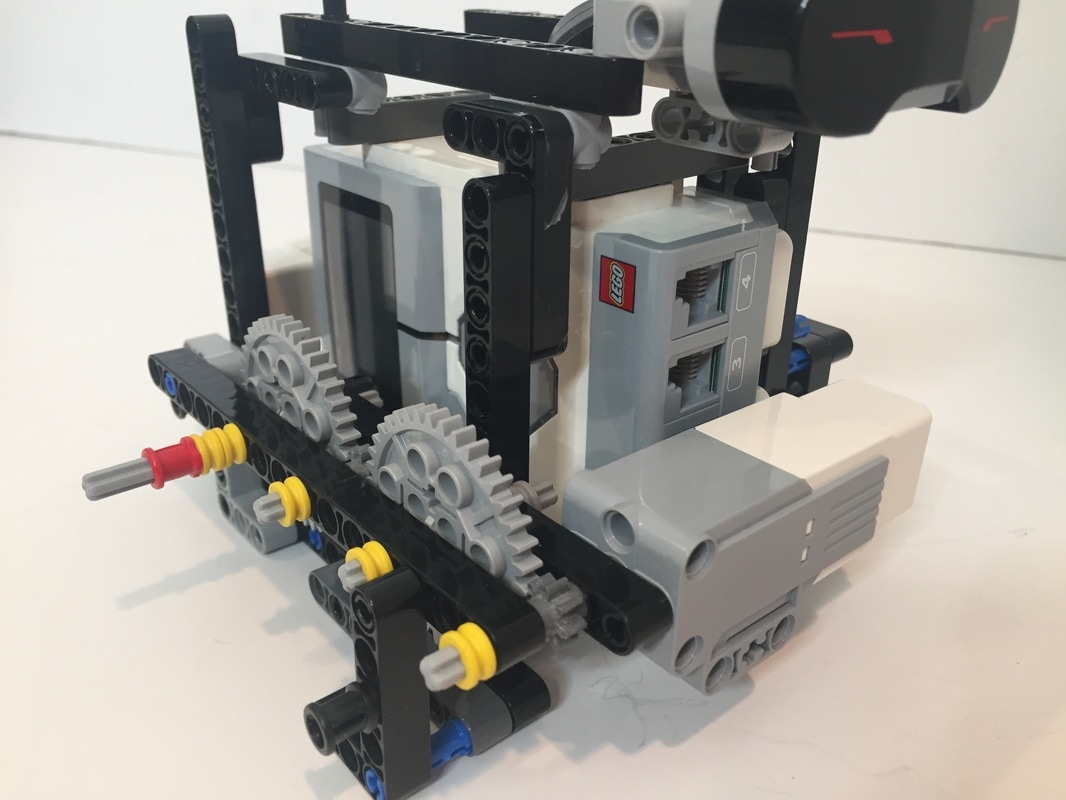
The IR cable plugs into Port 4 at the top.
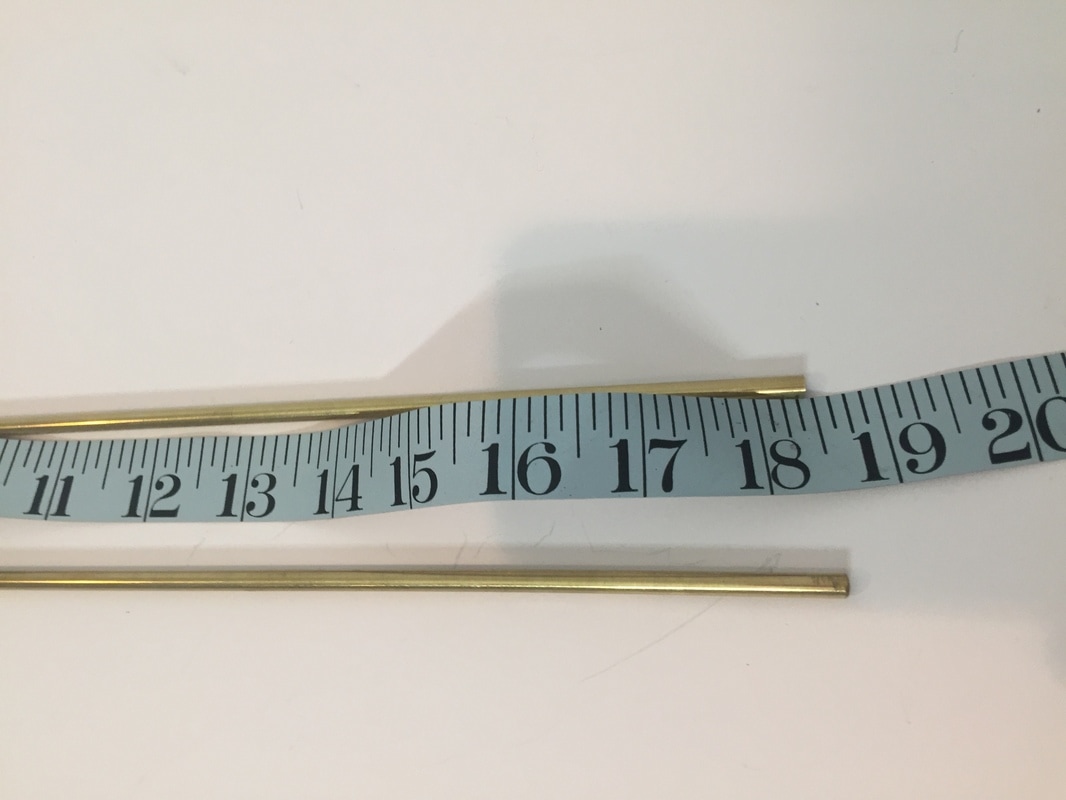
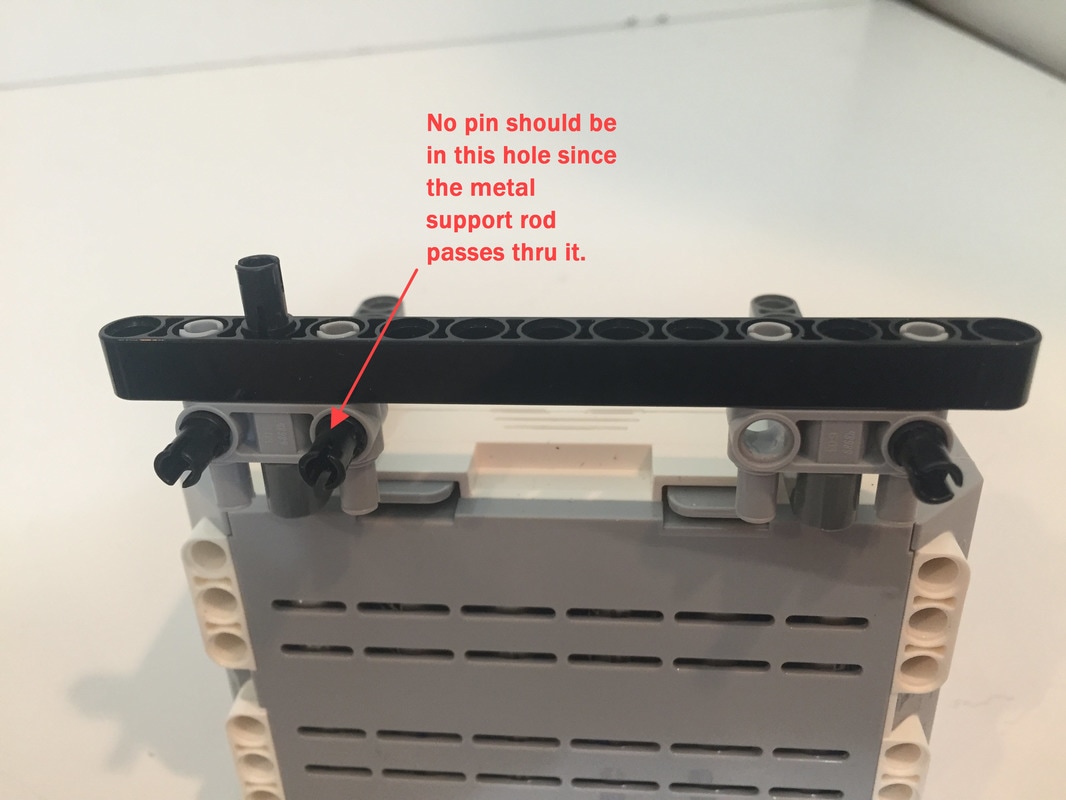
I cut the 3/16" metal support tubes to 18 inches. Be sure to file down the cut so that it passes thru the LEGO holes easily.
Below shows the frame with the legs mounted. You can find the instructions for building the legs here.
Below shows the frame with the legs mounted. You can find the instructions for building the legs here.
You can find more details on building the below outer frames here.
Please see these instructions to build the legs and cranks.