LEGO Jumpers and Hoppers
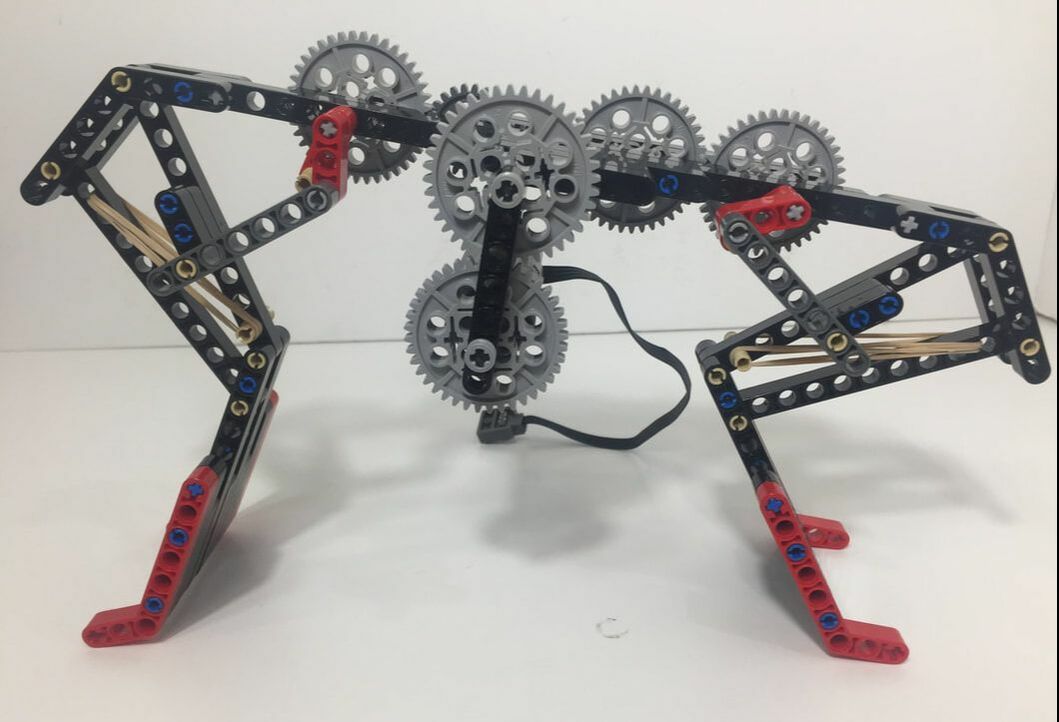
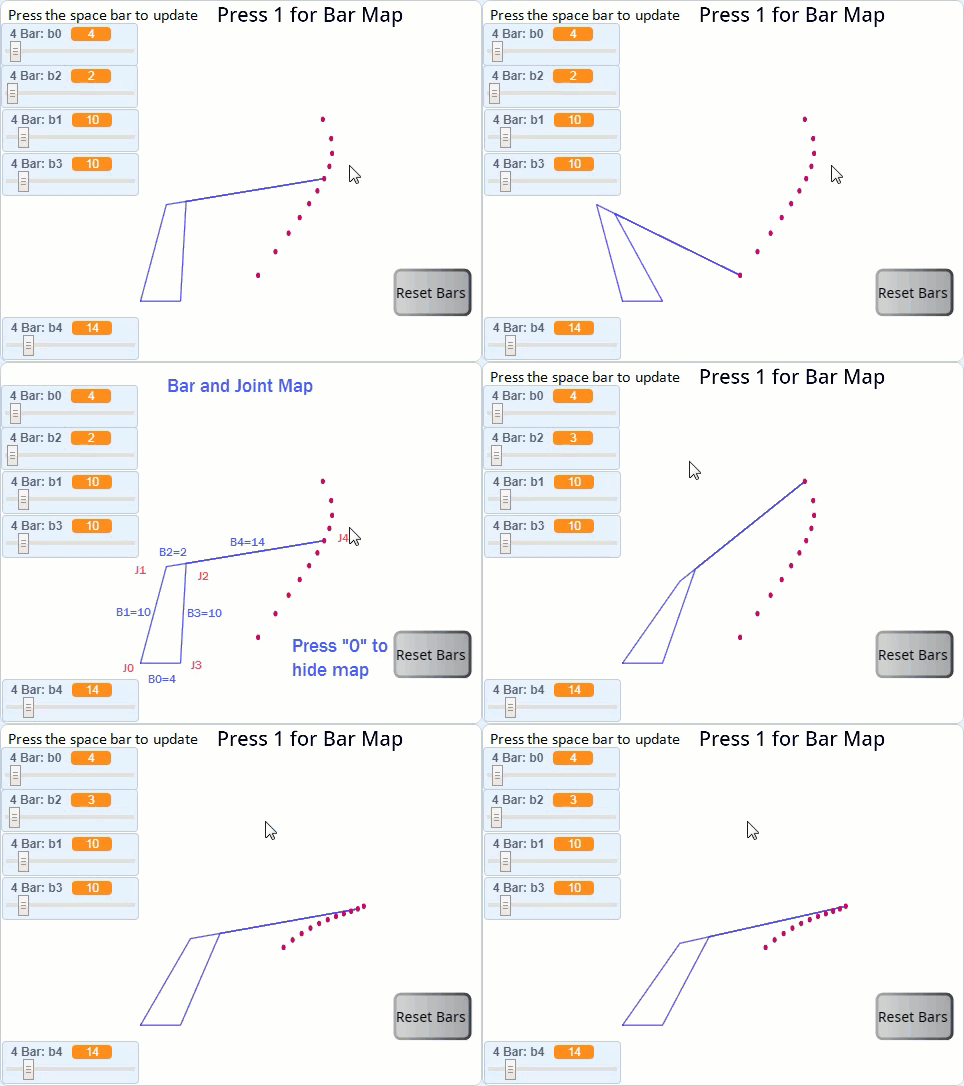
These Jumpers use the same type of double-rocker 4-bar linkage as LEGO Punchers use, angled to push down to drive the mechanism up. They can also be modified to hop in a direction by changing the angle that the linkage is attached to the frame, or by changing the lengths of the linkage's bars as simulated below:
Jumpers can also be made to hop directionally by adding angled toes and orienting the front and back legs in the same direction, as can be seen in the following video:
And they can be made to do backflips by adding more power to the front leg while limiting the back leg's movement:
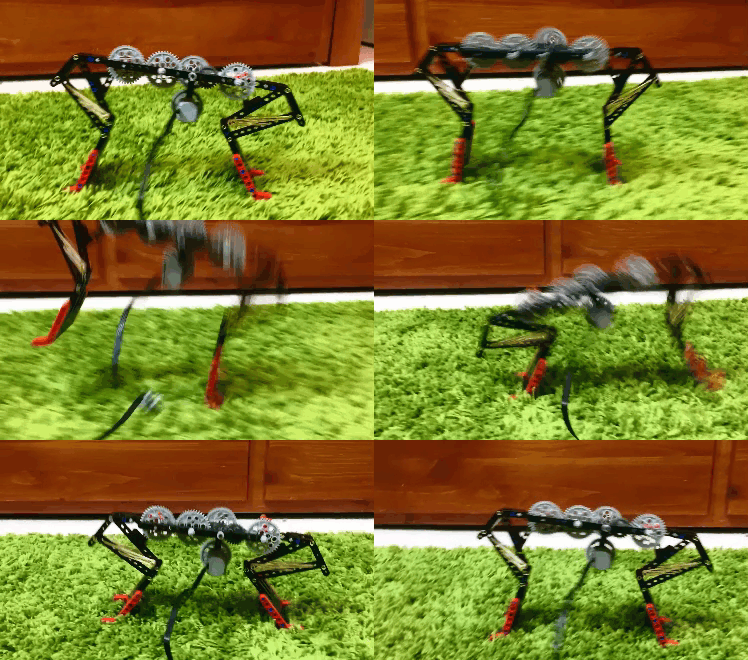
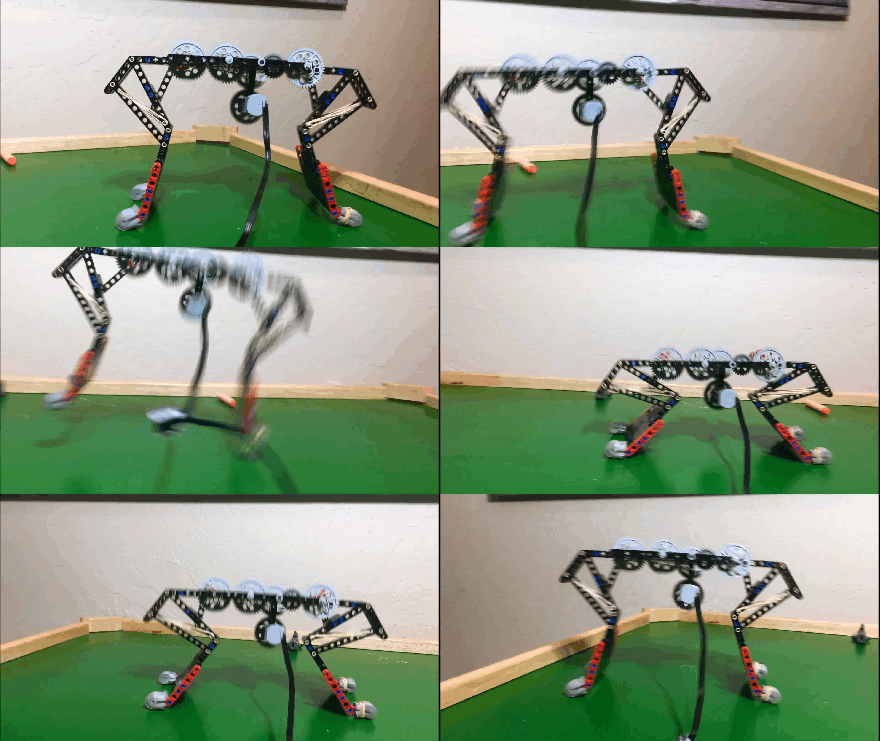
Jumpers can also be motorized, and by delaying the front leg's jump they can be made to hop forward:
NOTE: the foam on the above feet is weather stripping from our local hardware store.
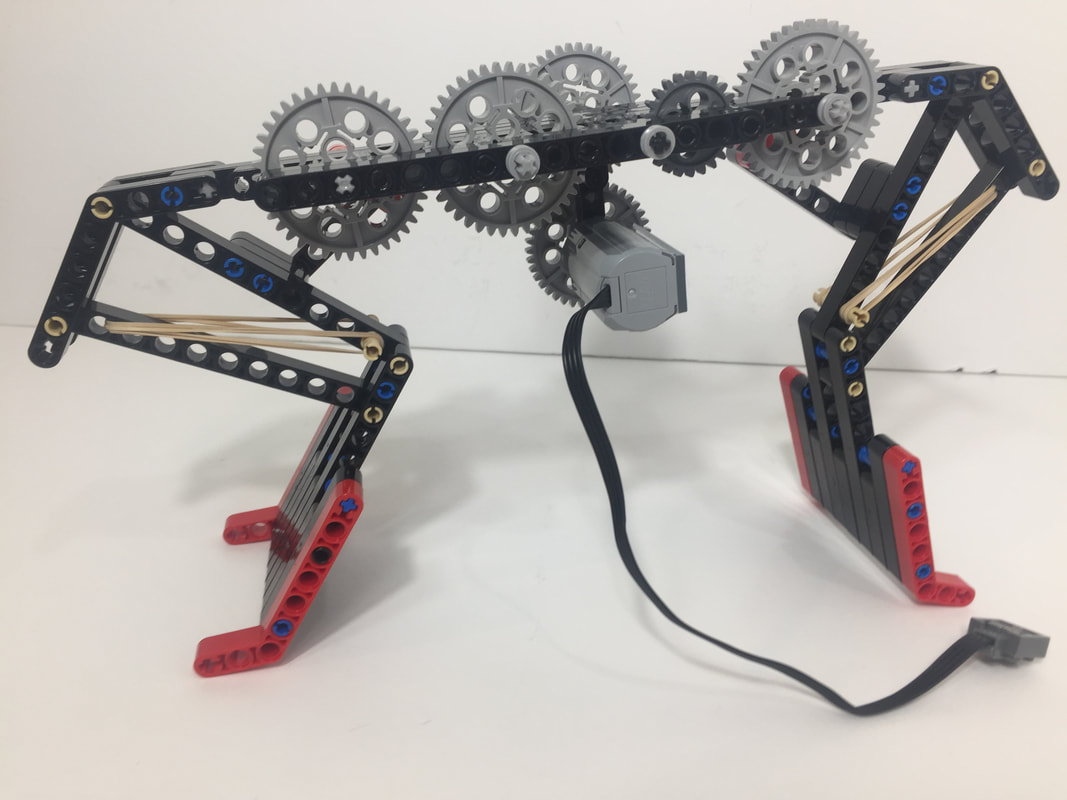
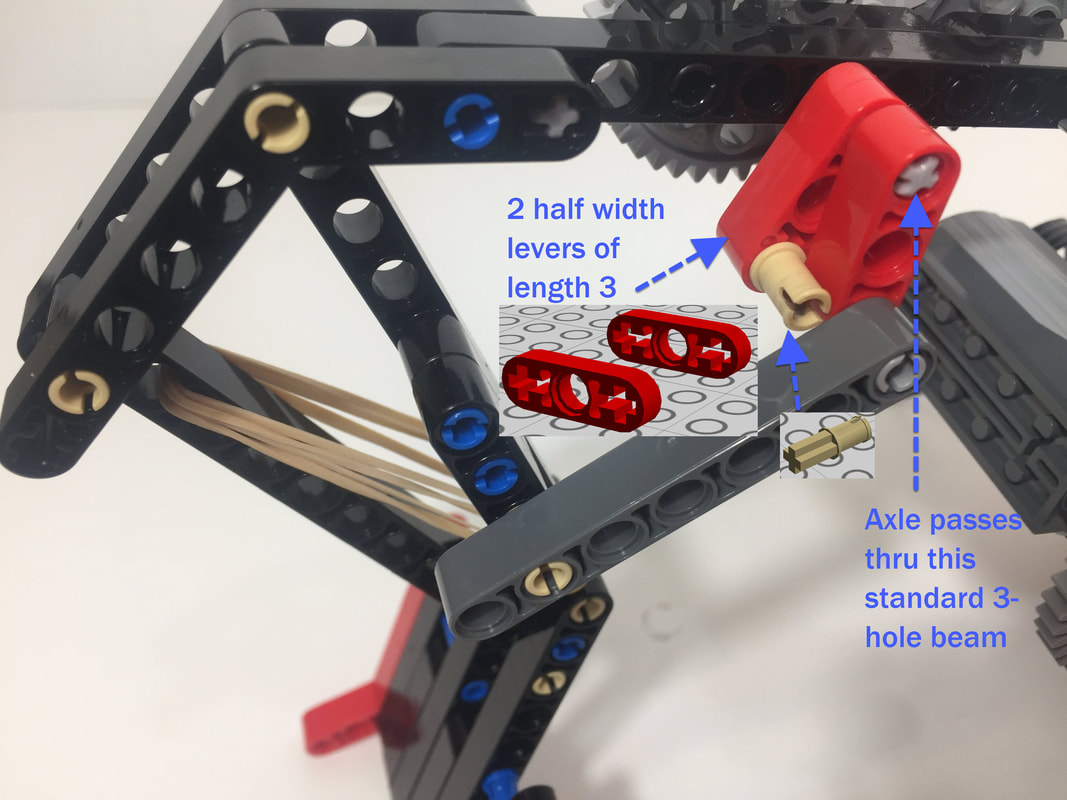
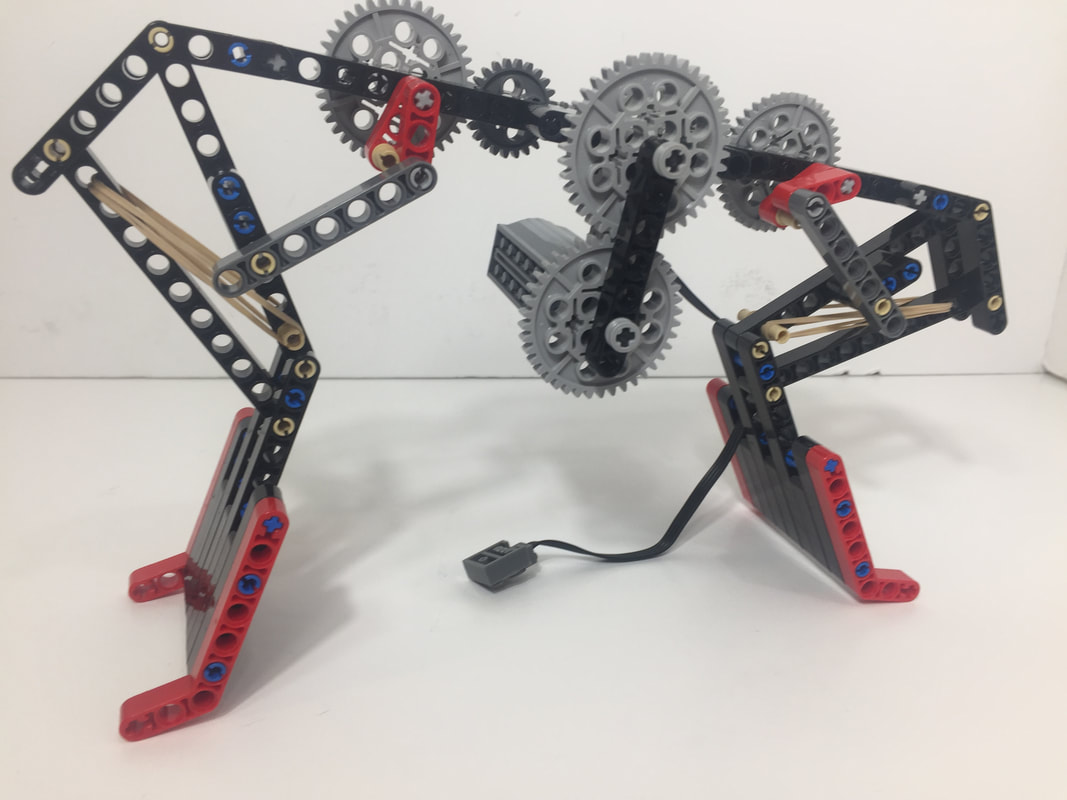
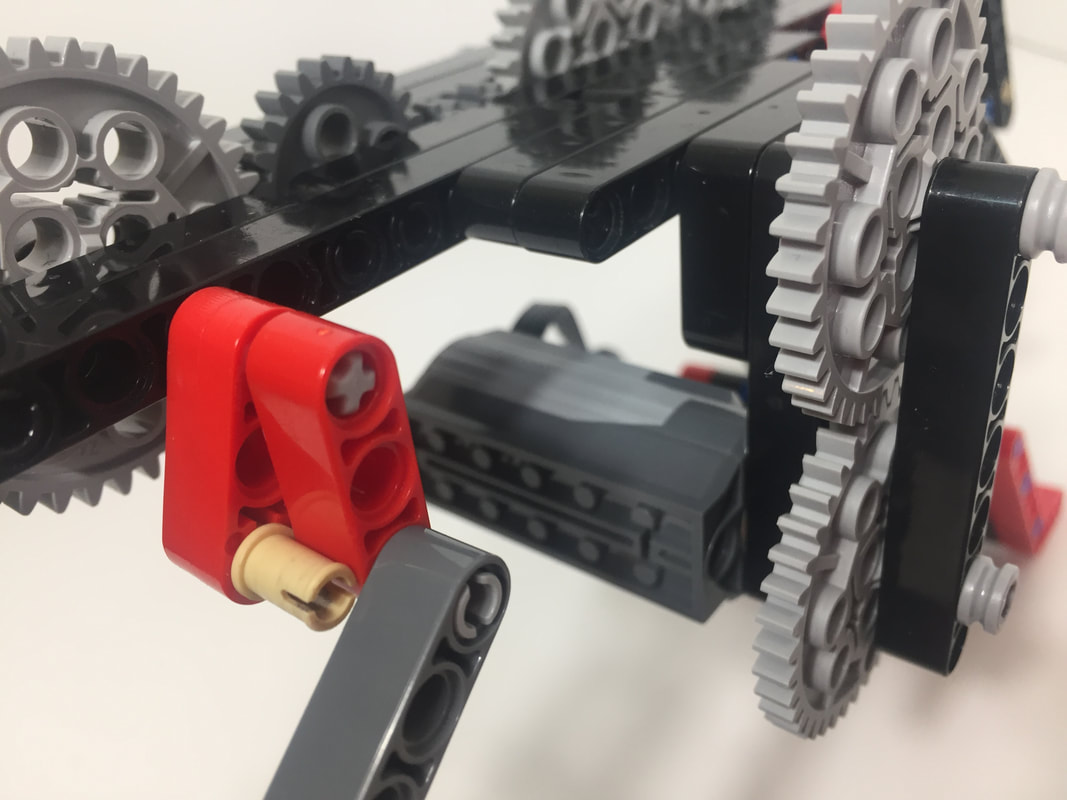
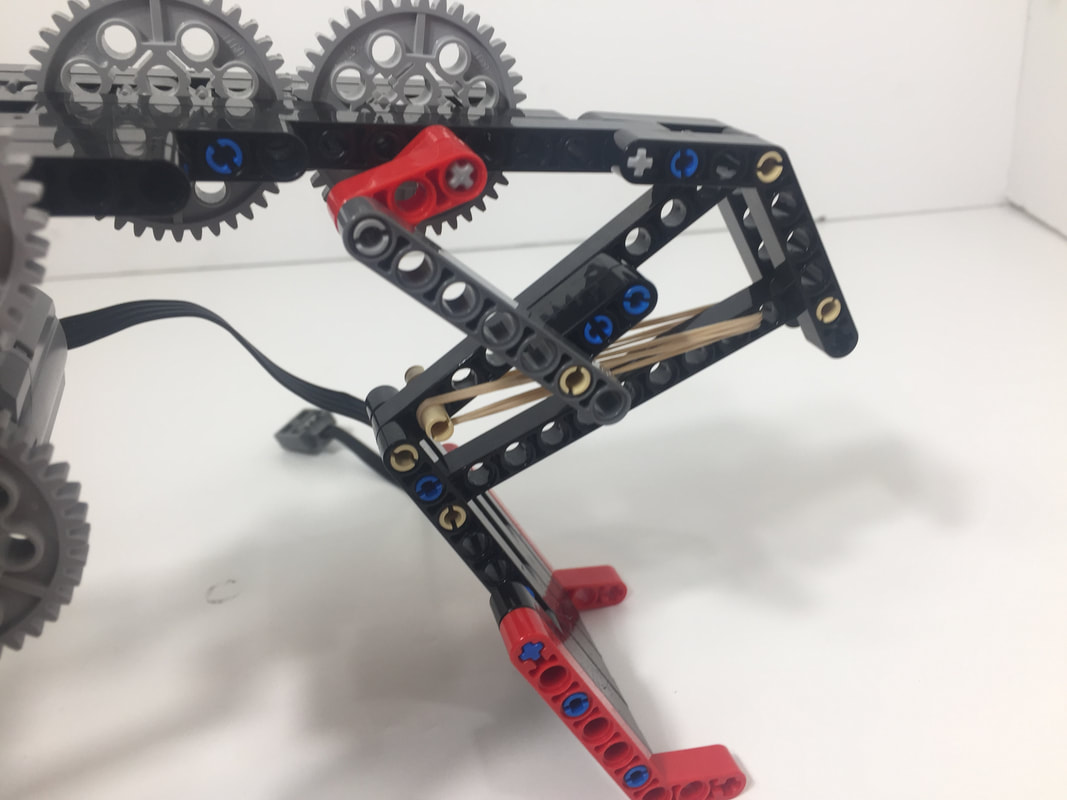
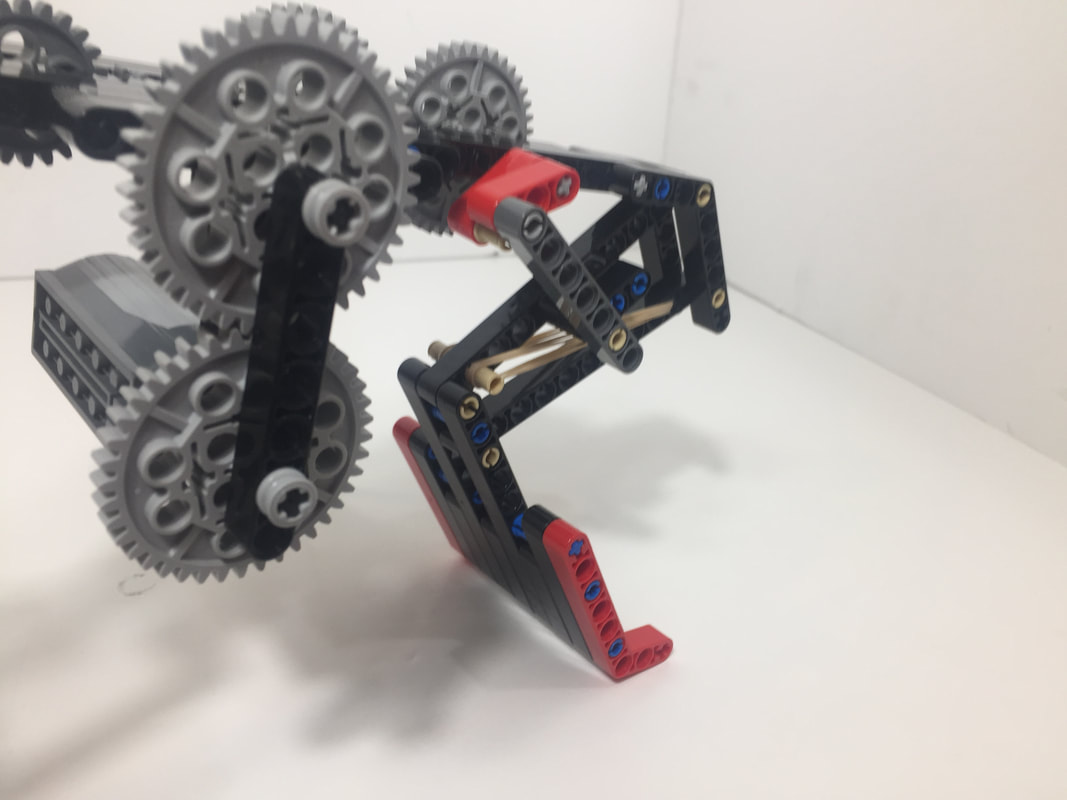
These prototypes were motorized by linking the crank to the leg with a 6th bar, which allows the robot to hop both forward and backward. However, this doesn't allow the knee to bend when the robot lands due to the 6th bar and crank being at a dead point when the leg is extended. To avoid dead points, the crank could be positioned to partially rotate the leg without using a 6th bar, perhaps by using a cam-shaped part for the crank to function as a trigger that would partially rotate an extension of the leg, and then release it suddenly.
These prototypes were motorized by linking the crank to the leg with a 6th bar, which allows the robot to hop both forward and backward. However, this doesn't allow the knee to bend when the robot lands due to the 6th bar and crank being at a dead point when the leg is extended. To avoid dead points, the crank could be positioned to partially rotate the leg without using a 6th bar, perhaps by using a cam-shaped part for the crank to function as a trigger that would partially rotate an extension of the leg, and then release it suddenly.
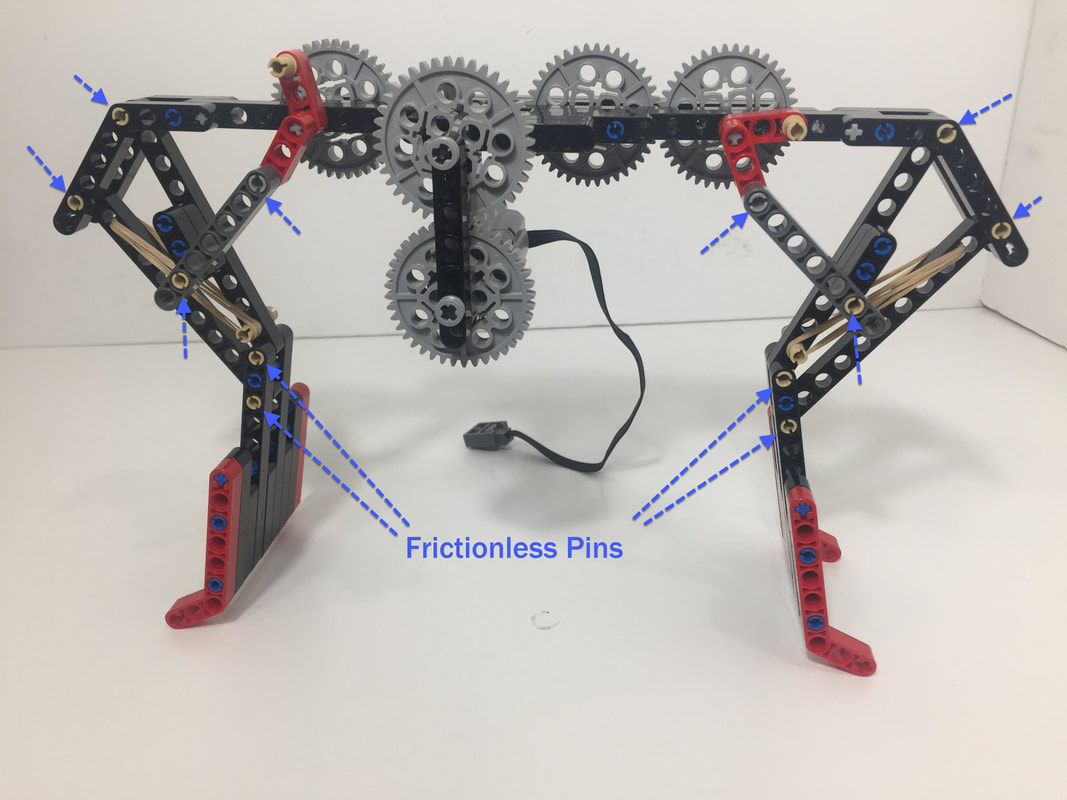
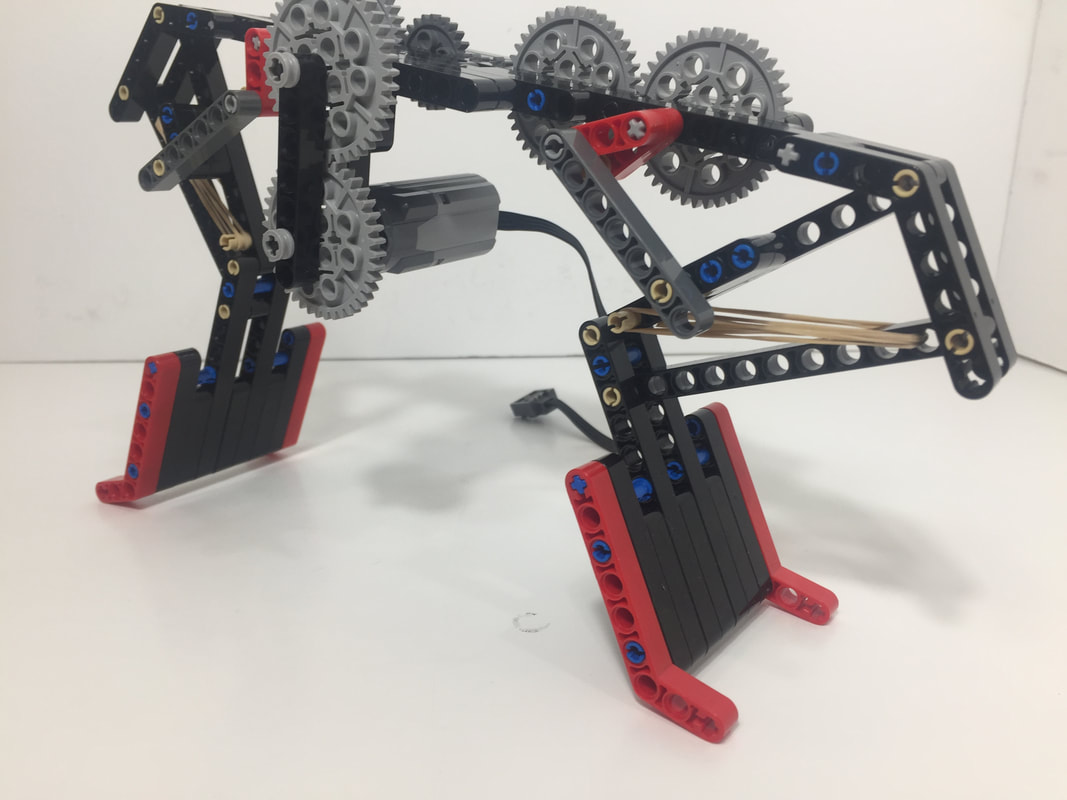
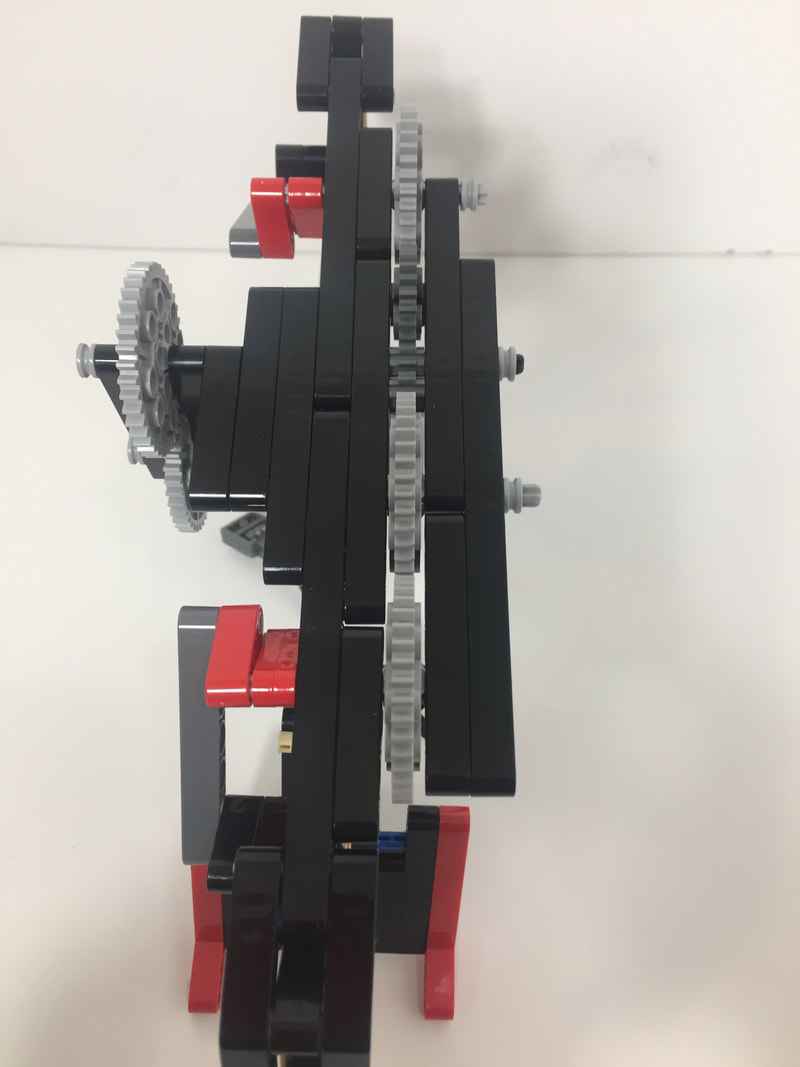
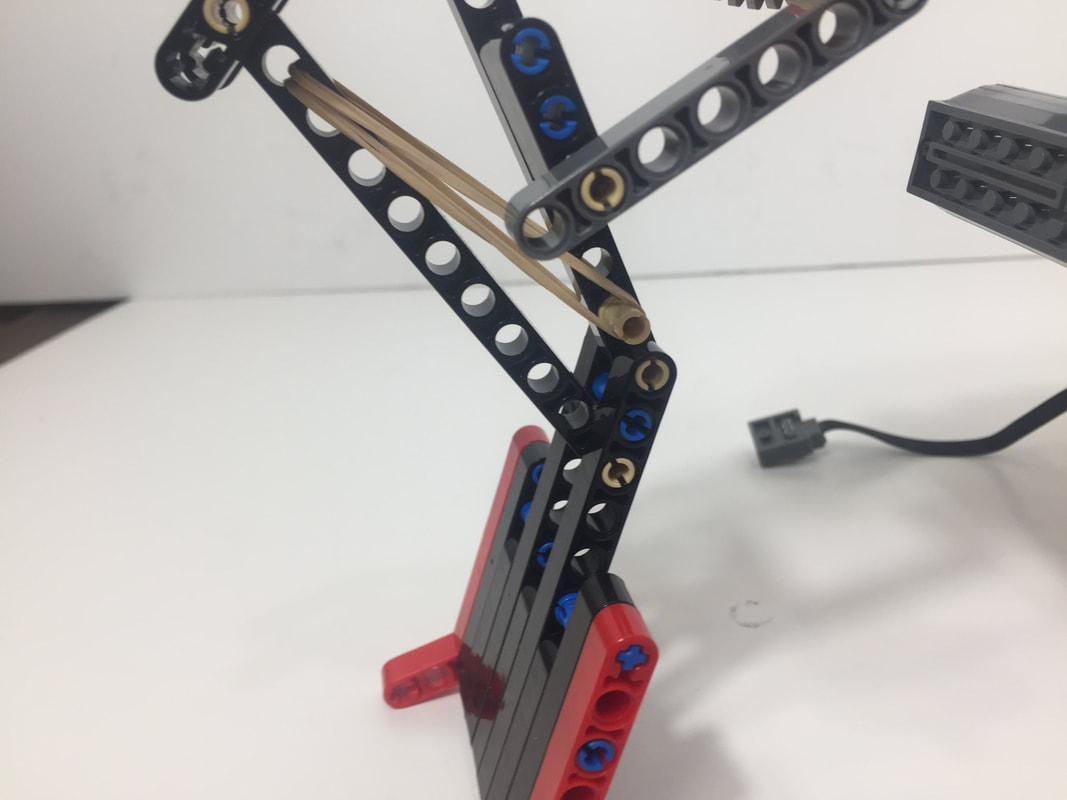
This is more of a test of the concept of hopping rather than a robust hopping robot, and it could be improved a lot. If we dial it in then we'll post some detailed building instructions. For now, you can find some pictures of this build from various angles below.
Below is a simulator for testing how changing bar lengths affects the linkage. After changing a bar's length, click somewhere other than a slider bar and then press the space bar to see the new linkage, and use your keyboard's left/right arrows to rotate the crank.
Build Pictures
Be sure to use the beige frictionless pins for leg joints that move!
For greater stability, increase the width of the feet, and add foam tape to the toes to dampen impacts (we used foam weather stripping in the above videos)

