LEGO Punchers
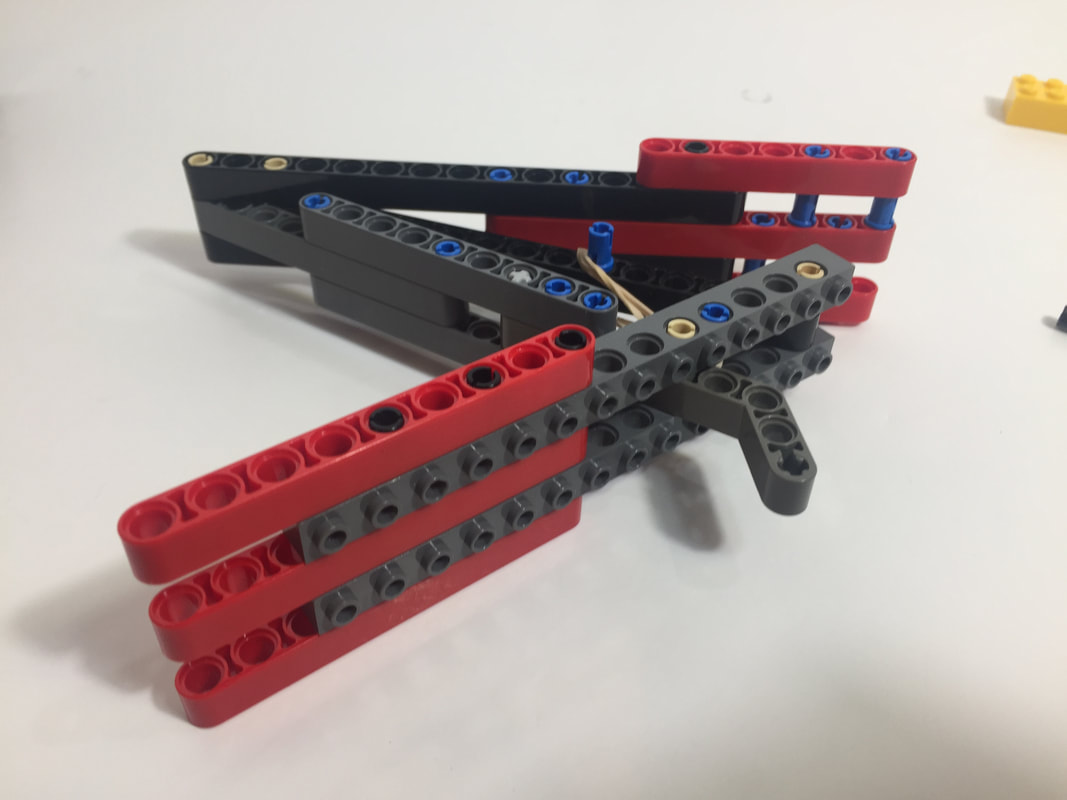
A 4-Bar Linkage Optimized for Punching
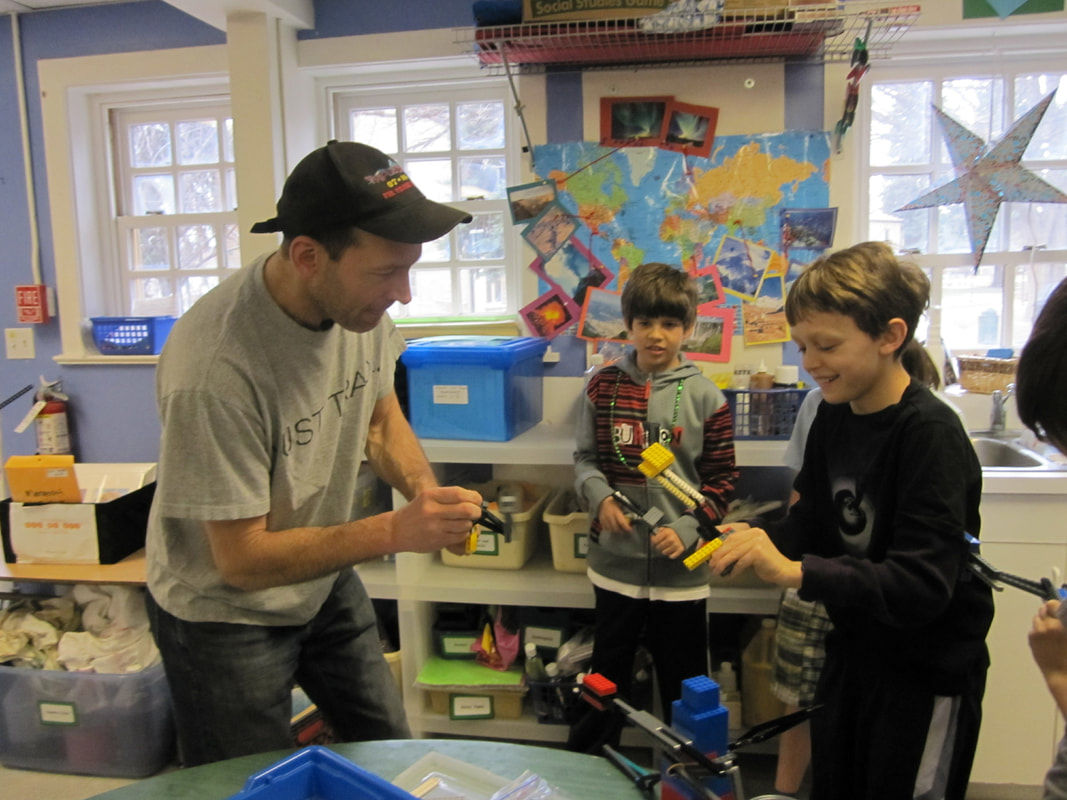
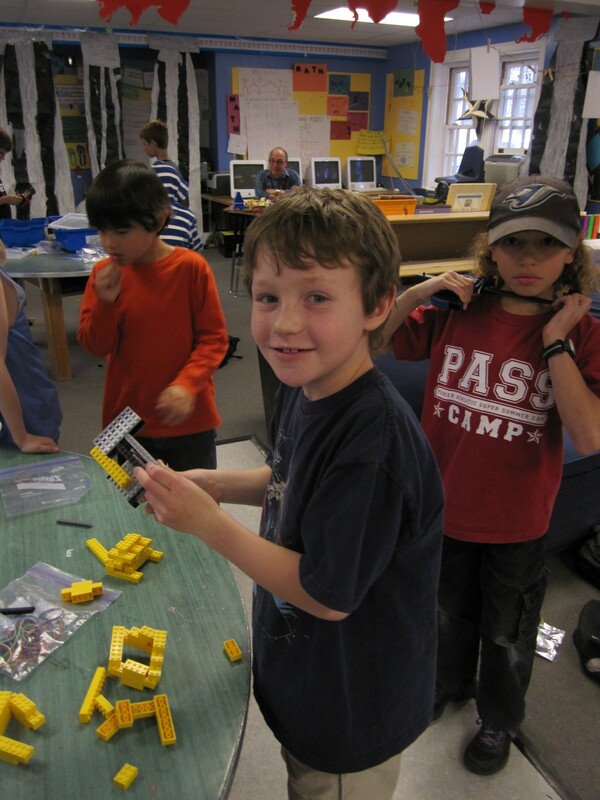
Battling is fun, and guarantees that students will innovate to win
Note: Students should wear eye protection when battling with punchers
These punchers can also be motorized, but this requires converting the circular motion of the motor to oscillation. This can be done by programming a servo motor to do a partial rotation, or by adding a crank and a 6th bar to the mechanism as done in the following video:
Motorized punchers could also be added to mobile robots to create a type of "Boxing Bot", but the robot's frame would need to be strengthened to handle the puncher's oscillating force. If you were to play with this idea, I recommend using shorter beams to reduce the weight and inertial forces generated by the punching action.
Also, Boxing Bots may be a better application for an EV3 build, since the weight of the brick would help to absorb the inertial forces generated by the punching action.
Also, Boxing Bots may be a better application for an EV3 build, since the weight of the brick would help to absorb the inertial forces generated by the punching action.
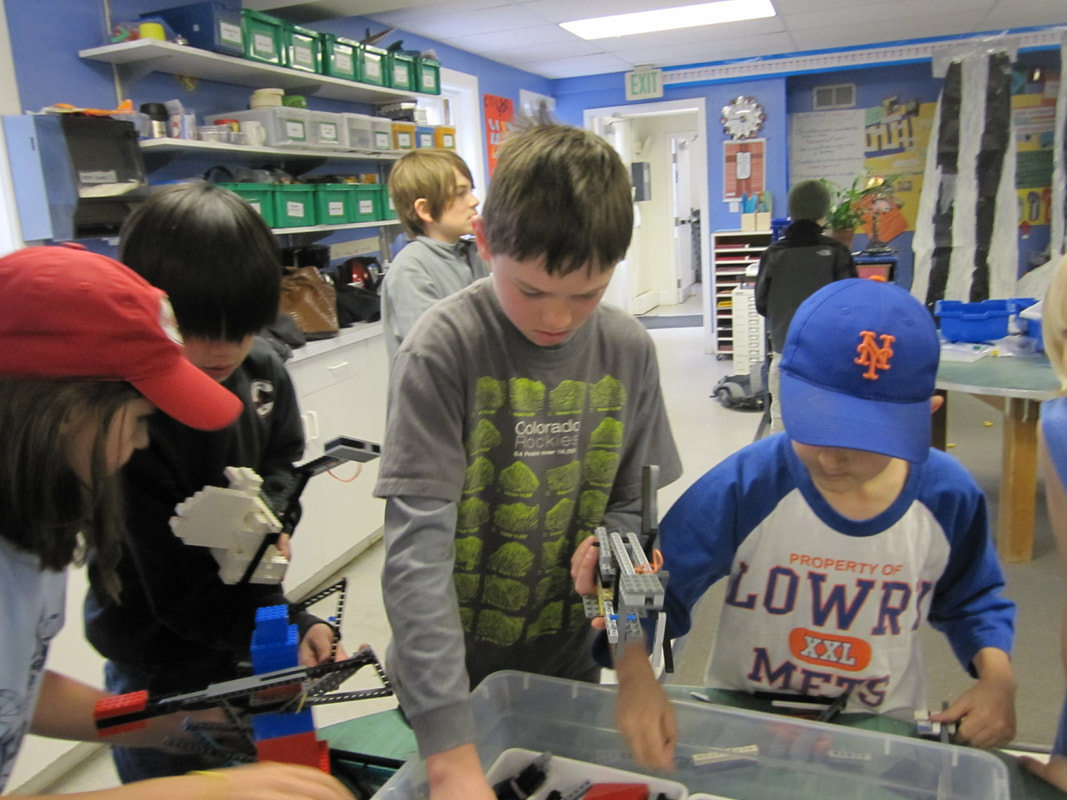
Racing to Build the Champion Puncher
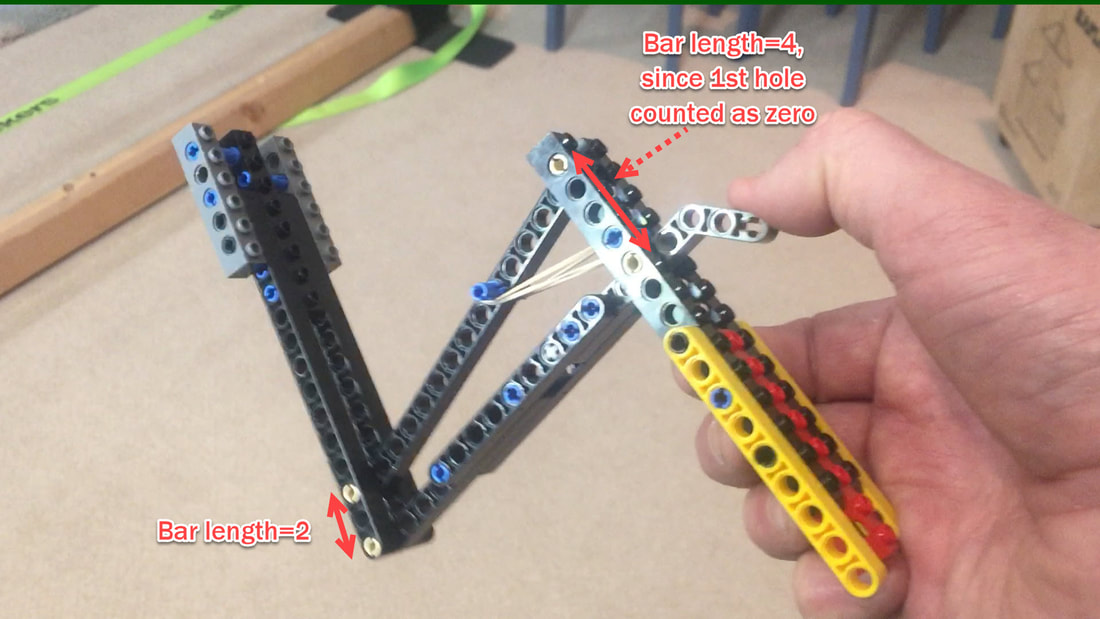
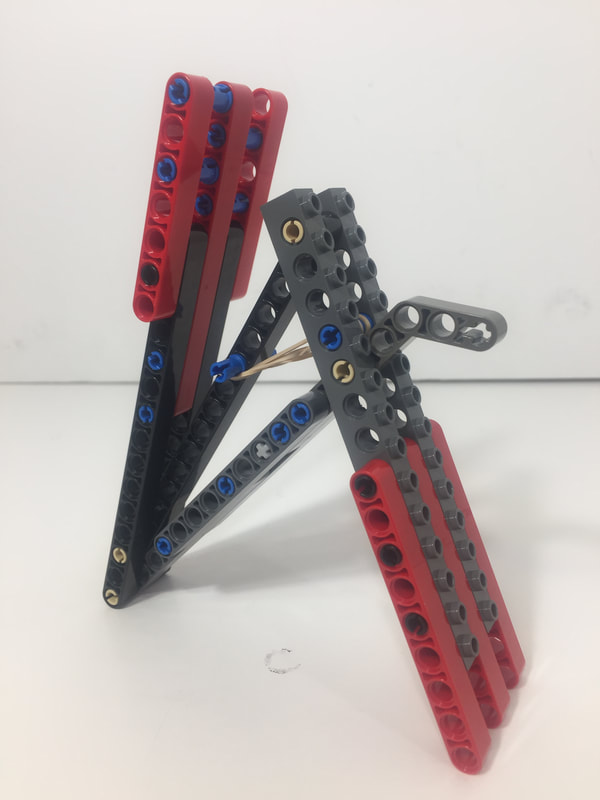
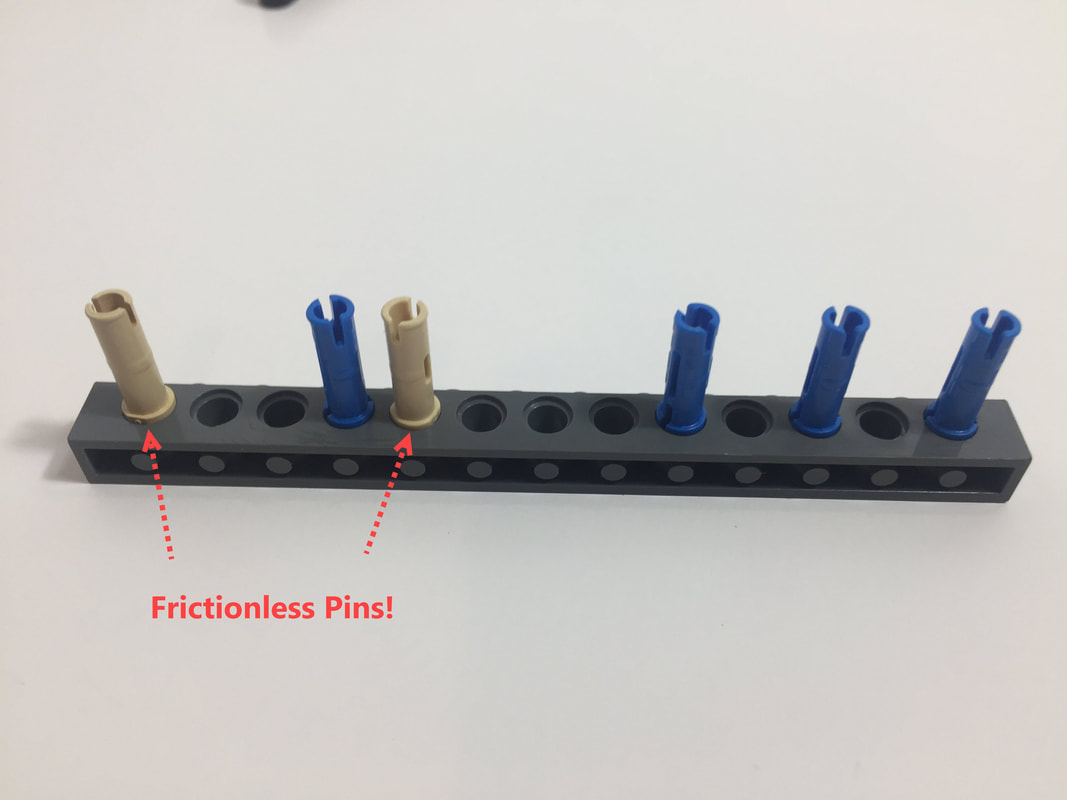
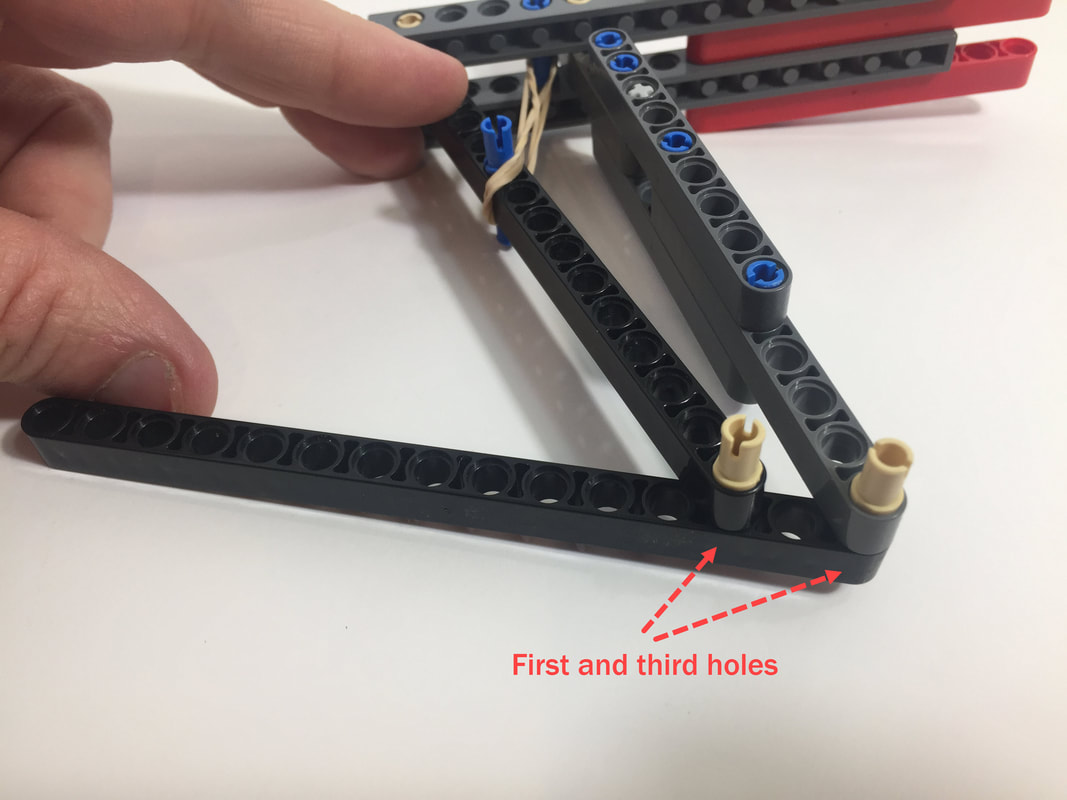
These punchers use a basic 4-bar linkage that students can easily modify to improve performance, which is easiest to do before adding the 2nd side of both the handle and the 4th bar. Alternatively, you can test changes with the simulator below - but remember that when determining the length of LEGO beams to enter into the simulator, the first hole is always counted as zero as shown in the image above.
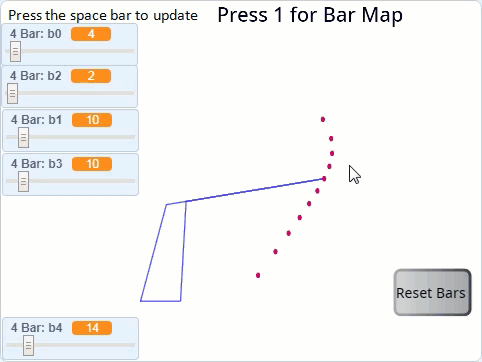
4-Bar Linkage Simulator for Optimizing LEGO Punchers
Below is the embedded simulator. After changing a bar's length, click somewhere other than a slider bar and then press the space bar to see the new linkage, and use your keyboard's left/right arrows to rotate the crank.
Below is the embedded simulator. After changing a bar's length, click somewhere other than a slider bar and then press the space bar to see the new linkage, and use your keyboard's left/right arrows to rotate the crank.
Building Instructions

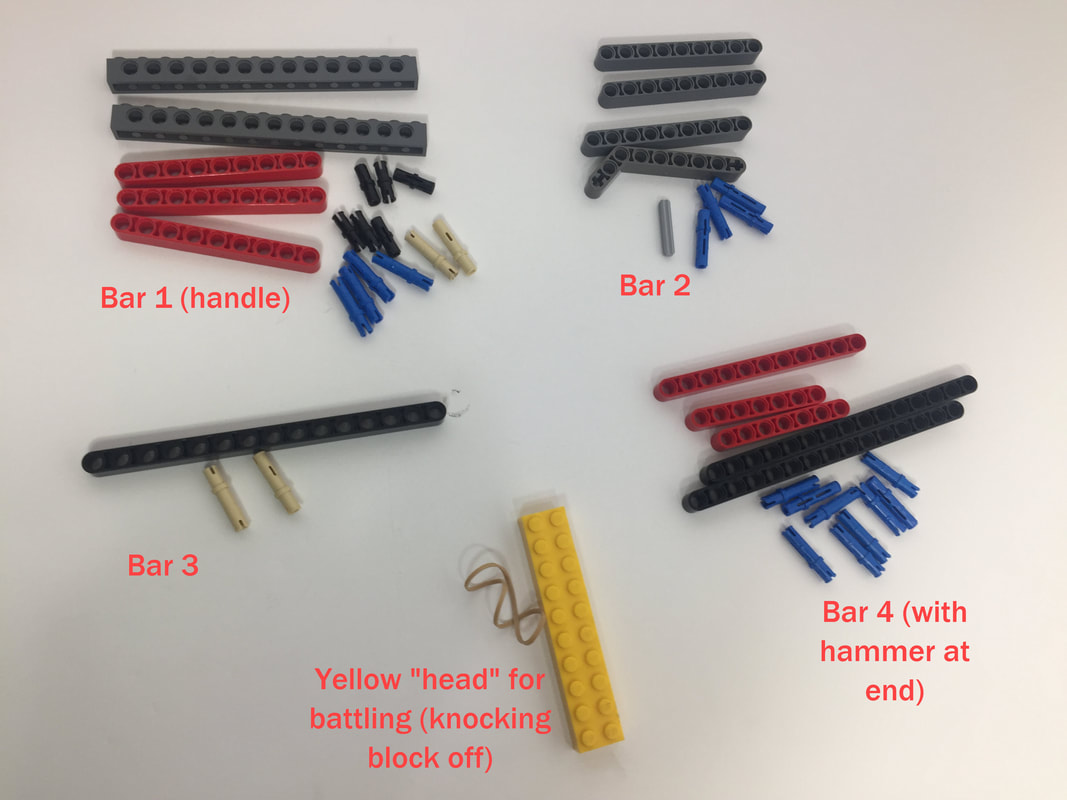
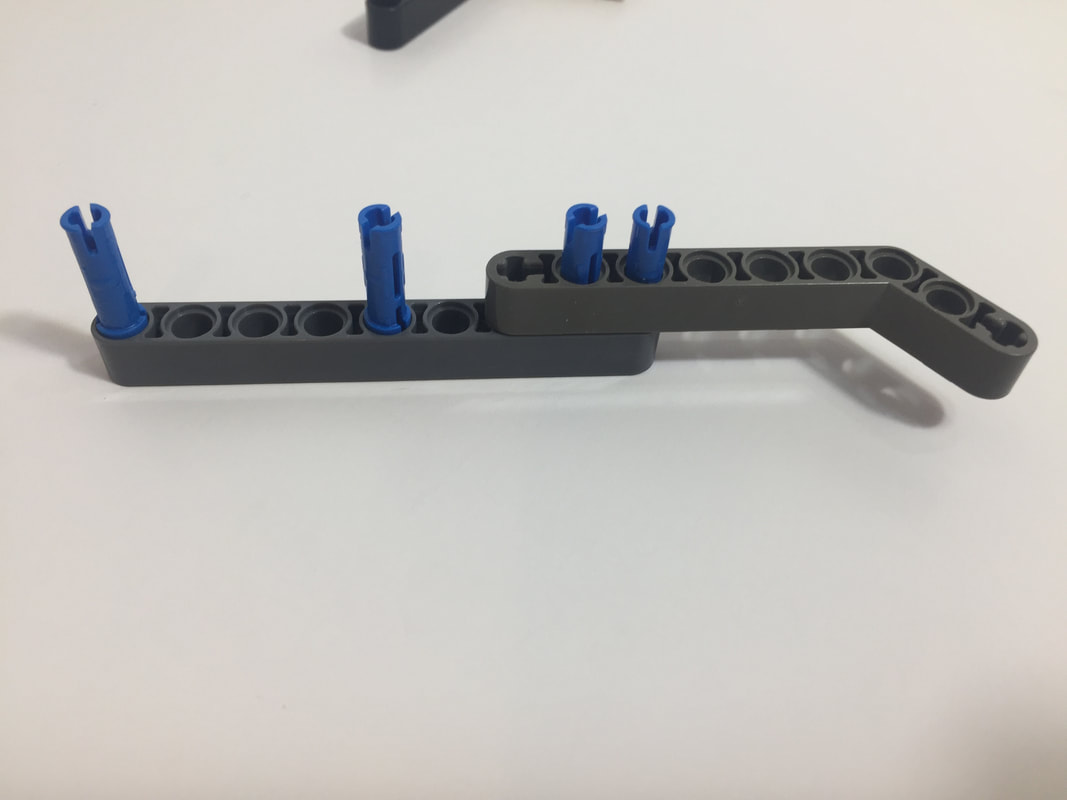
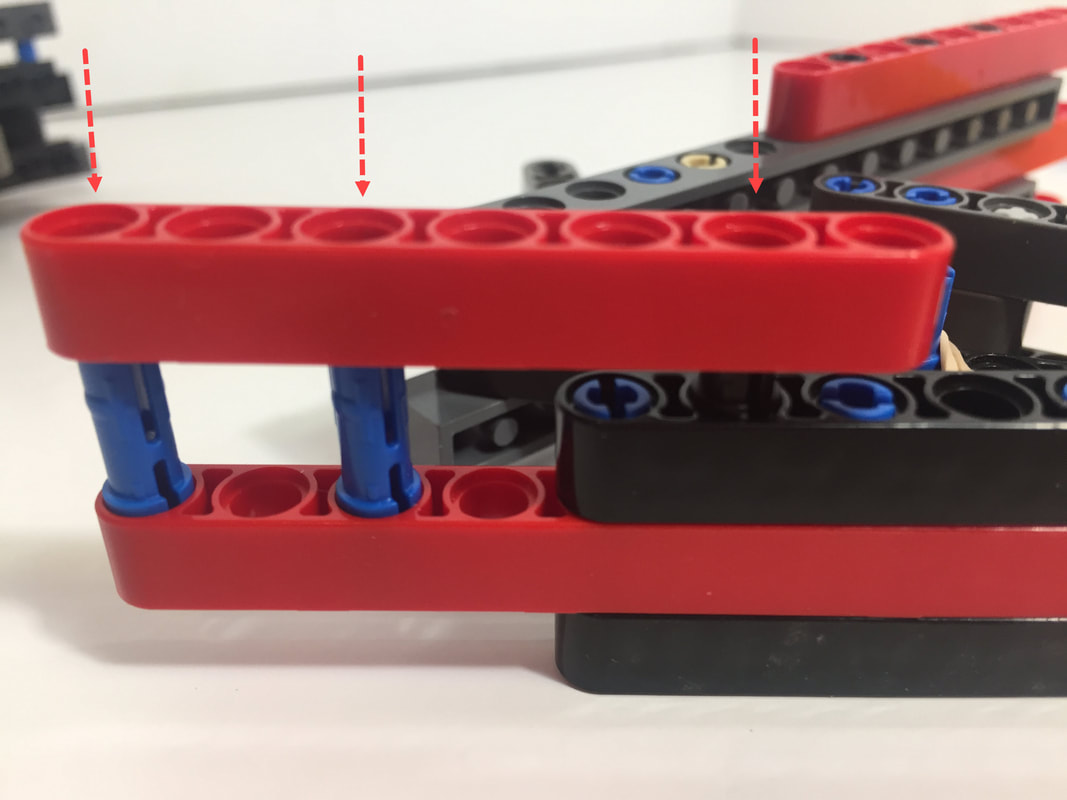
Let's start by building Bar 2:
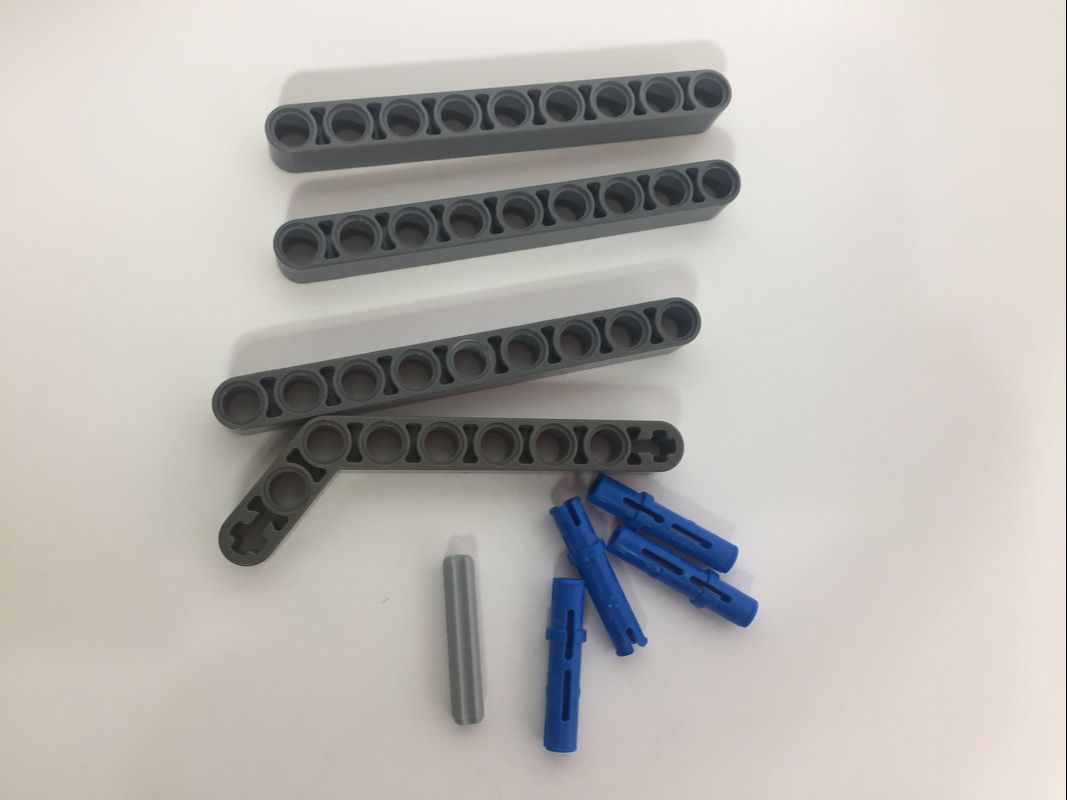
Bar 2's Parts
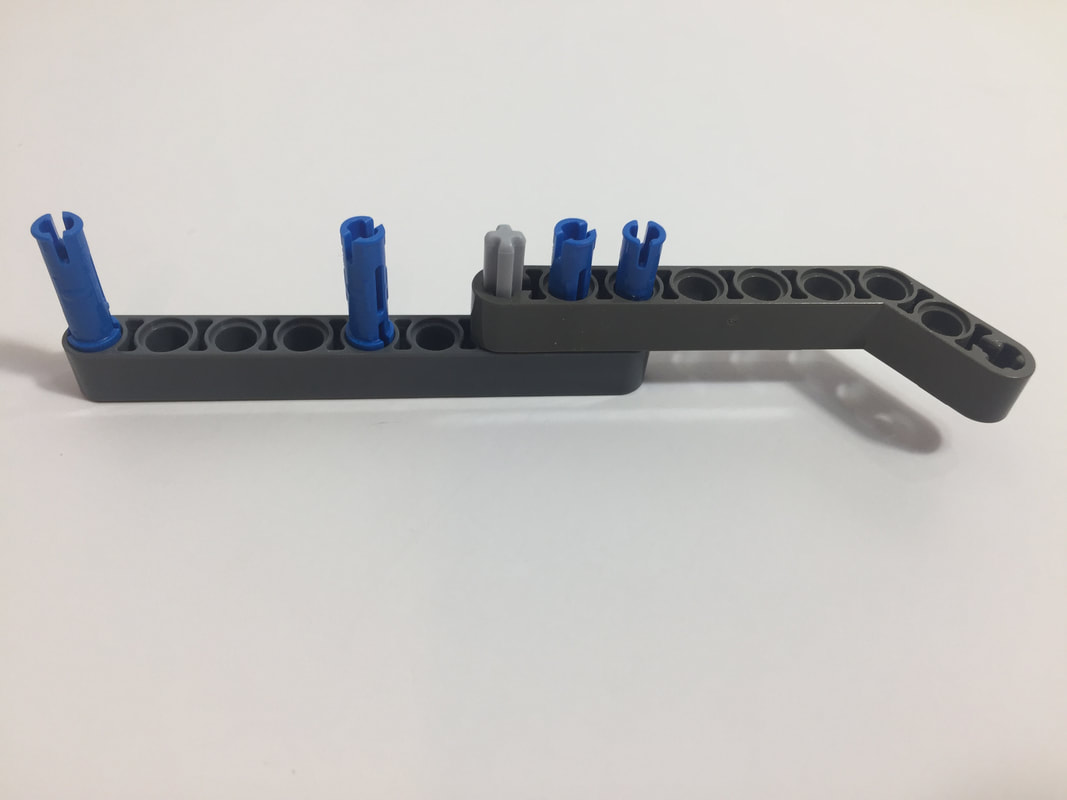
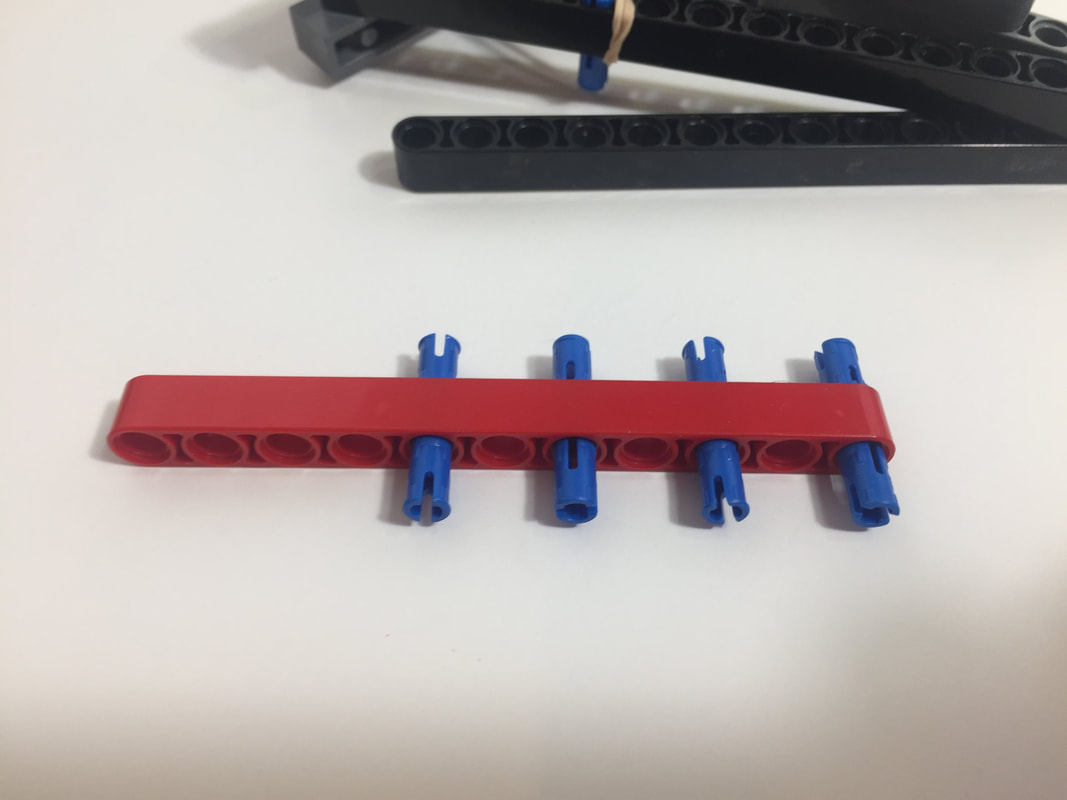
Next, we'll build Bar 1, the handle:
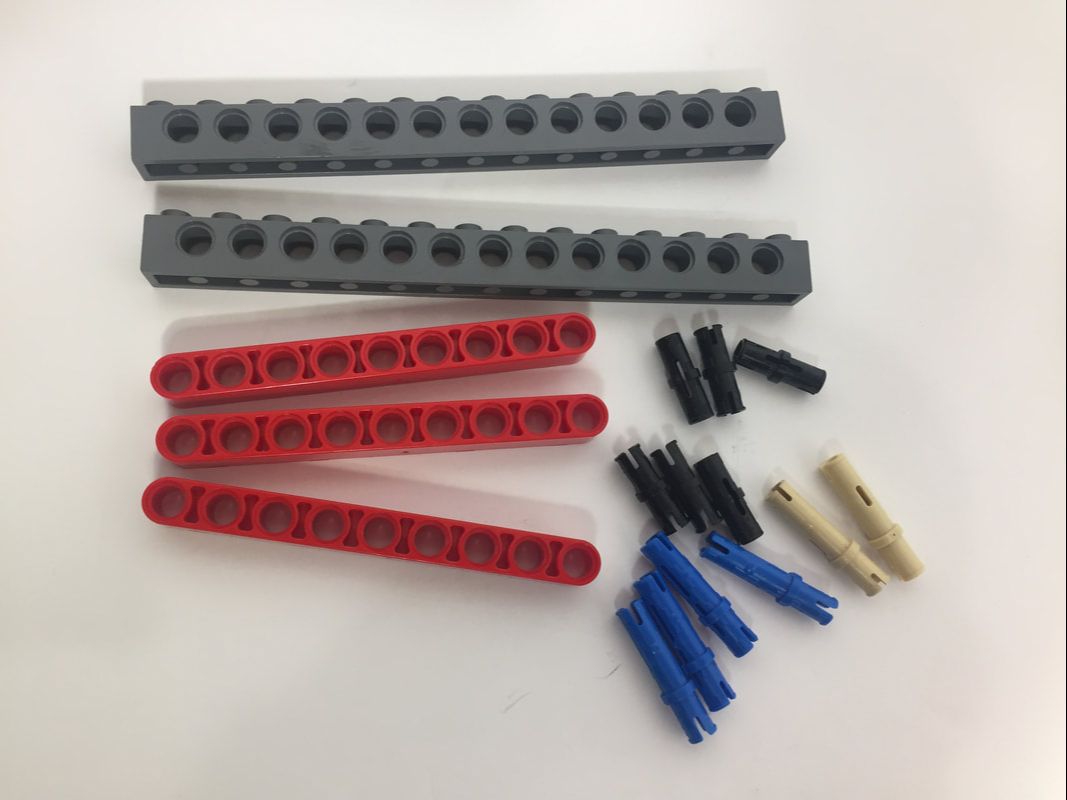
Bar 1's Parts
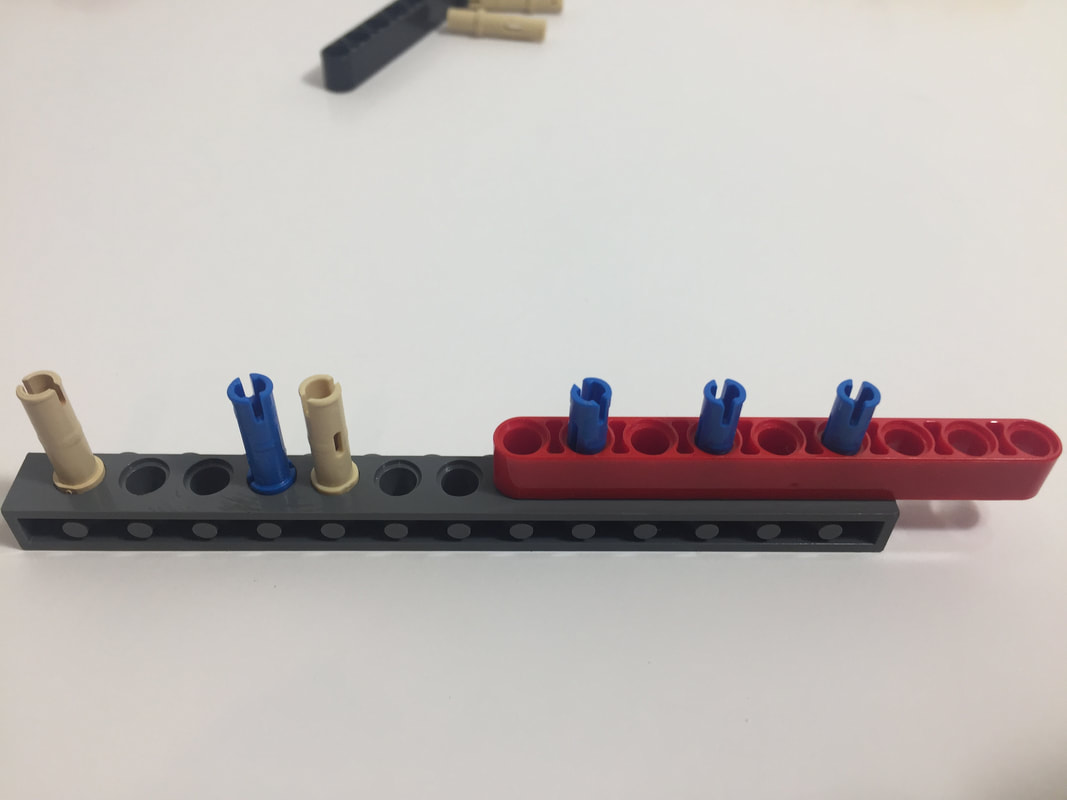
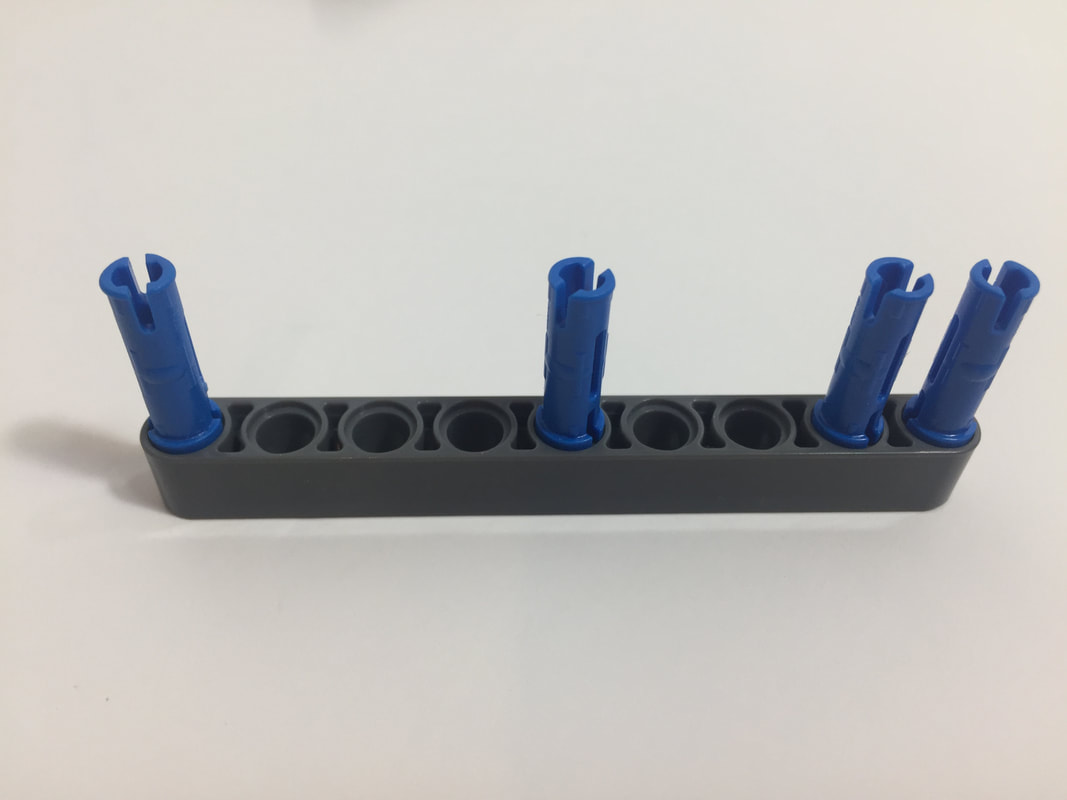
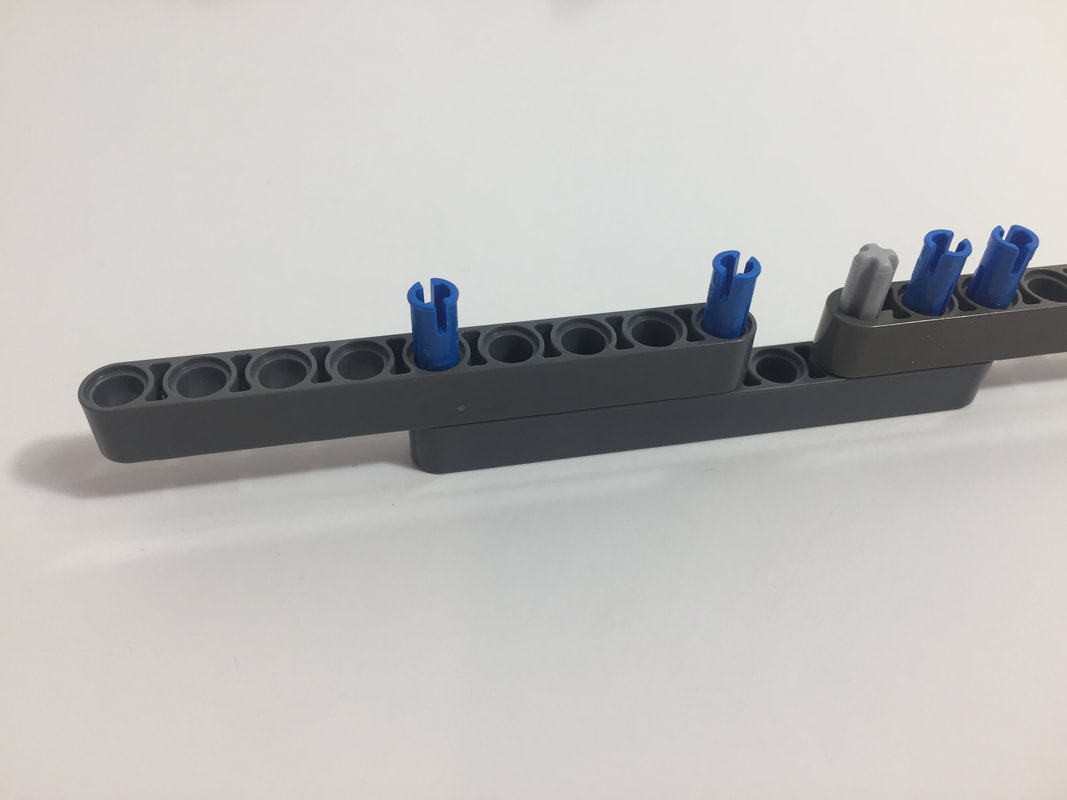
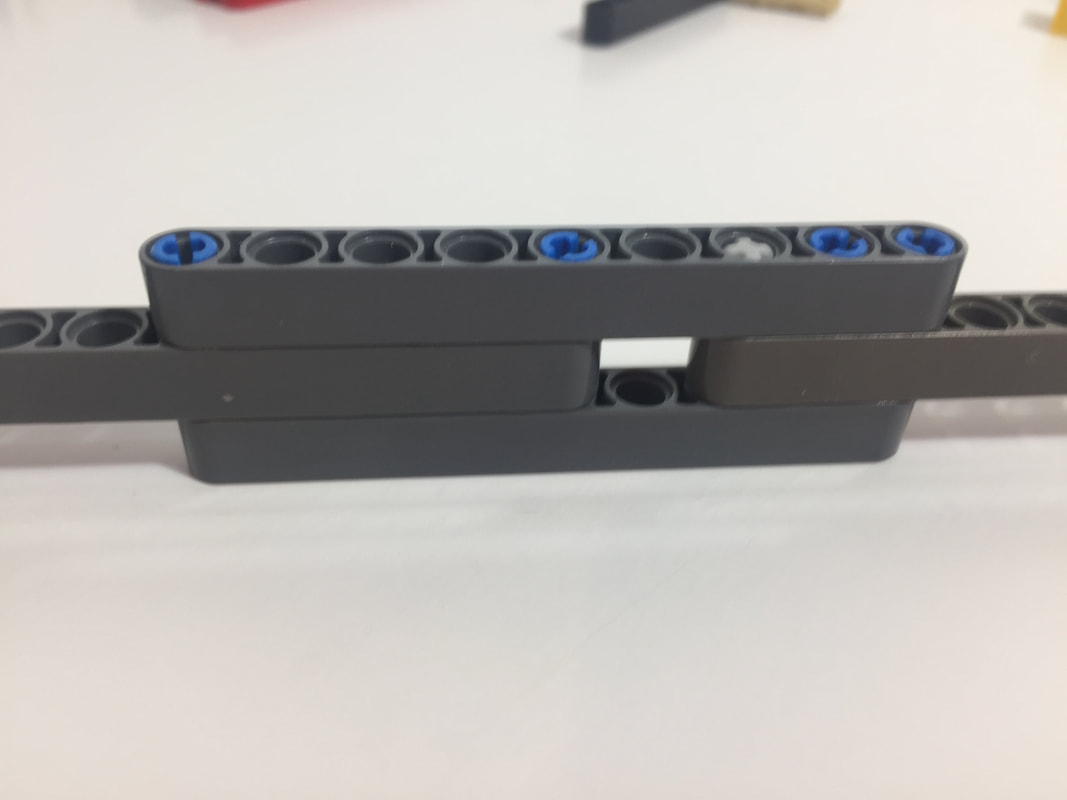
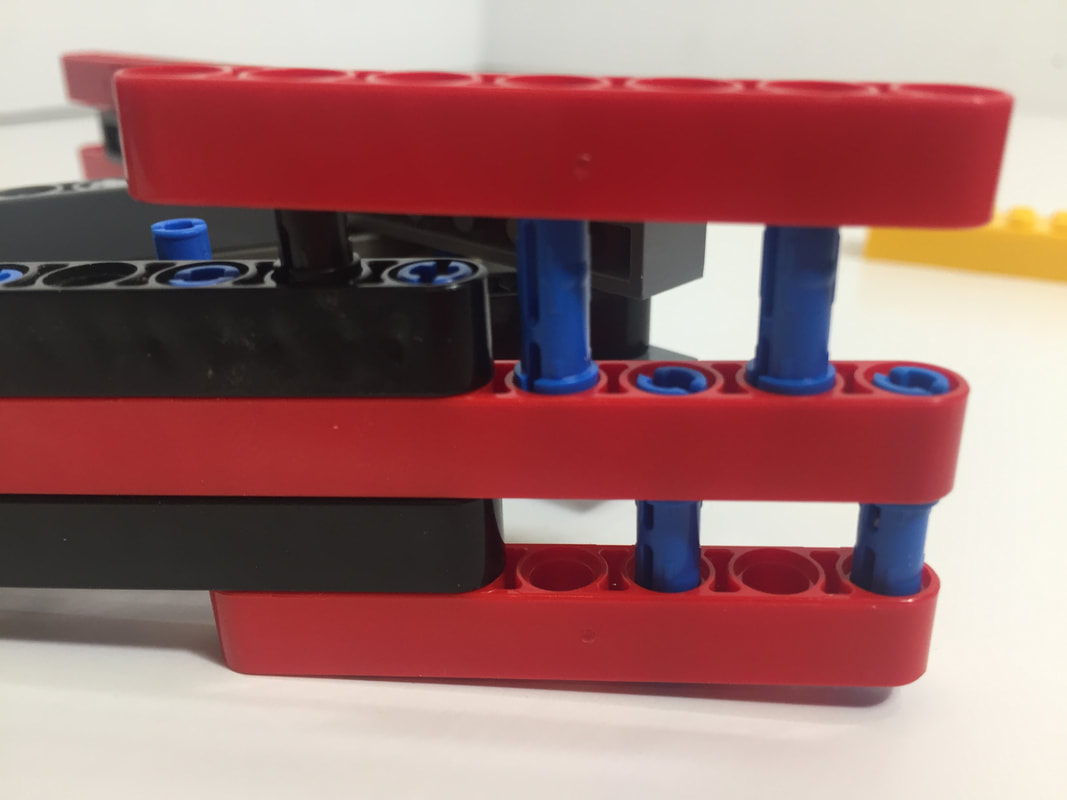
Next, attach Bar 2:
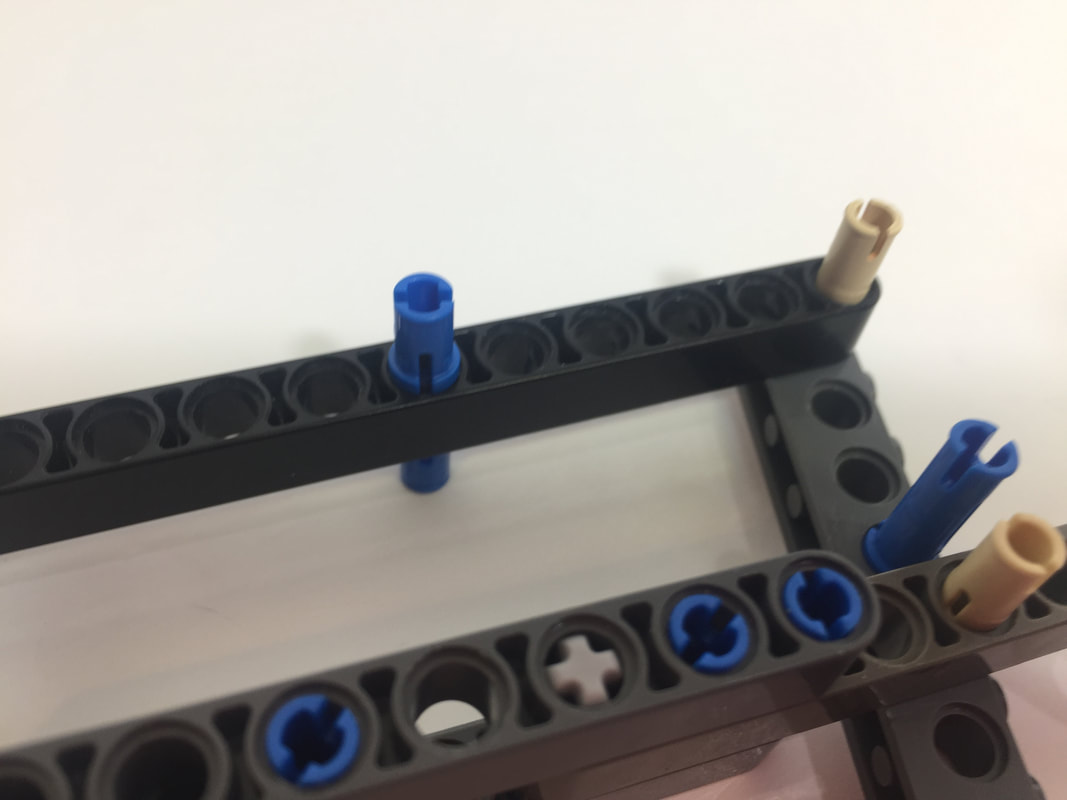
Then attach Bar 3's 15-hole beam:

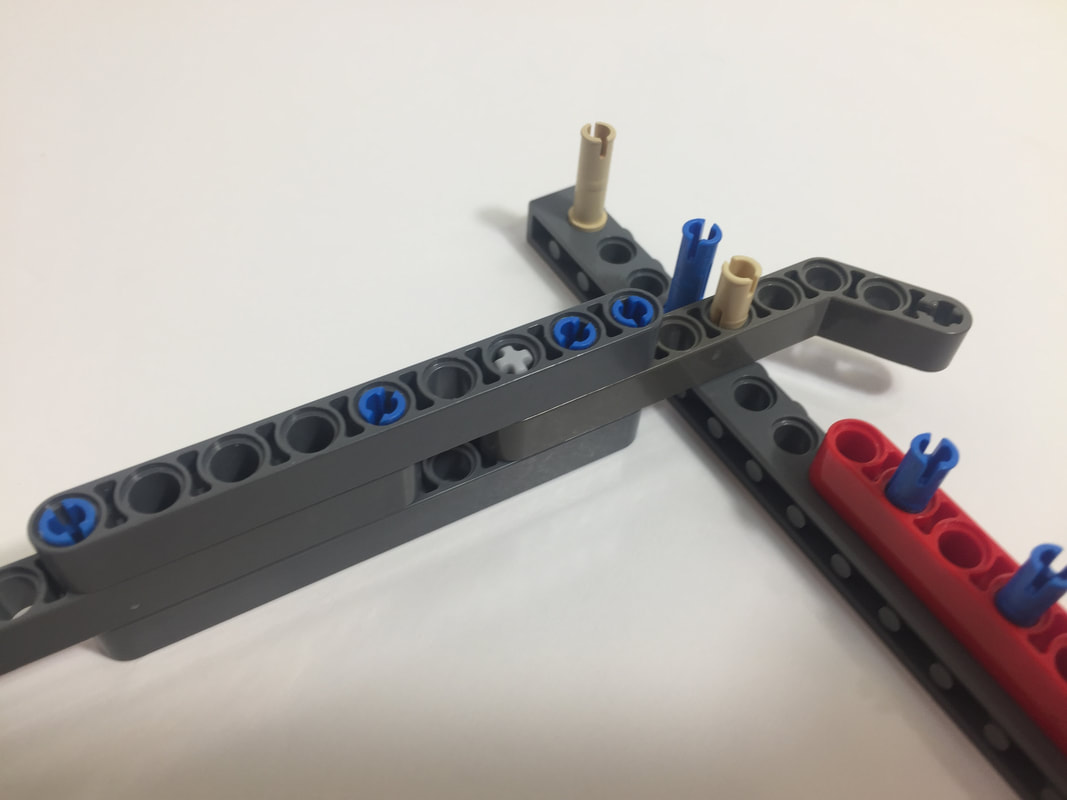
Add a 3L blue pin to Bar 3 for the rubber band to loop around:
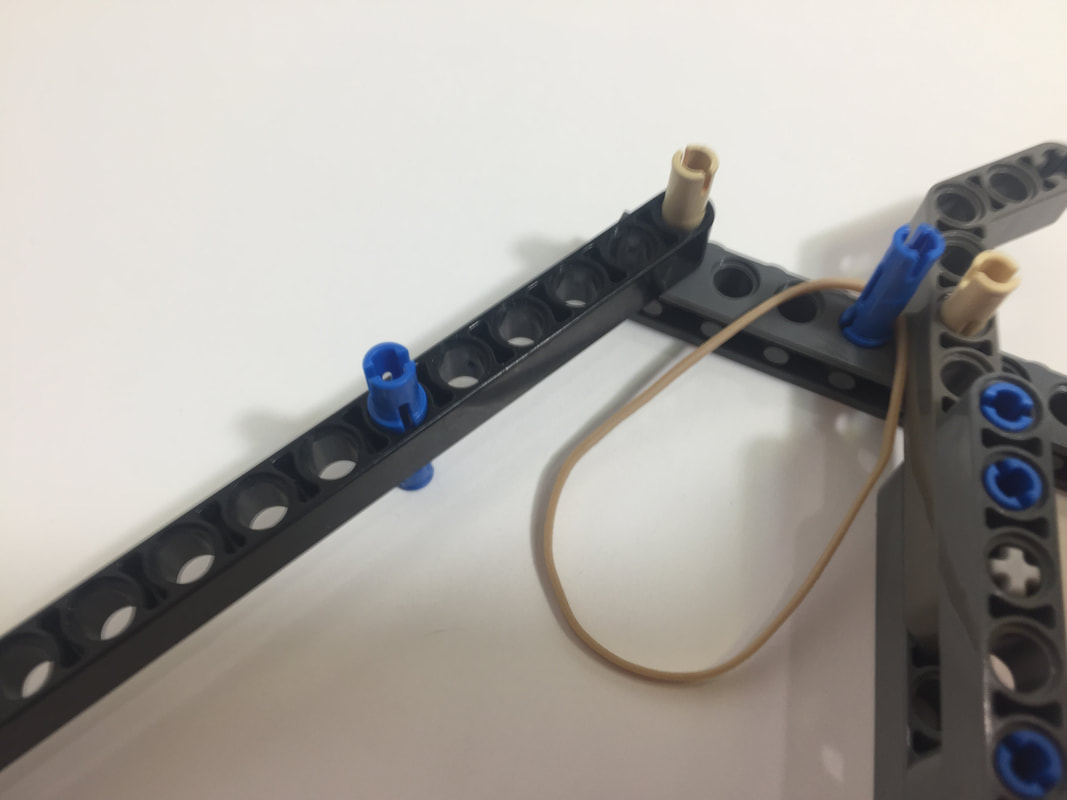
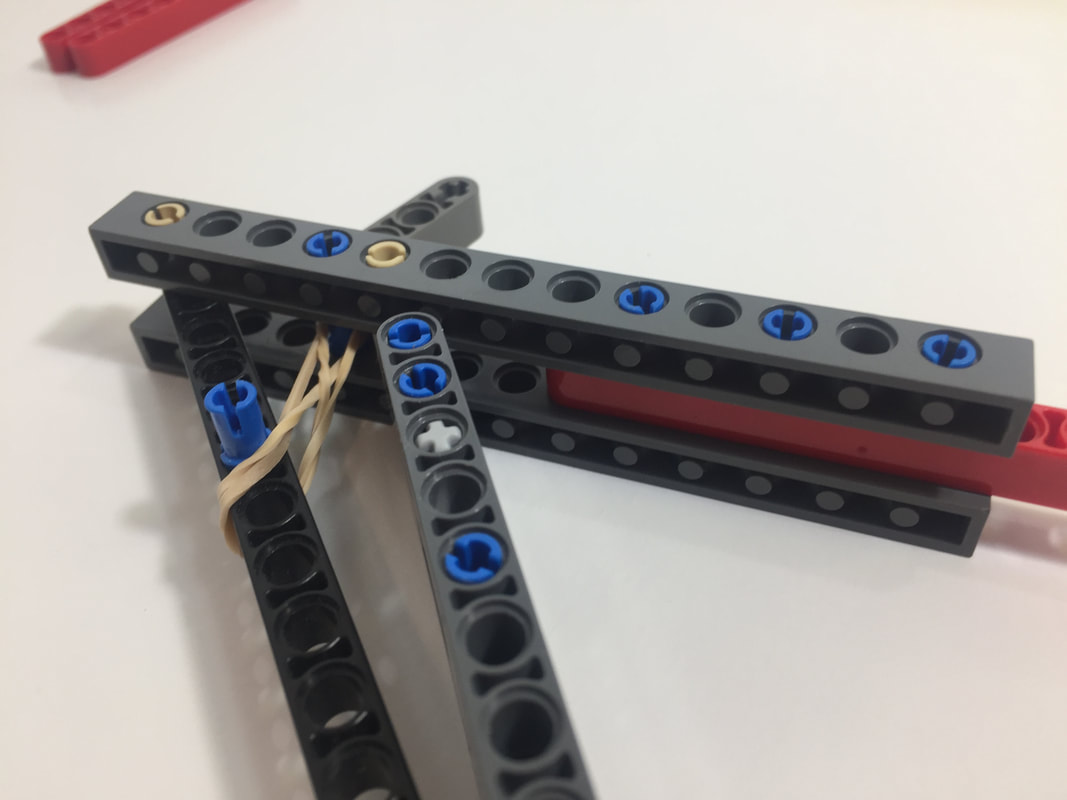

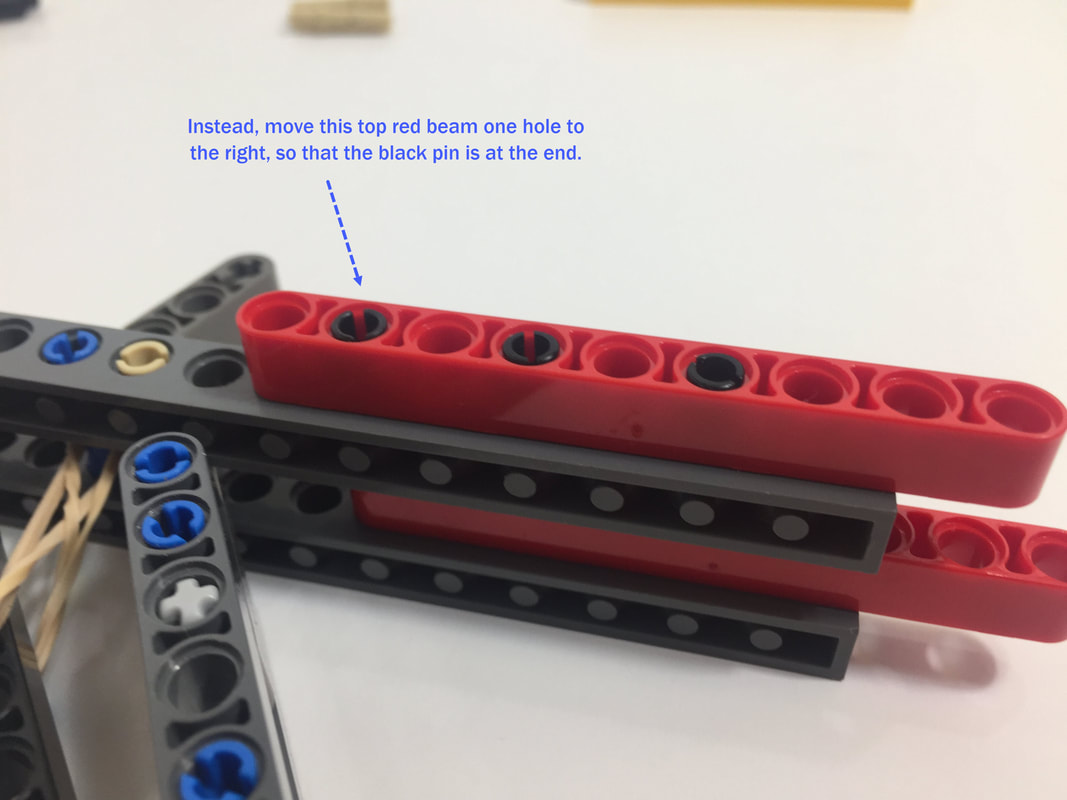
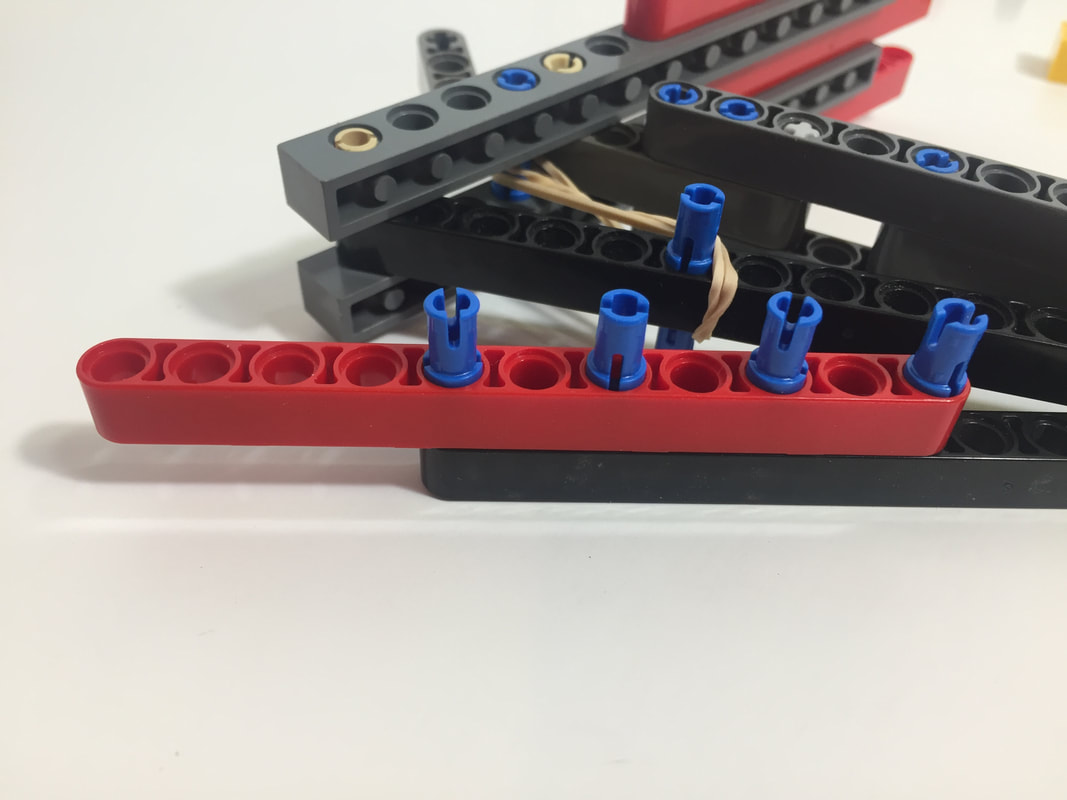
Then, flip it over and attach a red 9-hole beam to the other side:

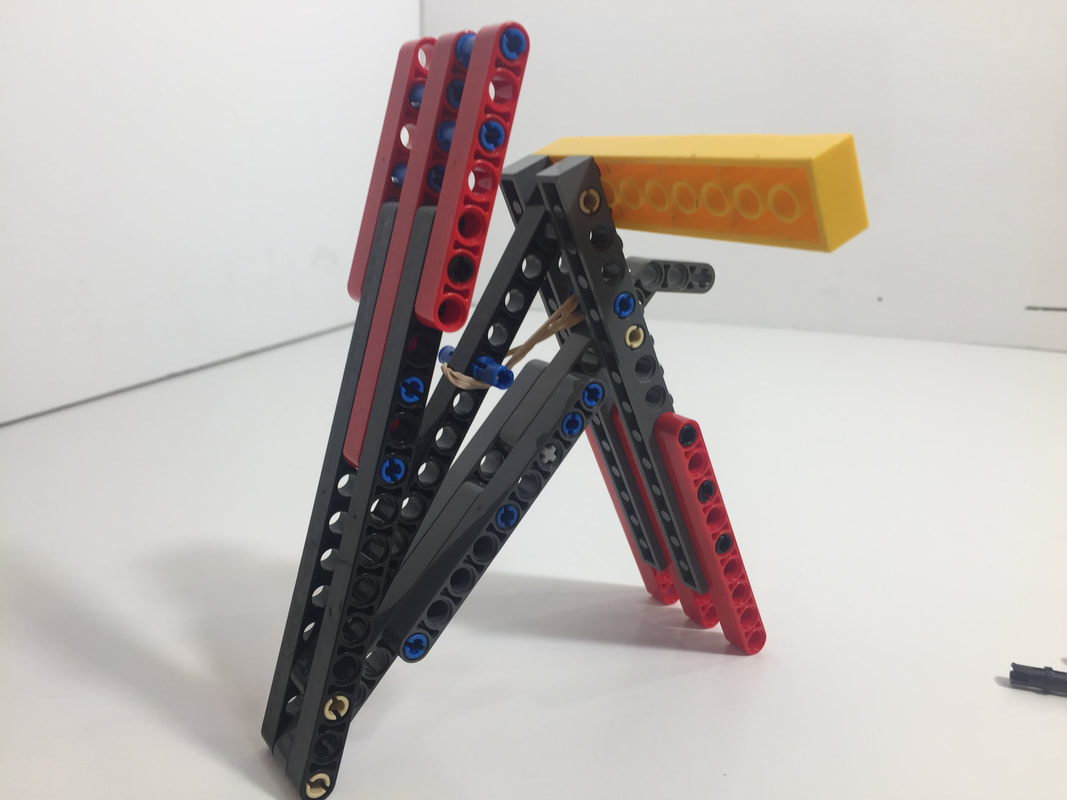
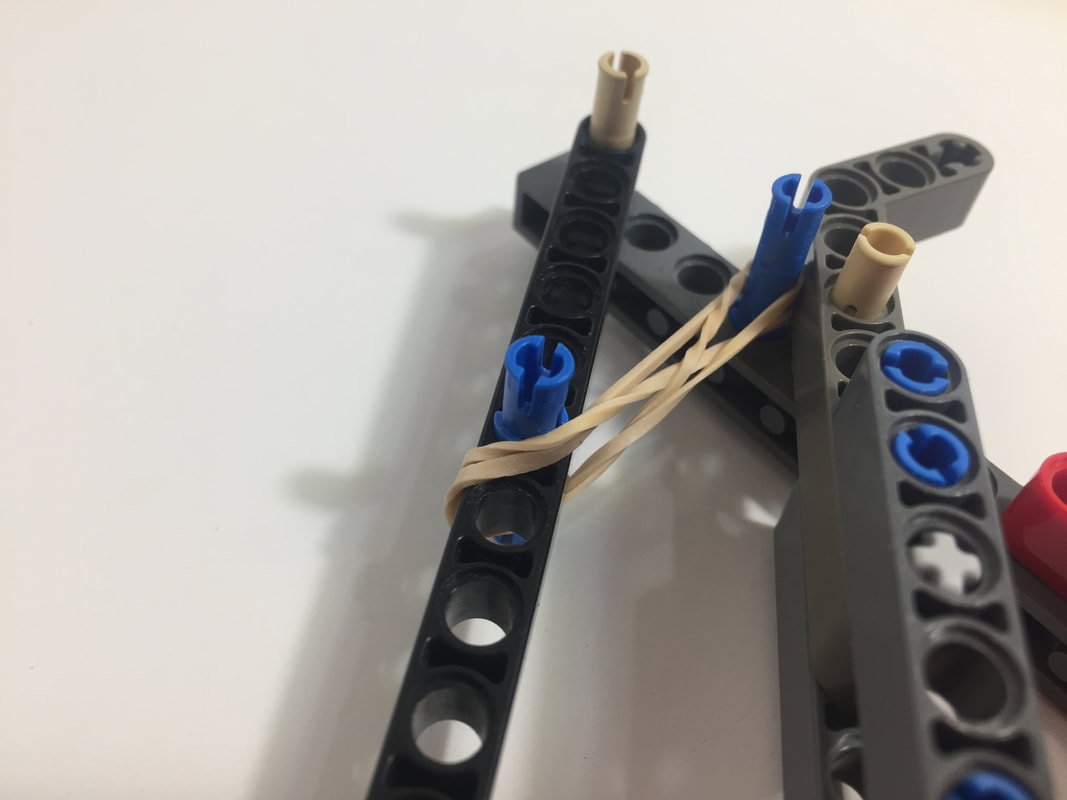
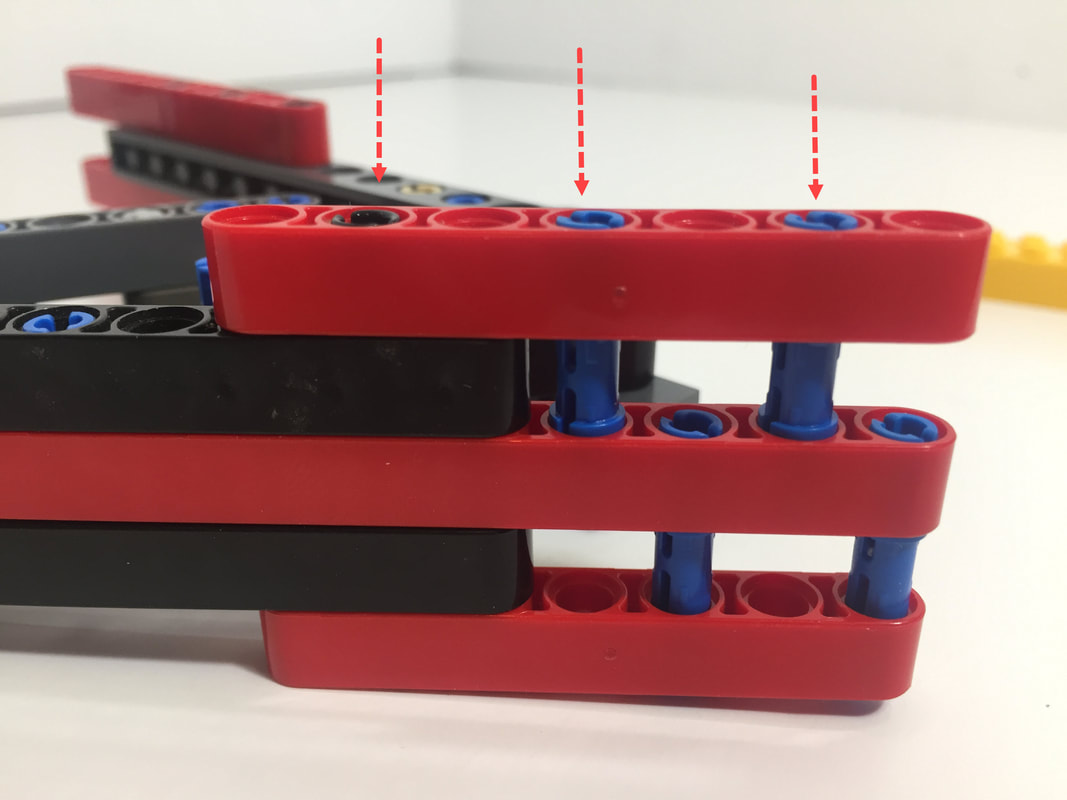
Next, build Bar 4:
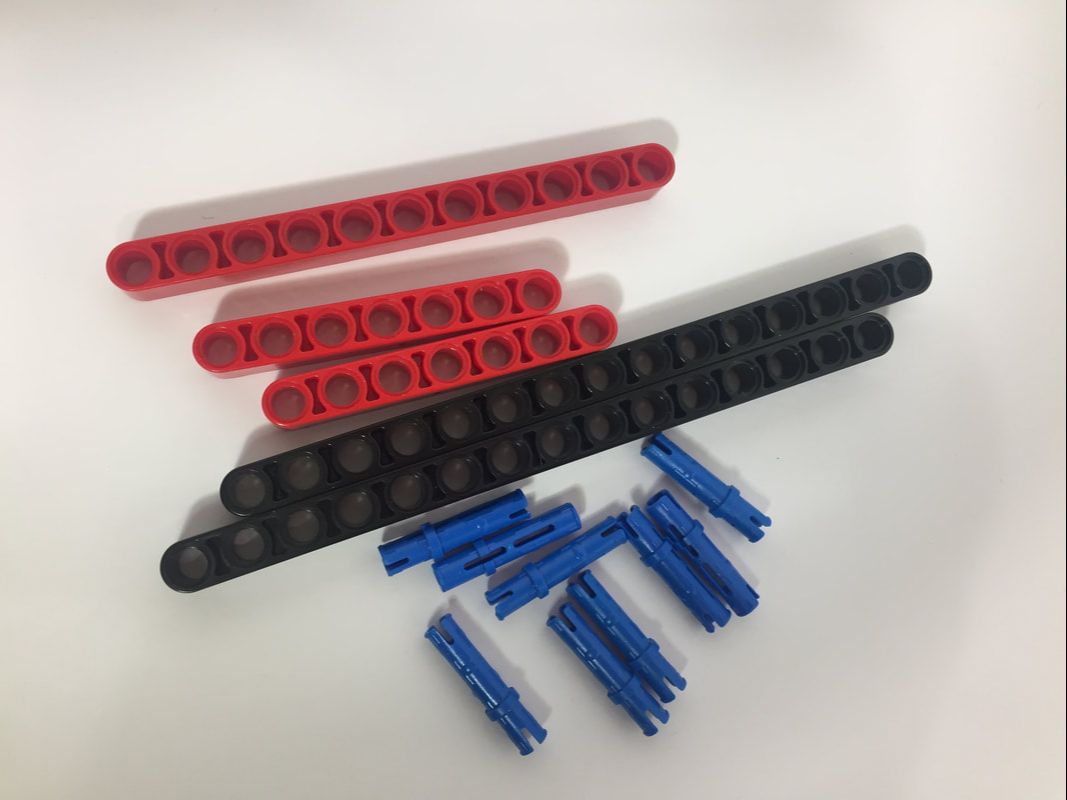
Bar 4's Parts
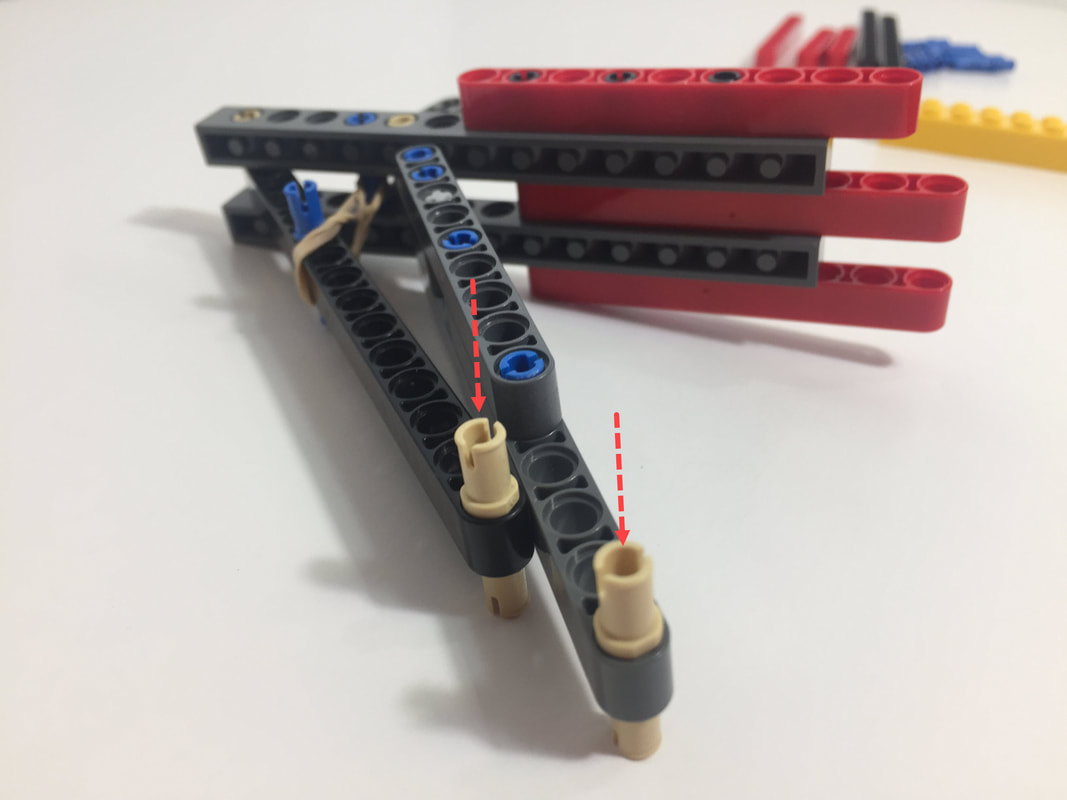
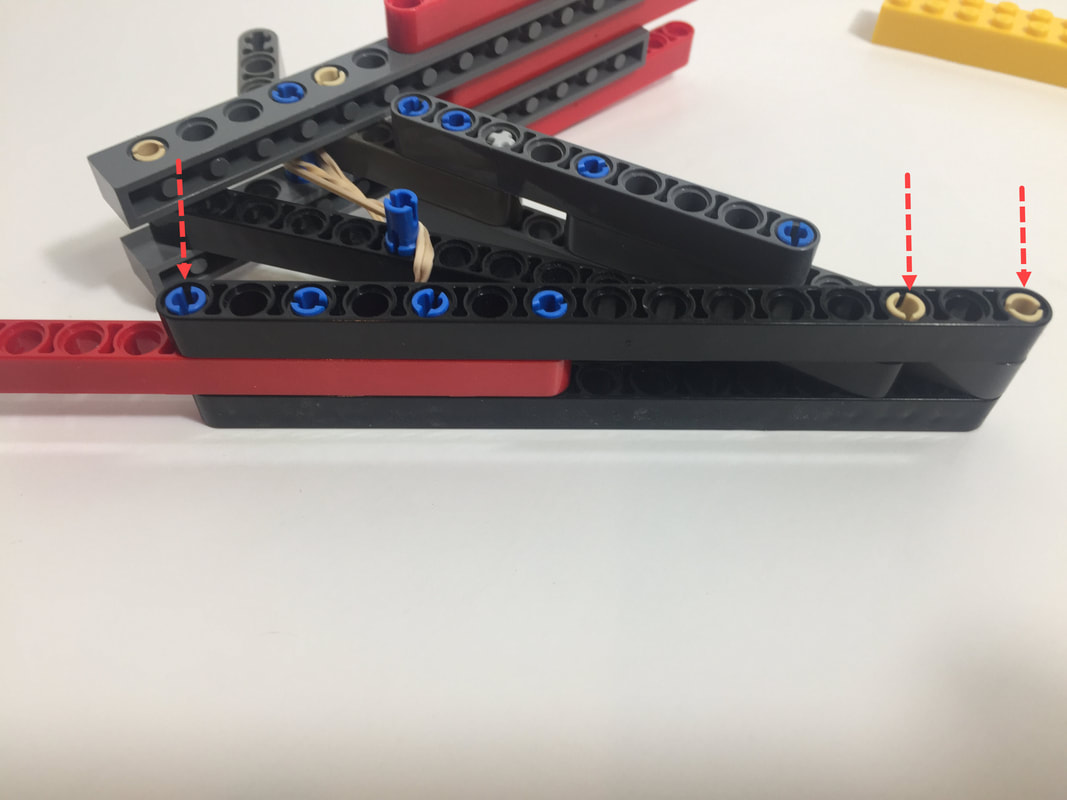

Then, flip it over and add the red 9-hole beam to the other side:
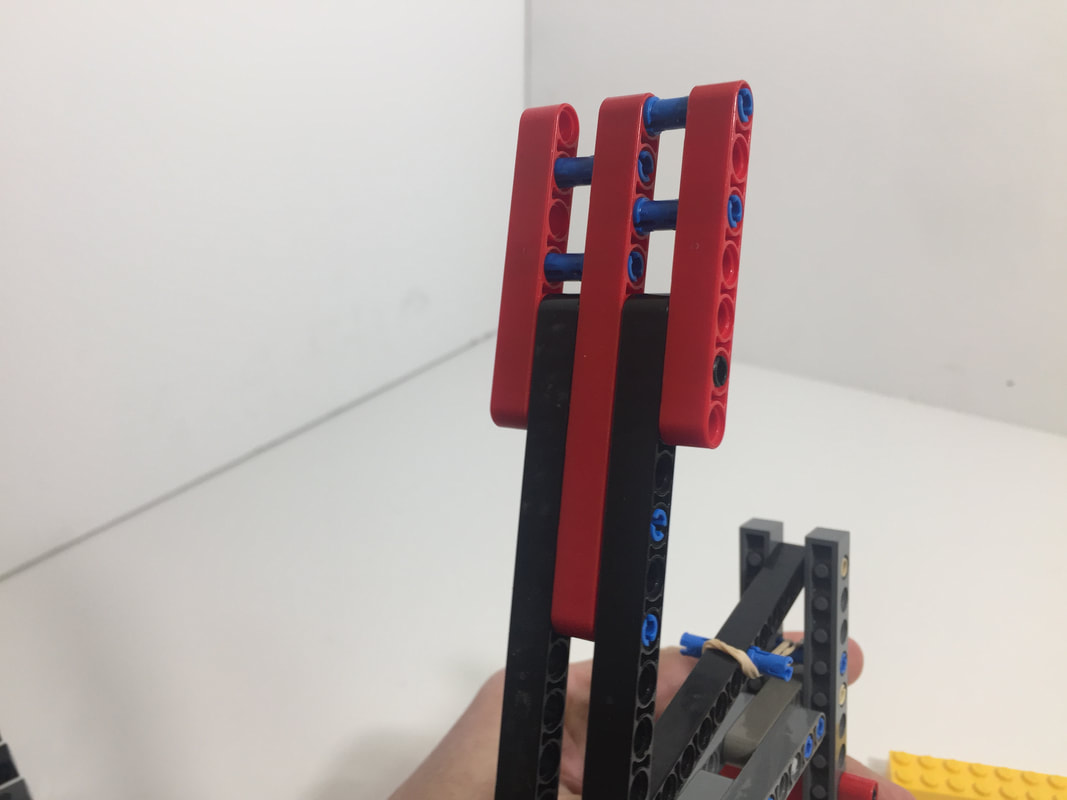
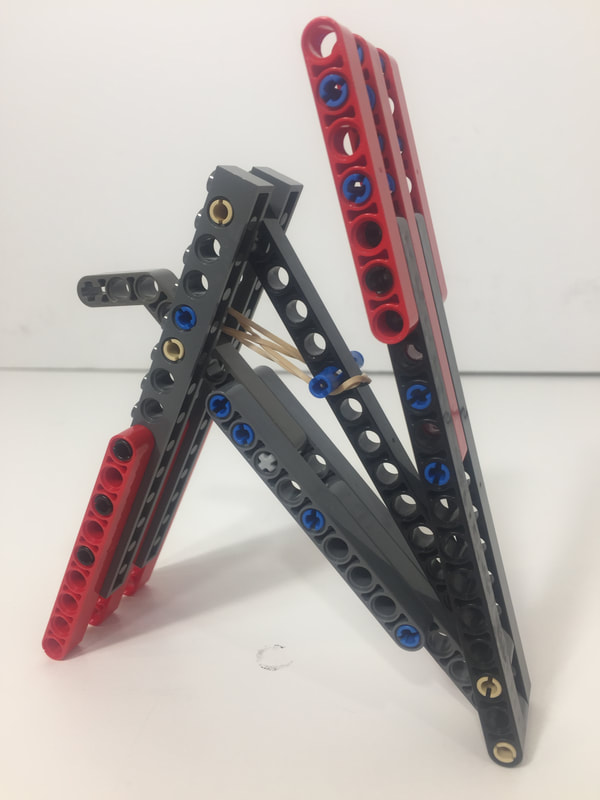
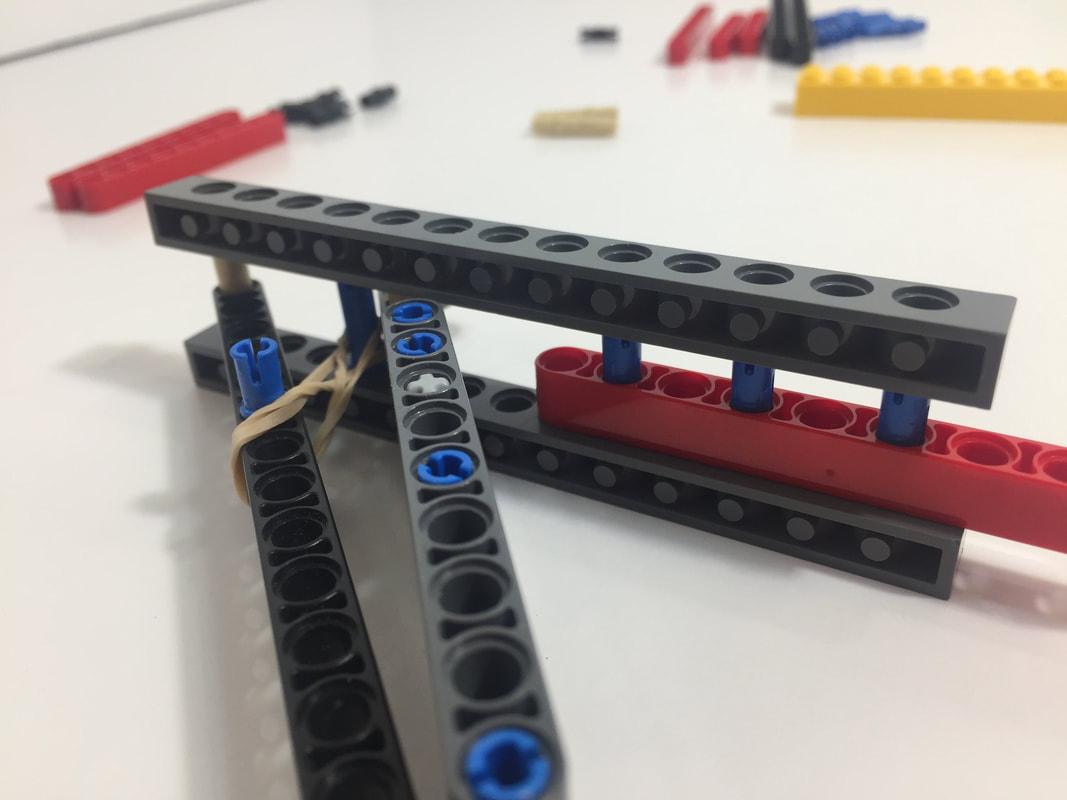
Finished!