Klann's Mechanical Spider (ver 2)
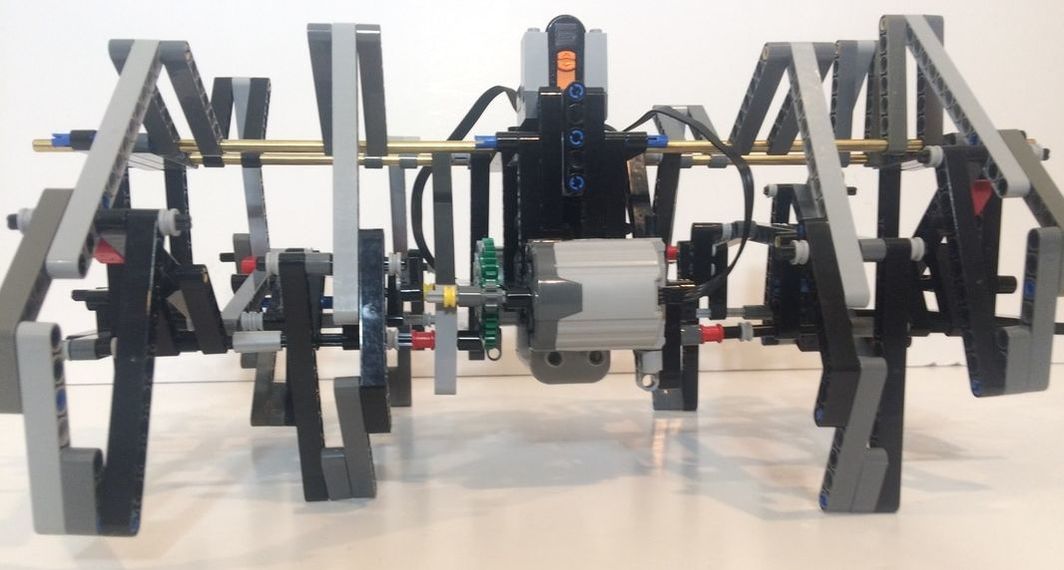

Klann's Spider is a BEAST!
To build Klann with LEGO's parts we had to modify the lengths of the leg sections that were in Joe Klann's patent. Below is a sim of our LEGO-friendly Ver 2.
Let's build it!
Overview
Linkage: Joe Klann's
Build Difficulty: Medium (for mechanical walkers that is - this is still an advanced LEGO build).
Klann's Characteristics:
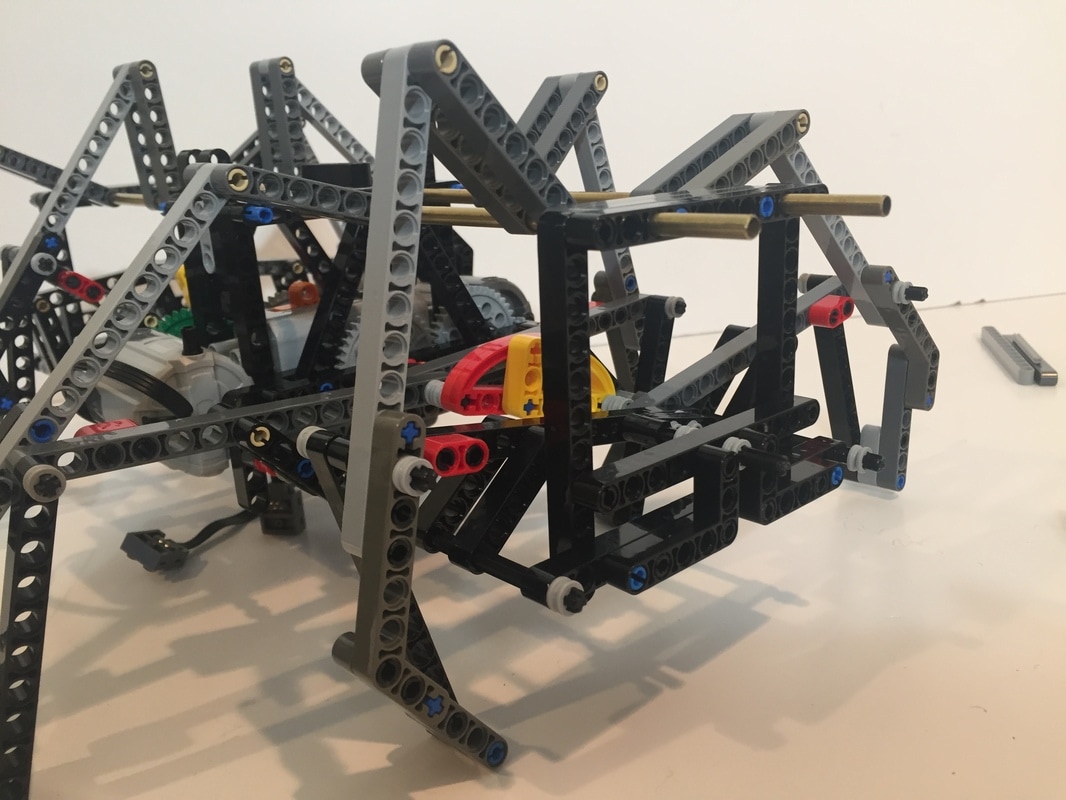
1. 8 Legs that looks spider-like.
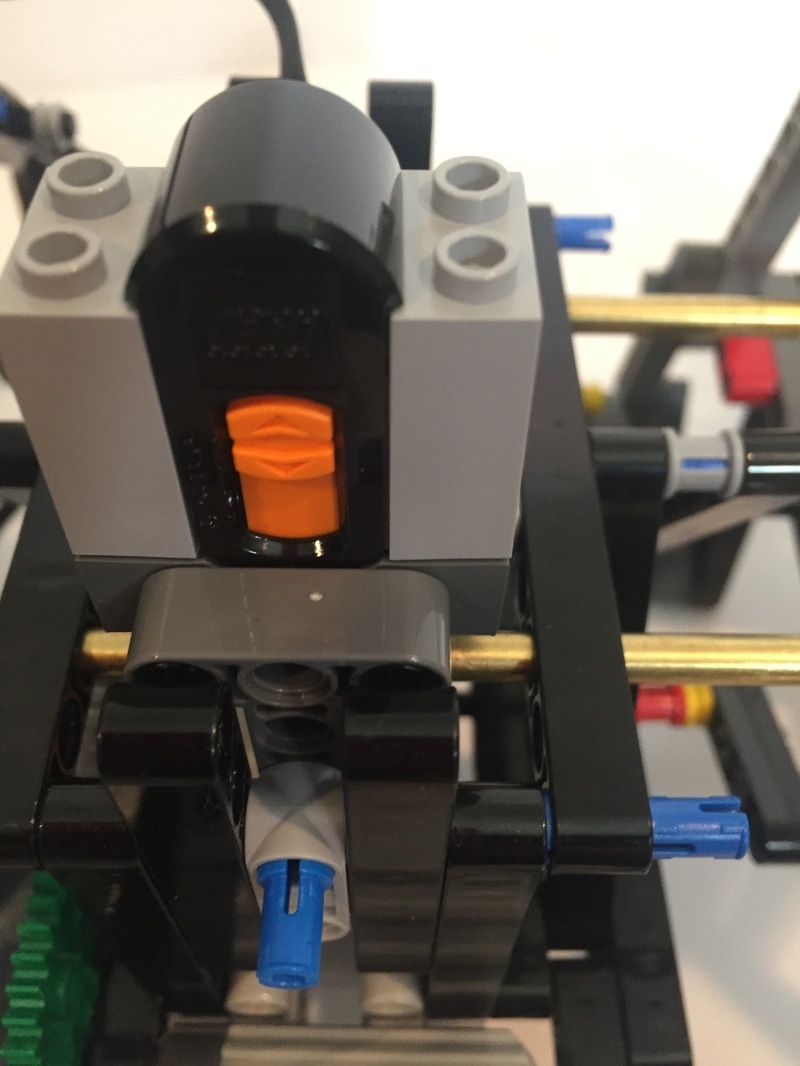
2. Walks well on smooth-ish terrain with great stability and can carry heavy loads, making it a good EV3 candidate - here's an example. However, due to its triangular-shaped foot-path the feet can catch on obstacles, which can jam the linkage and cause gears to grind, or break. You may want to avoid walking Klann in rock gardens, or over piles of obstacles like the below toy railroad tracks. While filming my Klann its legs caught on the railroad tracks a few times, jamming the linkage and causing the XL motor to quickly destroy two of my gears:
Overview
Linkage: Joe Klann's
Build Difficulty: Medium (for mechanical walkers that is - this is still an advanced LEGO build).
Klann's Characteristics:
1. 8 Legs that looks spider-like.
2. Walks well on smooth-ish terrain with great stability and can carry heavy loads, making it a good EV3 candidate - here's an example. However, due to its triangular-shaped foot-path the feet can catch on obstacles, which can jam the linkage and cause gears to grind, or break. You may want to avoid walking Klann in rock gardens, or over piles of obstacles like the below toy railroad tracks. While filming my Klann its legs caught on the railroad tracks a few times, jamming the linkage and causing the XL motor to quickly destroy two of my gears:

|
|
3. Steerable? Yes, by driving one side forward and the other in reverse, like a tank.
UPDATE: This build used LEGO's XL motors, but if medium motors were used instead as is done for Long-Leg Klann, then metal support rods could be used for the lower support rods, replacing the plastic LEGO axles used in these instructions which tend to come apart.
Changes from Ver 1:
1. I raised the lower support rods by one LEGO hole, which more closely approximates Klann's linkage, and makes the foot-speed more consistent.
2, I switched the lower support rods from metal to plastic LEGO axles.
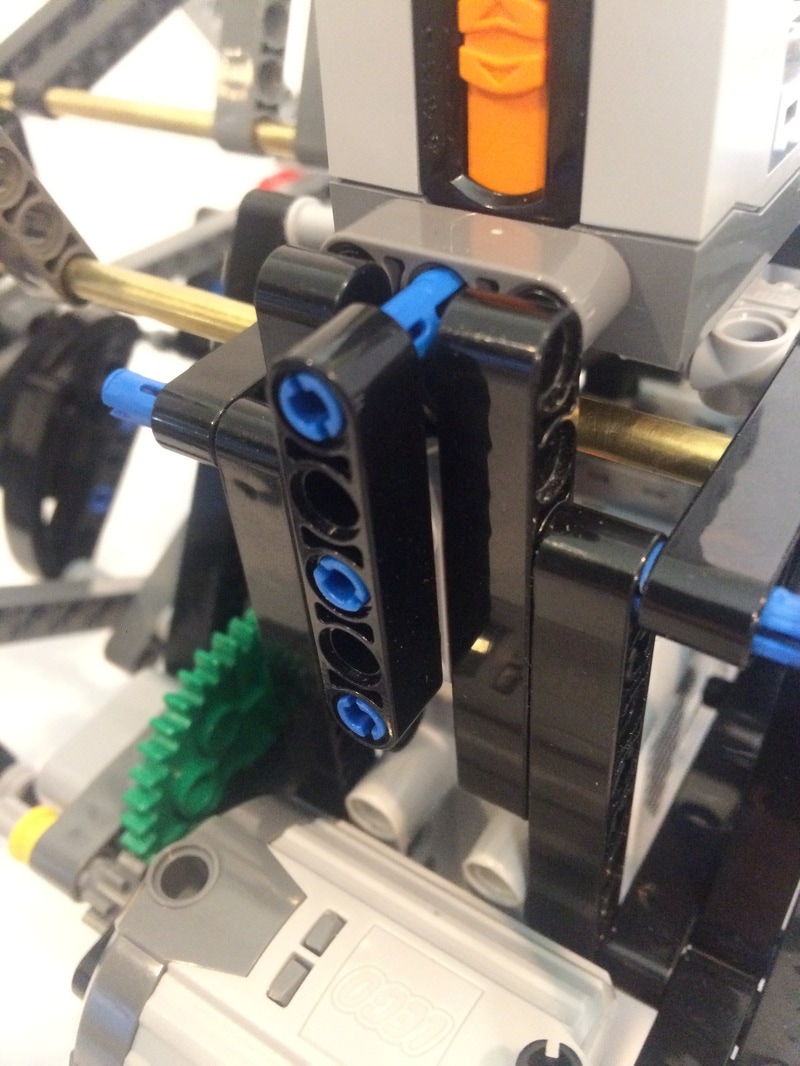
3. I replaced the metal axles used for Ver 1's crankshafts with plastic LEGO axles, making it easier to build and modify Klann . However, the plastic axles do twist somewhat, making the leg action more jerky when the axles un-twist as resistance drops, like a wound spring being released.
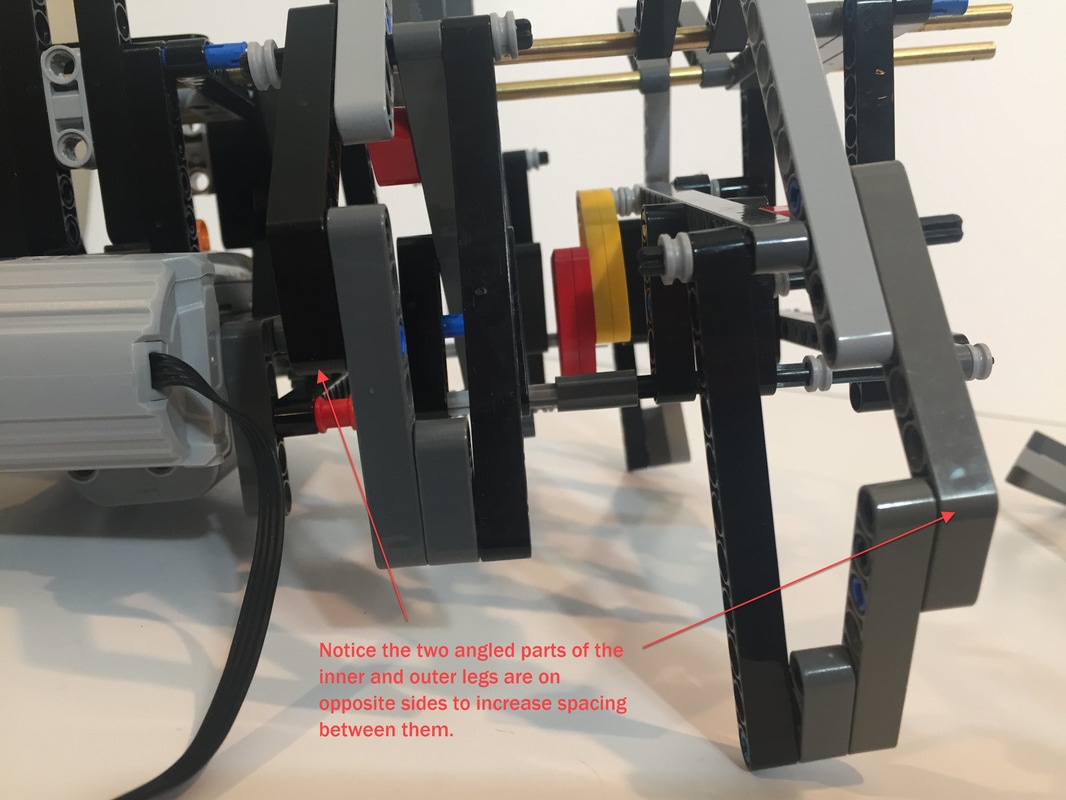
4. I reduced the robot's width by reducing the spacing between the inner and outer legs.
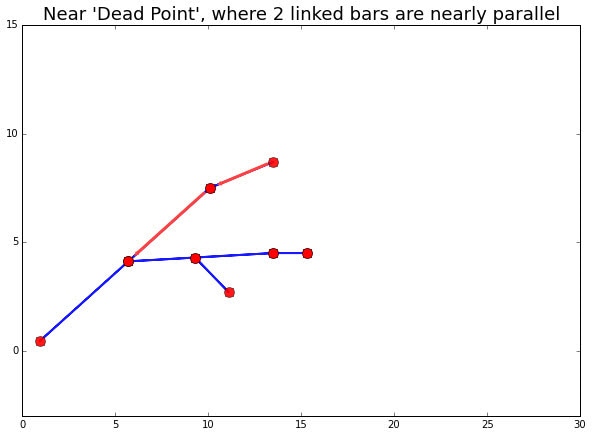
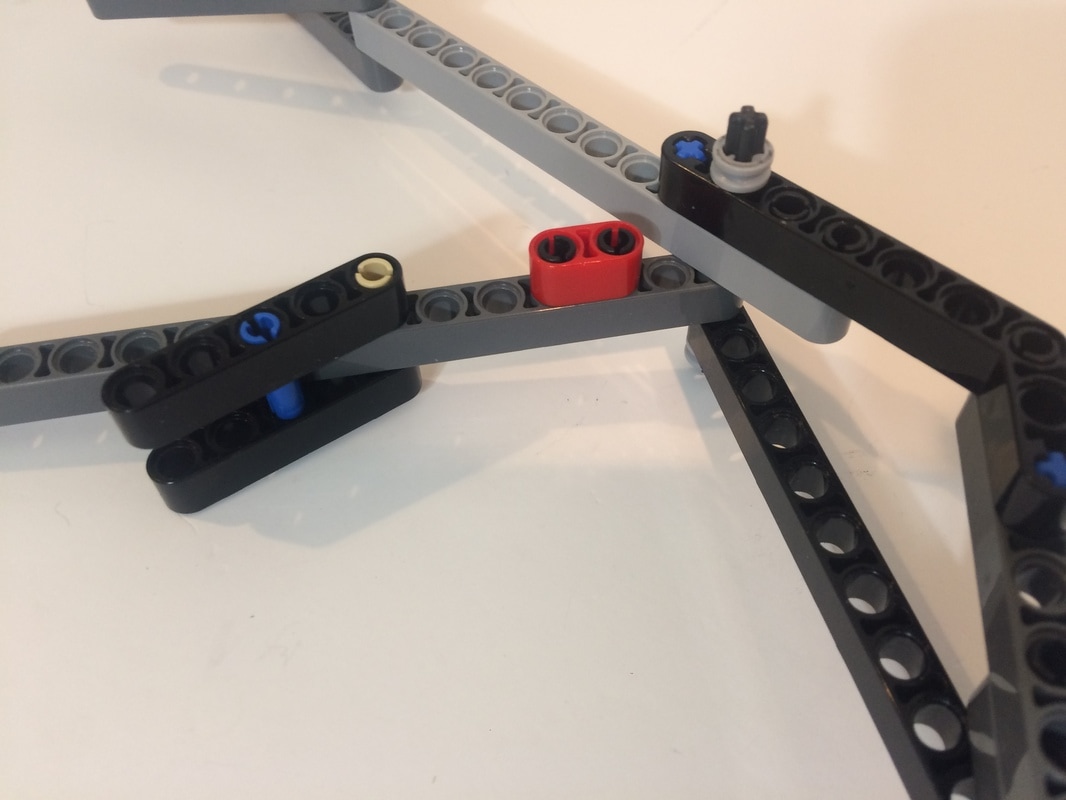
Also, raising the lower support rod reduces the likelihood of Klann's upper leg joint "flipping" at the dead point since the two beams highlighted in red below no longer get as close to parallel.
UPDATE: This build used LEGO's XL motors, but if medium motors were used instead as is done for Long-Leg Klann, then metal support rods could be used for the lower support rods, replacing the plastic LEGO axles used in these instructions which tend to come apart.
Changes from Ver 1:
1. I raised the lower support rods by one LEGO hole, which more closely approximates Klann's linkage, and makes the foot-speed more consistent.
2, I switched the lower support rods from metal to plastic LEGO axles.
3. I replaced the metal axles used for Ver 1's crankshafts with plastic LEGO axles, making it easier to build and modify Klann . However, the plastic axles do twist somewhat, making the leg action more jerky when the axles un-twist as resistance drops, like a wound spring being released.
4. I reduced the robot's width by reducing the spacing between the inner and outer legs.
Also, raising the lower support rod reduces the likelihood of Klann's upper leg joint "flipping" at the dead point since the two beams highlighted in red below no longer get as close to parallel.
|

|
I left the pics and vids of Ver 1 up in case you want to compare them.
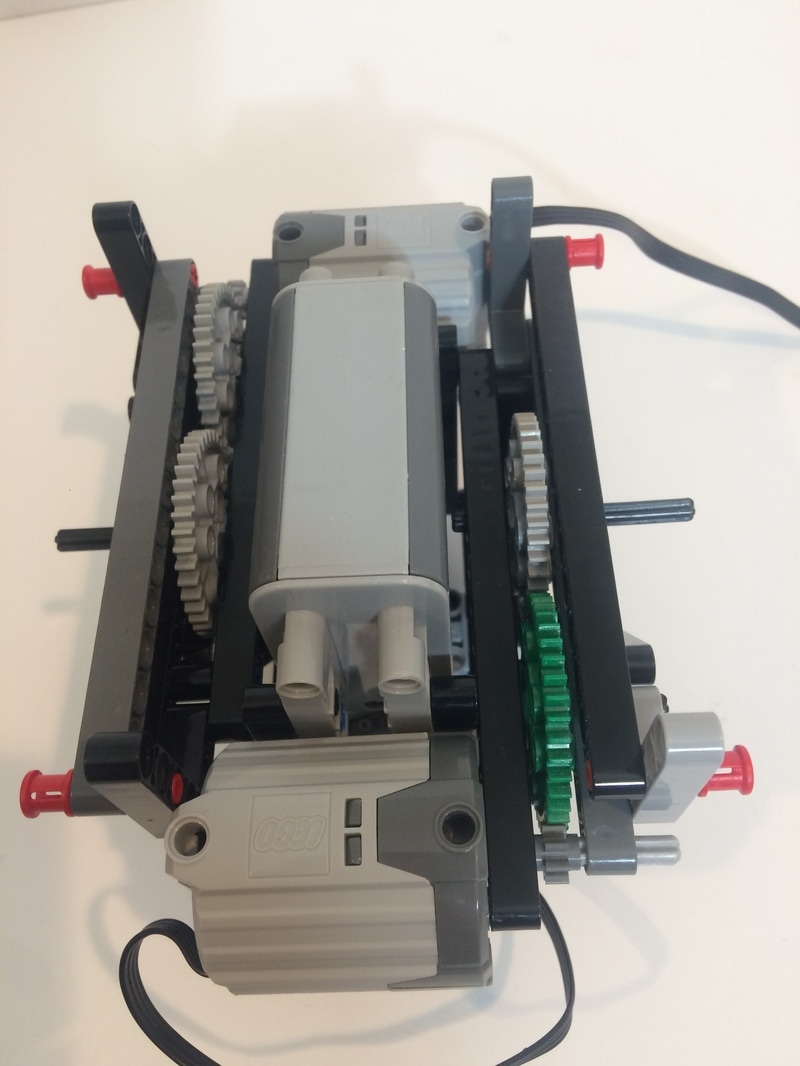
Parts Used: In addition to the Technic beams, pins, gears, etc., this build uses LEGO's Power Functions IR RX 8884 remote receiver which I controlled with a 8885 IR remote, 2 LEGO XL 8882 Motors, and a 8881 Battery Pack. Also, to better bear the robot's weight I used 3/16" OD brass tubes for the leg's long connections to the frame (aluminum rods are fine too) rather than LEGO's plastic axles.
For batteries I recommend using Lithium Ion AA batteries as they are lighter, last longer, and will improve walking performance.
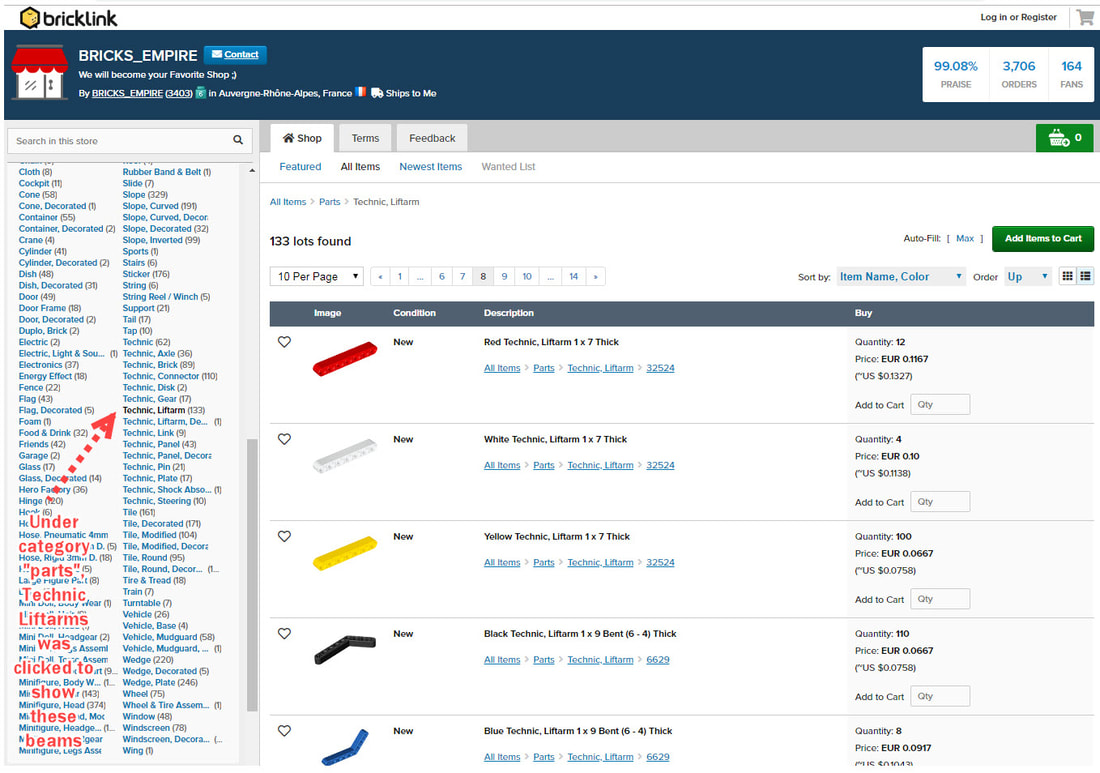
I purchased the plastic LEGO parts from Bricklink
I purchased the motors, controllers and battery box from Amazon
I purchased the metal support rods from my local hardware store
If you've never used Bricklink, an easy way to browse for parts is by going to a larger store. Here's a list of stores in the USA.
And below is an example search in a store for Technic beams.
I left the pics and vids of Ver 1 up in case you want to compare them.
Parts Used: In addition to the Technic beams, pins, gears, etc., this build uses LEGO's Power Functions IR RX 8884 remote receiver which I controlled with a 8885 IR remote, 2 LEGO XL 8882 Motors, and a 8881 Battery Pack. Also, to better bear the robot's weight I used 3/16" OD brass tubes for the leg's long connections to the frame (aluminum rods are fine too) rather than LEGO's plastic axles.
For batteries I recommend using Lithium Ion AA batteries as they are lighter, last longer, and will improve walking performance.
I purchased the plastic LEGO parts from Bricklink
I purchased the motors, controllers and battery box from Amazon
I purchased the metal support rods from my local hardware store
If you've never used Bricklink, an easy way to browse for parts is by going to a larger store. Here's a list of stores in the USA.
And below is an example search in a store for Technic beams.
How to Build
General Comments:
1. Walkers stress frames more than wheeled vehicles so strive to utilize triangles in frames.
2. Be sure to use frictionless pins for movable joints!
3. Take care to space each bar properly, with the bar's joint on the correct side, and with the use of bushings on axles as necessary. If the parts collide the linkage can lock up and gears will grind, and you will find it is much easier to get your leg spacing correct before assembling the entire walker than it is to fix the legs in a fully assembled walker! You will find details on how to properly space the leg parts later in these instructions.
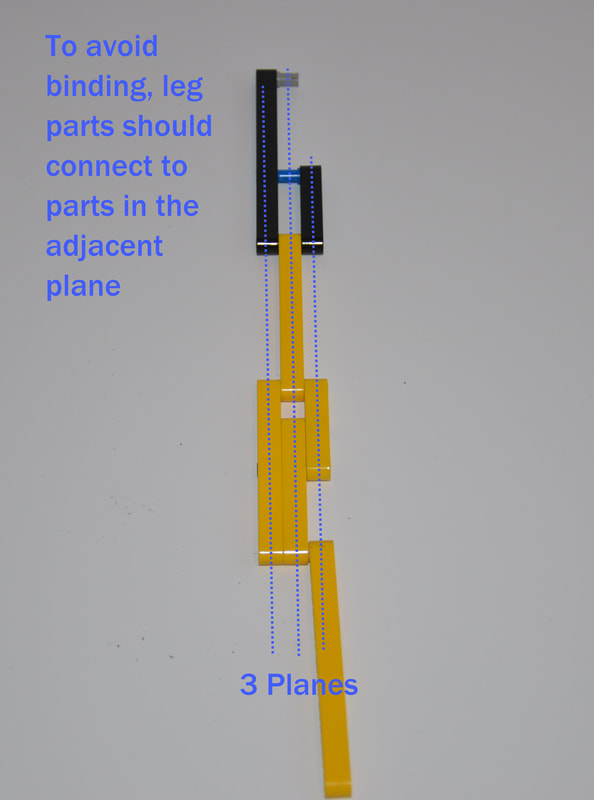
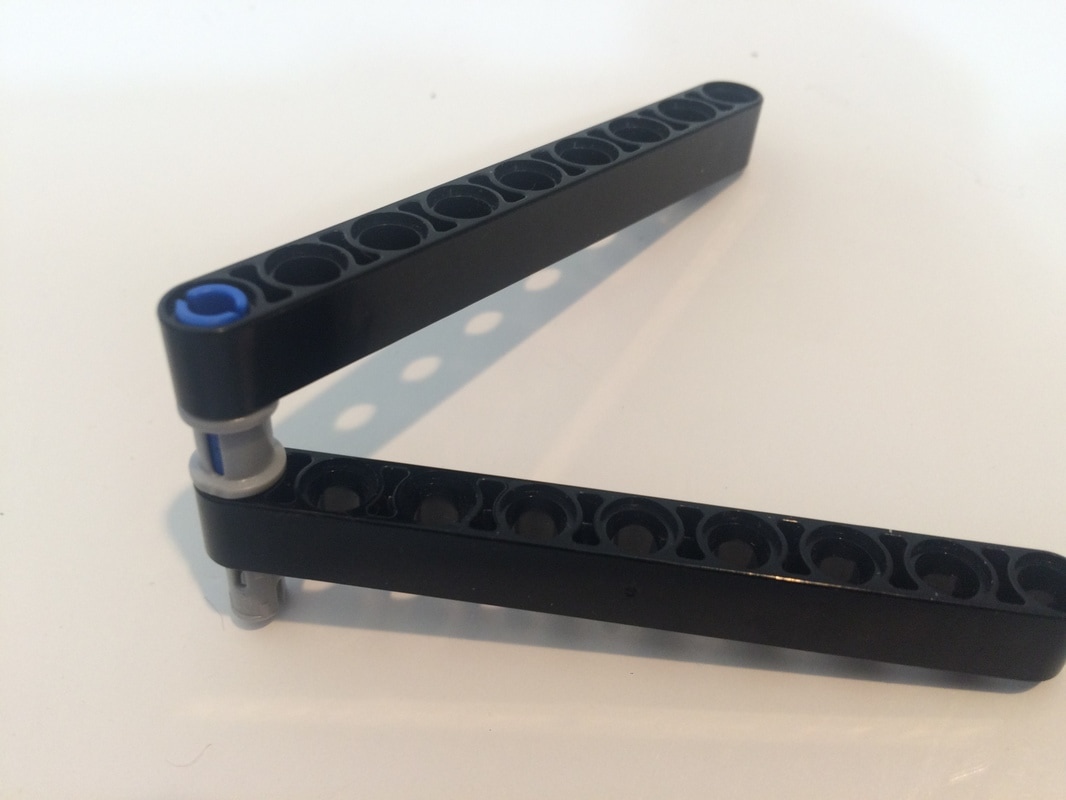
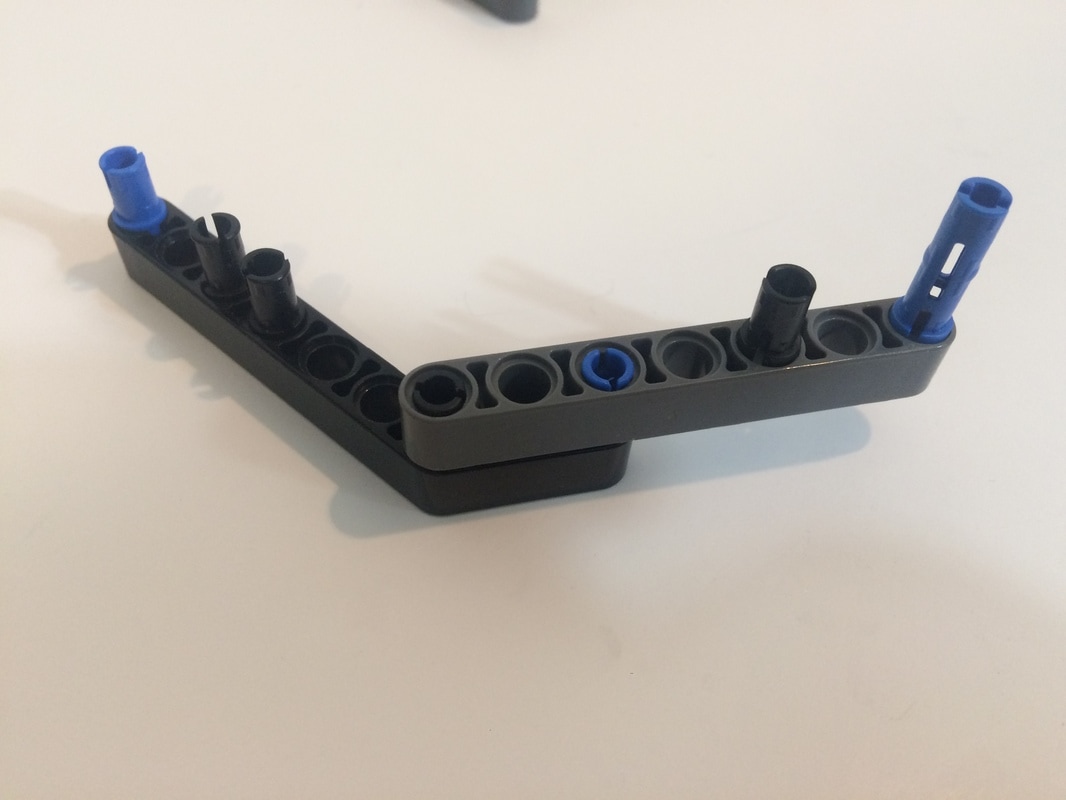
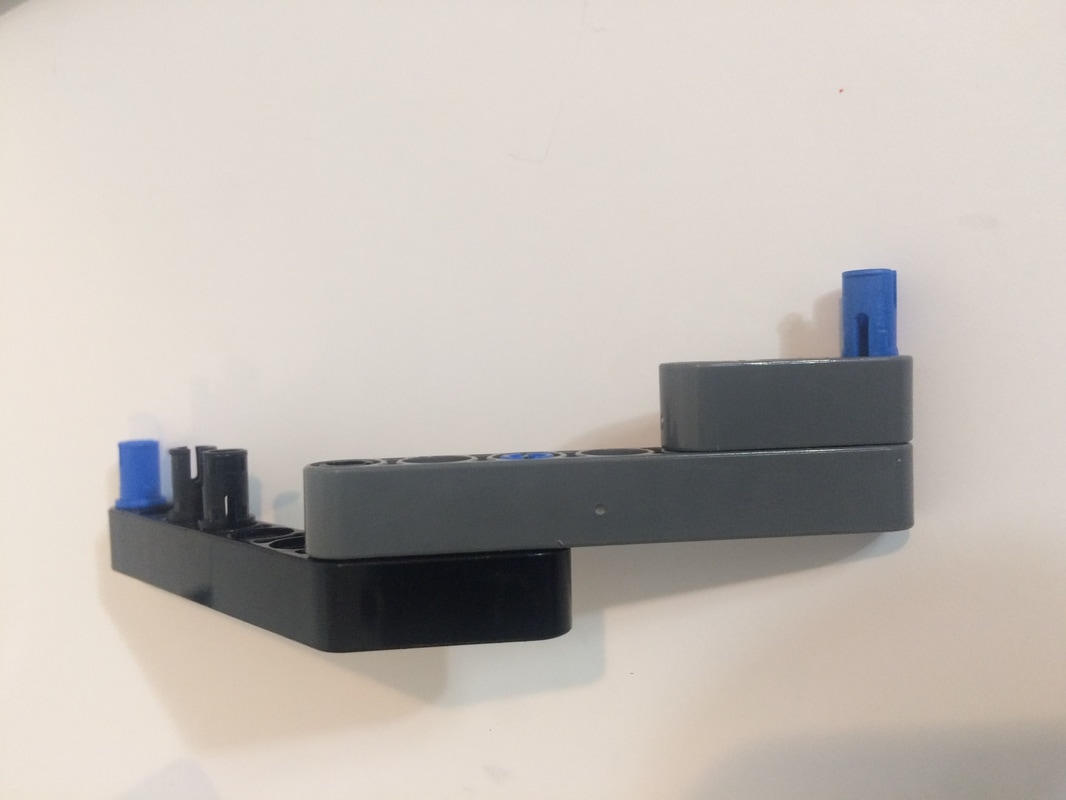
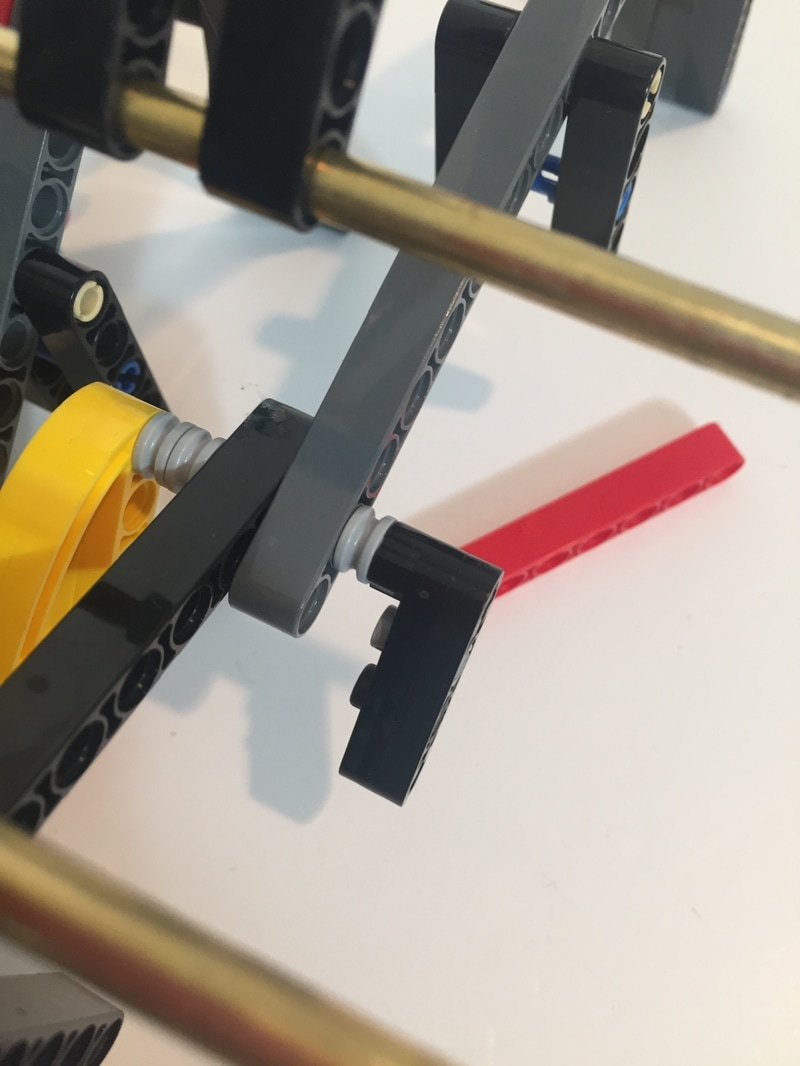
If leg parts aren't connected to parts in the adjacent plane the linkage can be twisted, which will cause the leg joints to bind. If your legs don't rotate easily, make sure your legs aren't twisted and that each part is in its correct plane as pictured below.
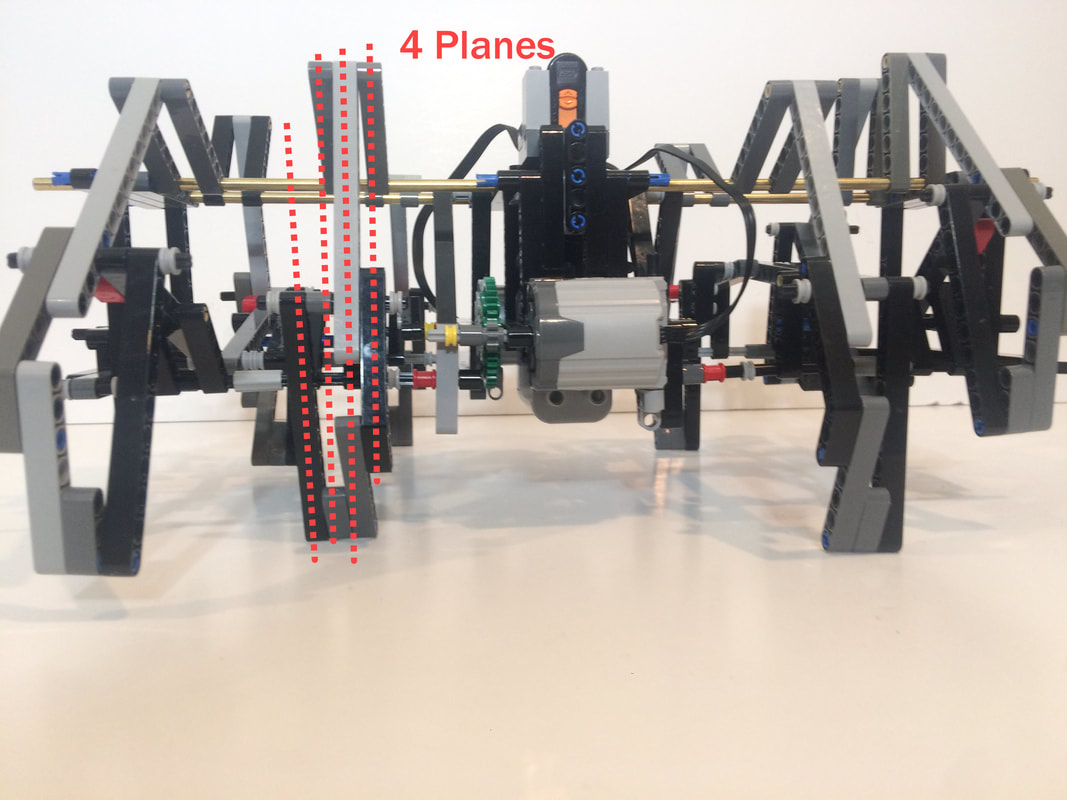
To Build Straight Legs that don't Bind or Jam, Make Sure Leg Parts Connect to Parts in Adjacent Planes
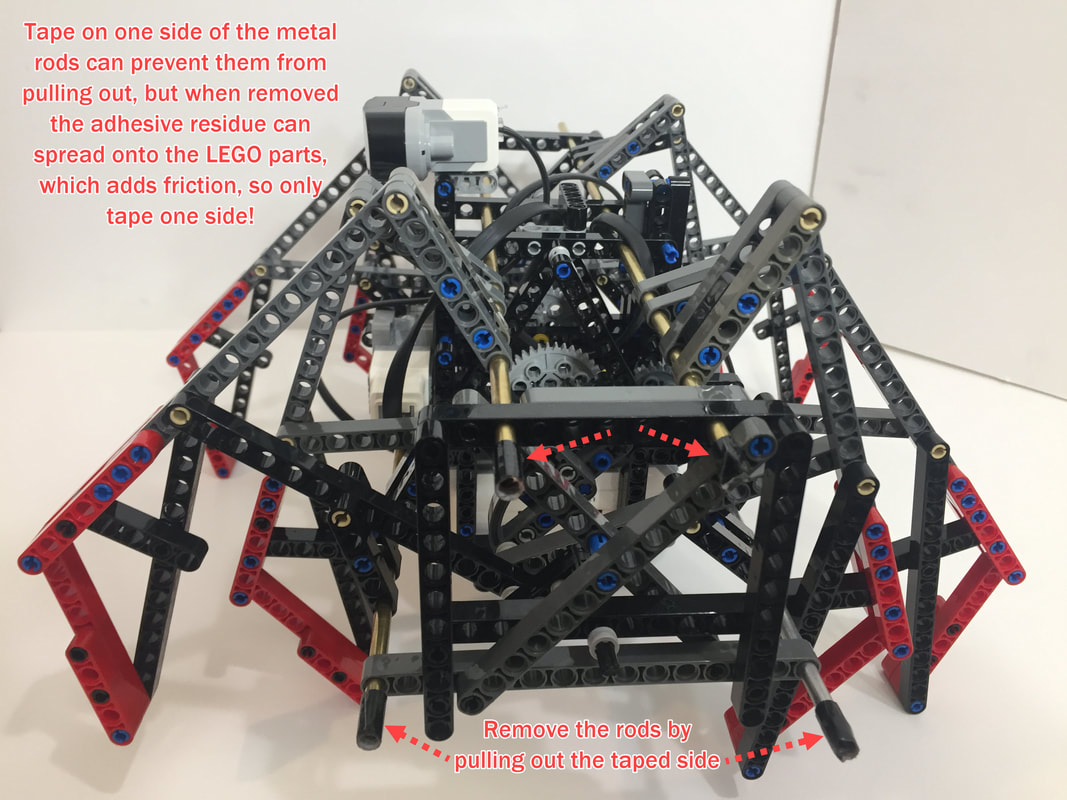
Hot glue or sections of pipe cleaner are better options than tape
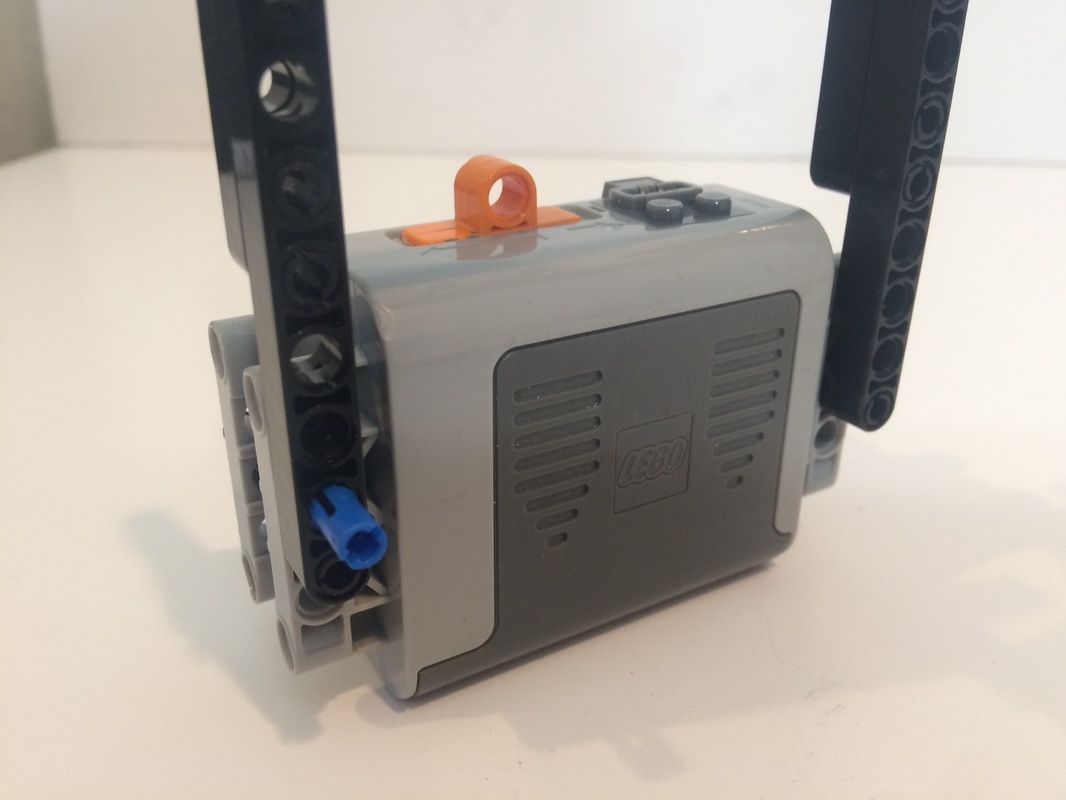
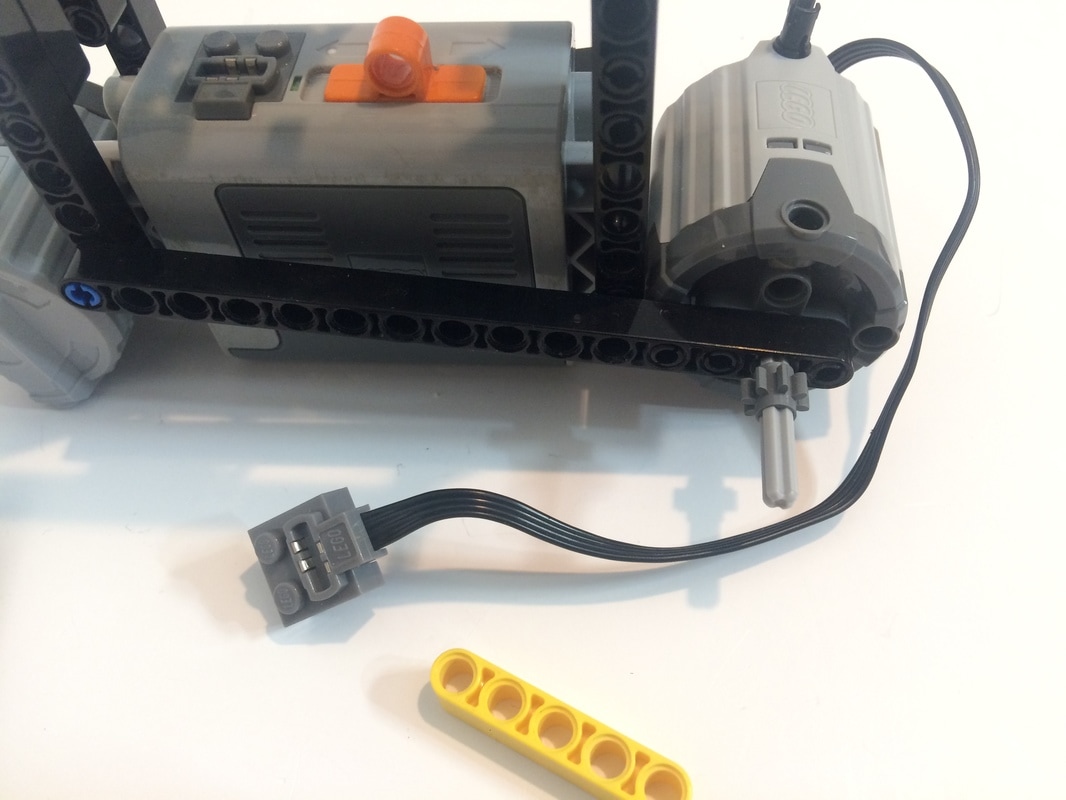
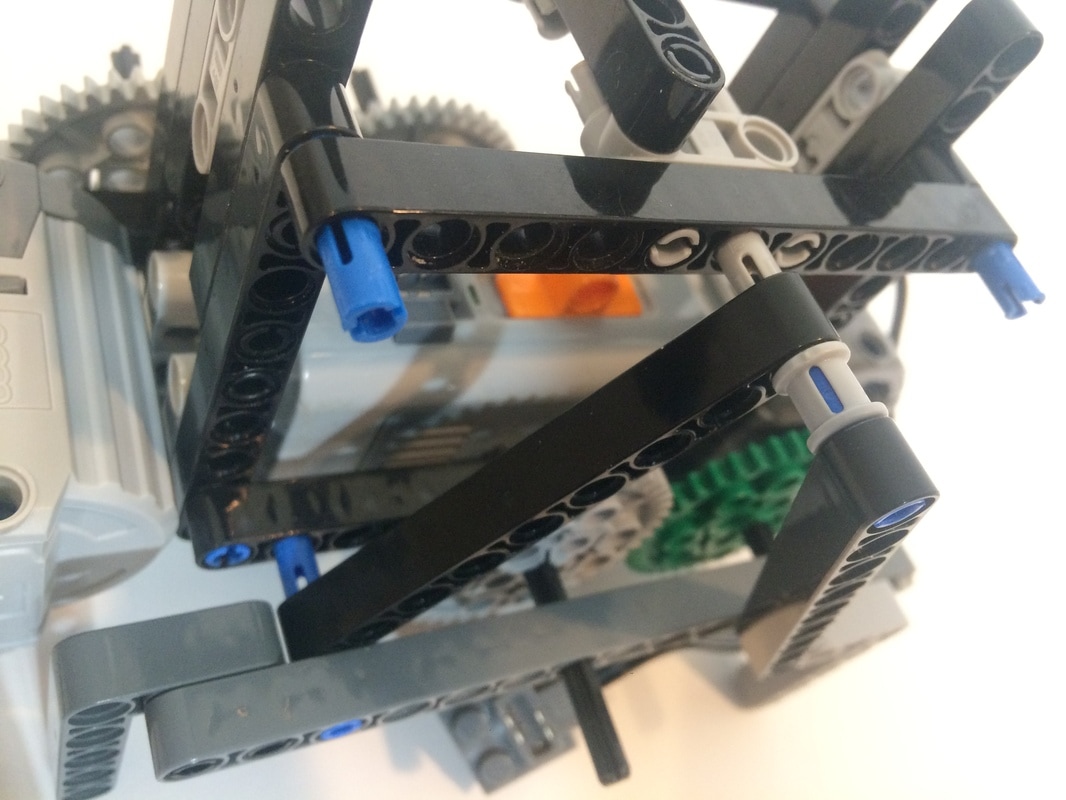
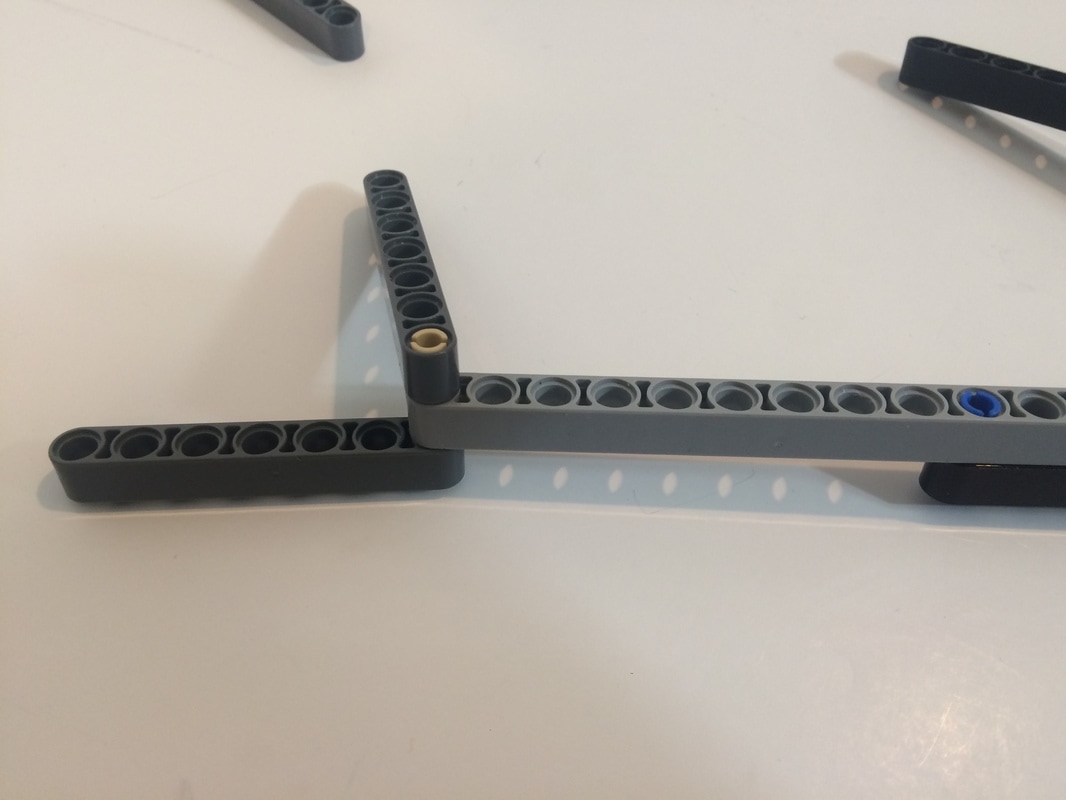
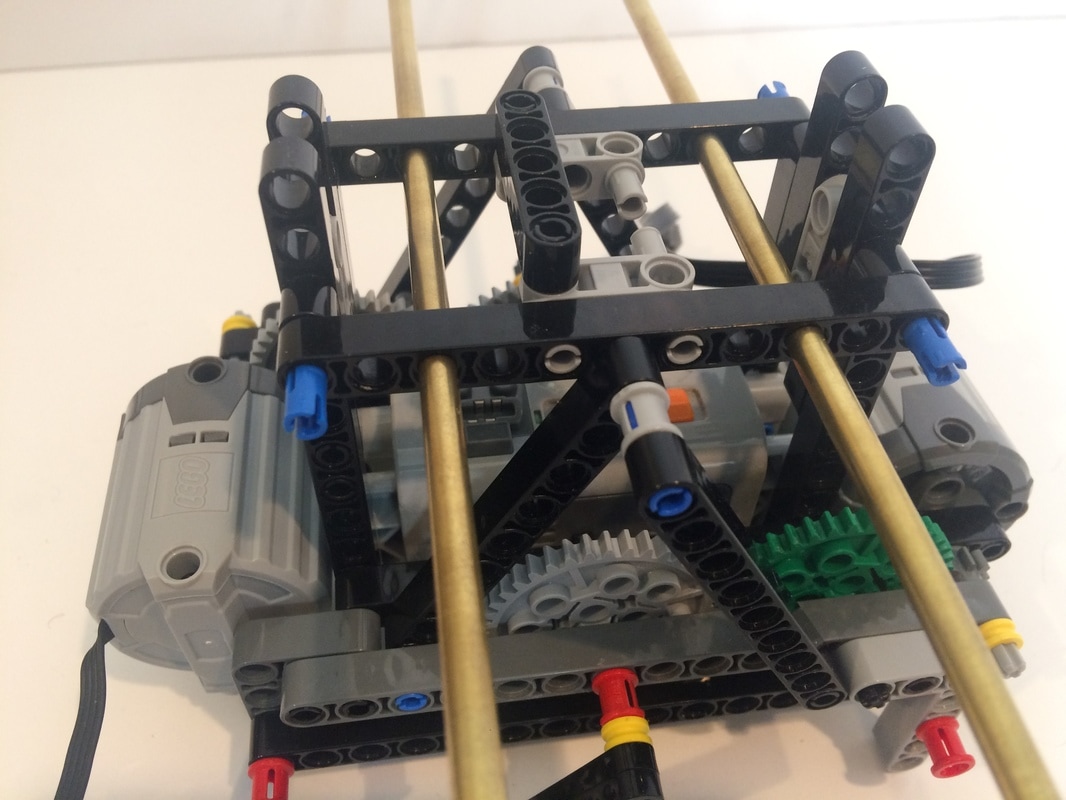
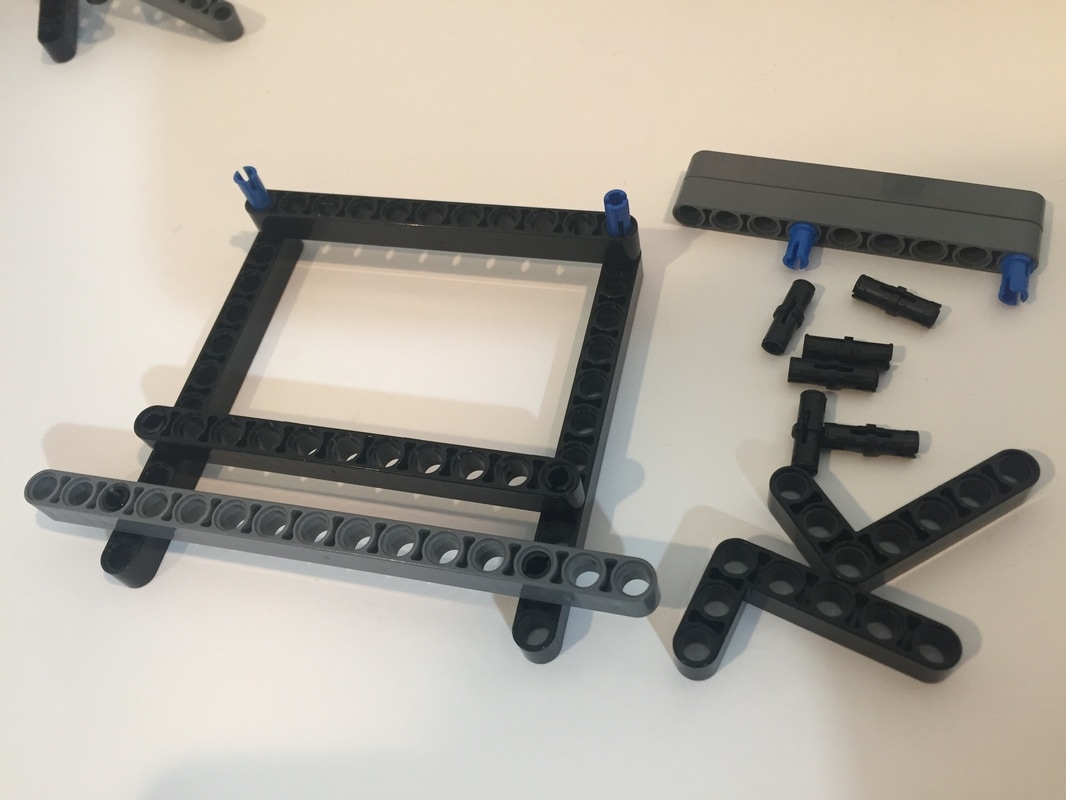
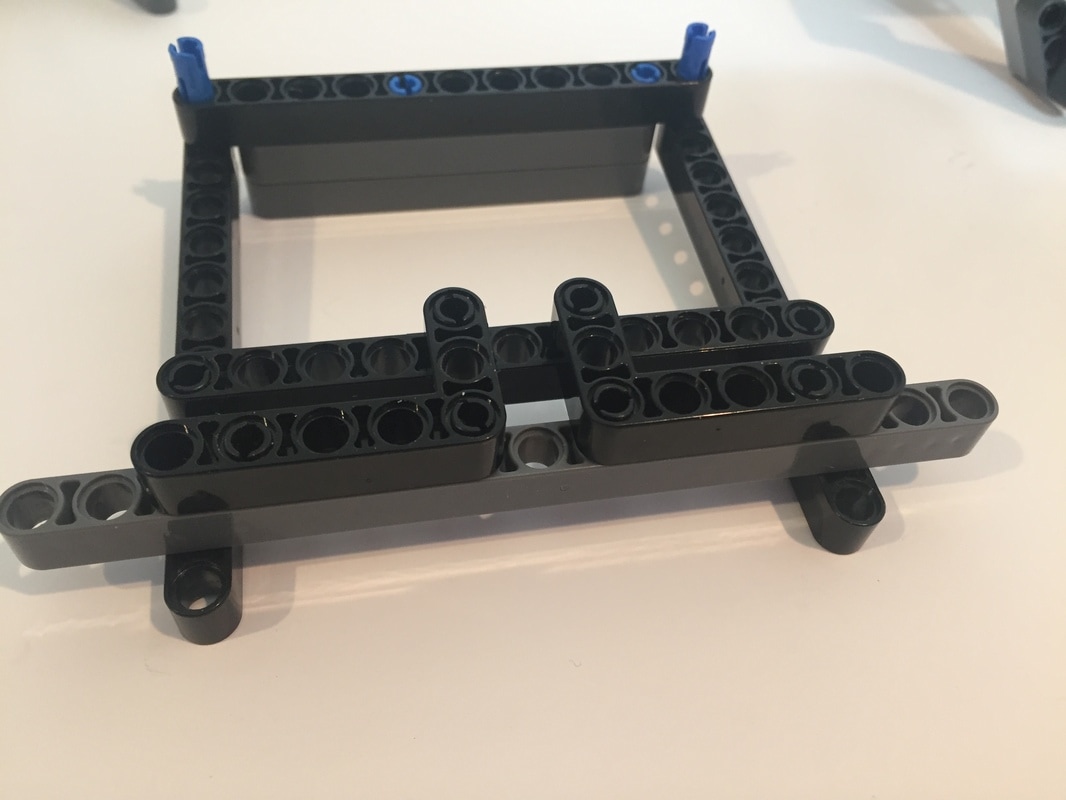
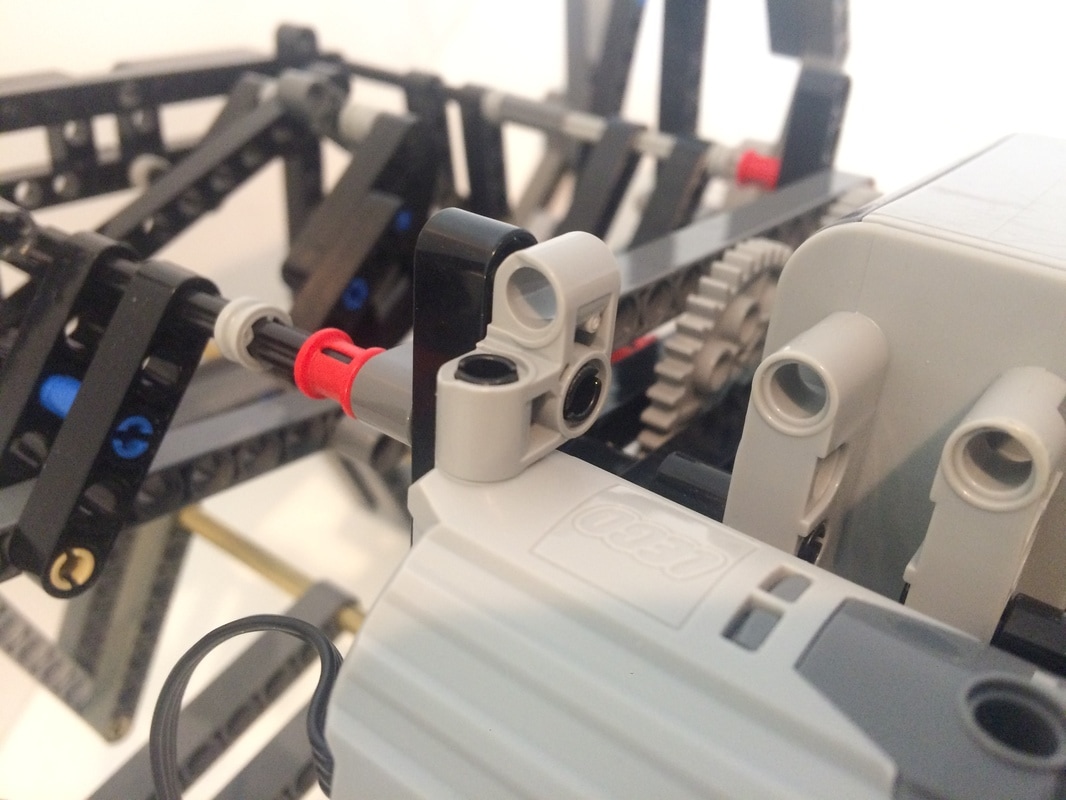
First I built the frame around the battery box:
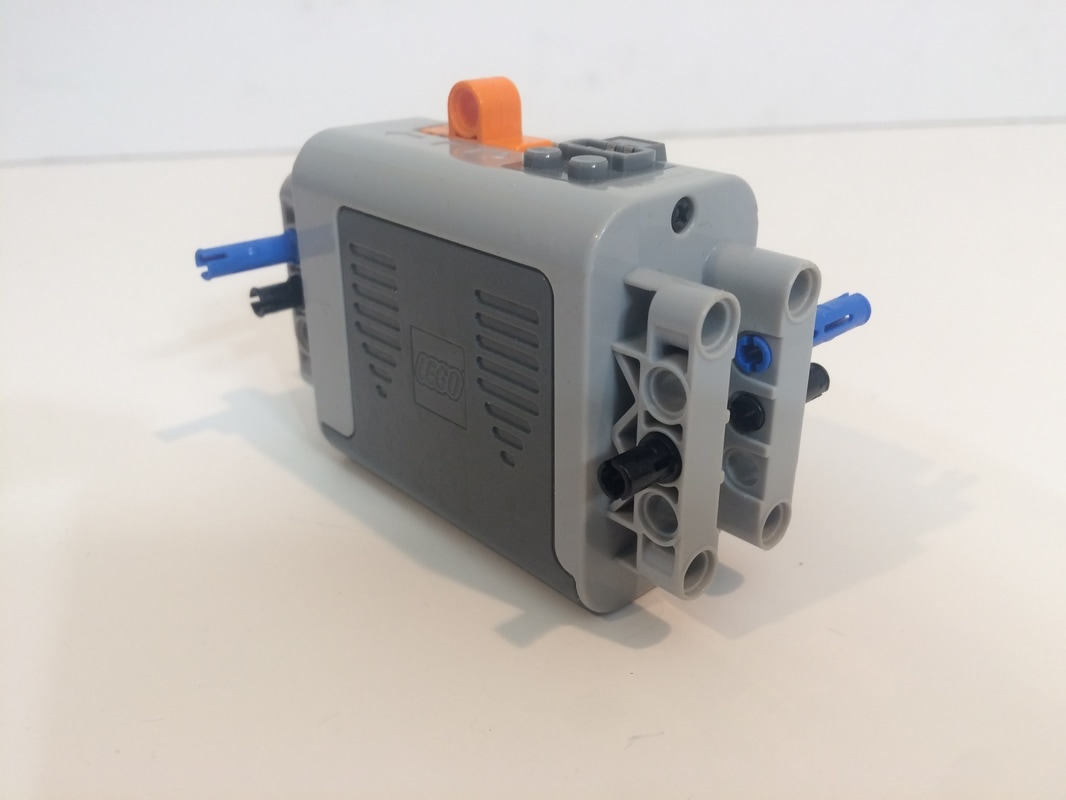
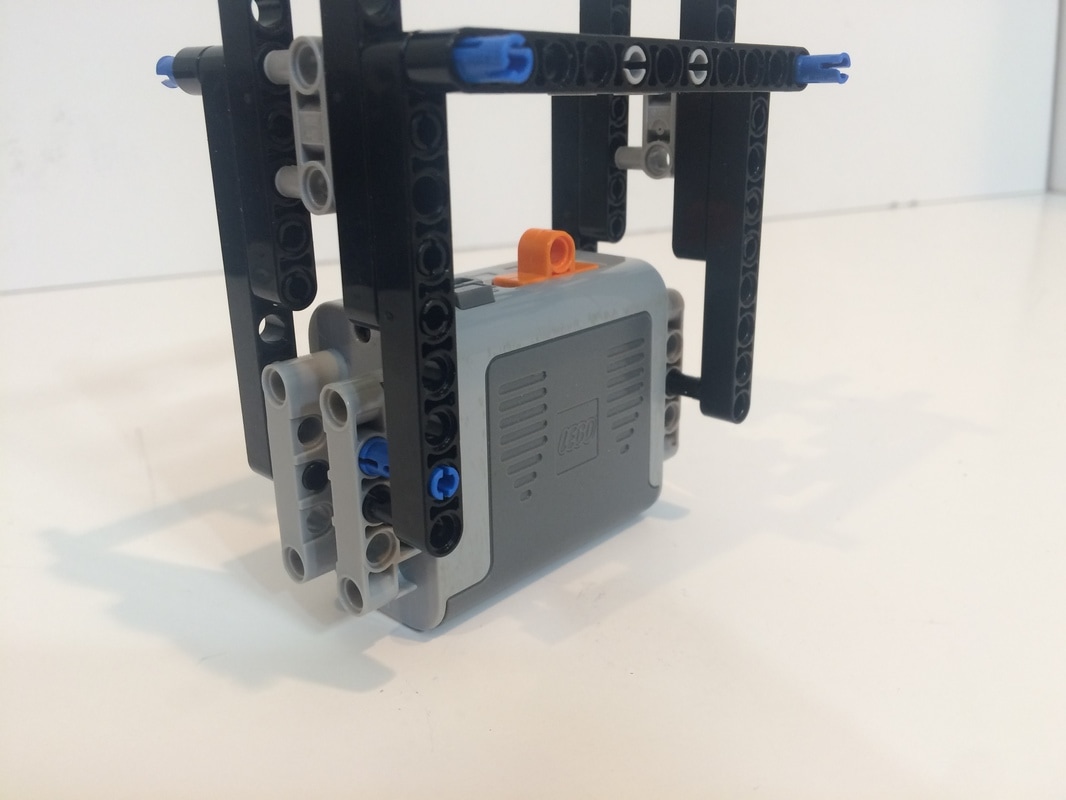

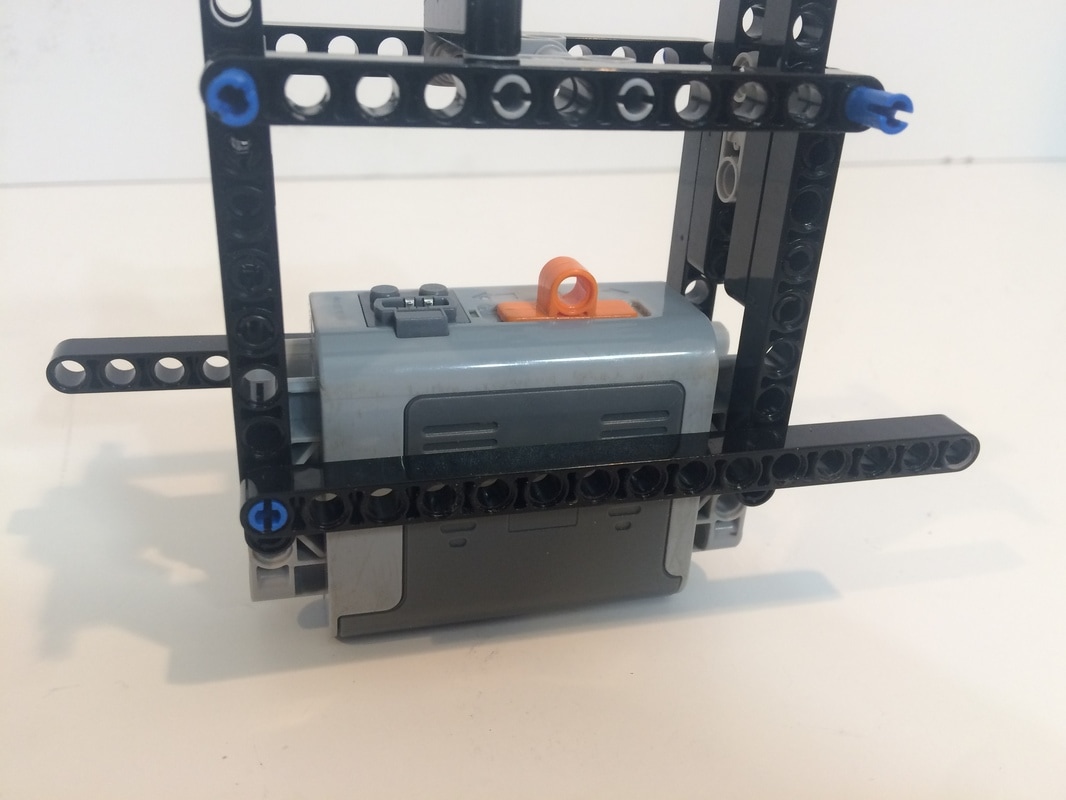
NOTE: medium motors would be better than these XL motors, which can easily destroy gears - plus their larger size prevents using the long metal 3/16" rods for the lower support rods. Instead, LEGO's plastic axles are used in this build which tend to come apart.
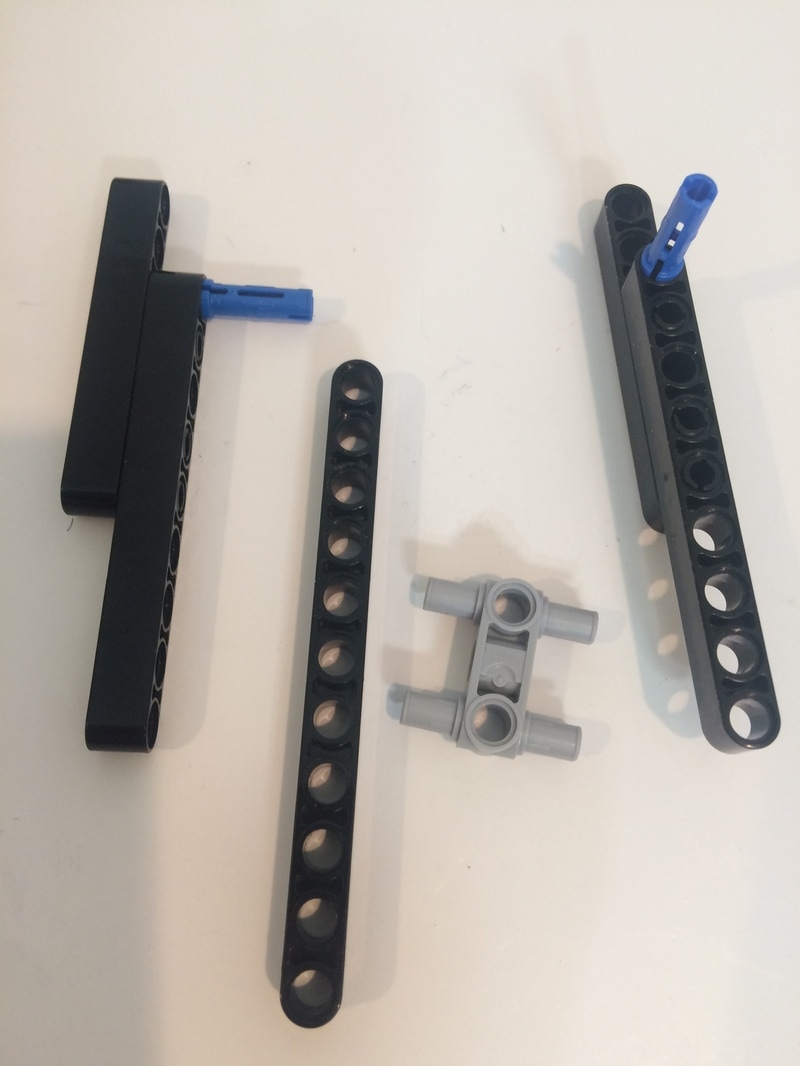
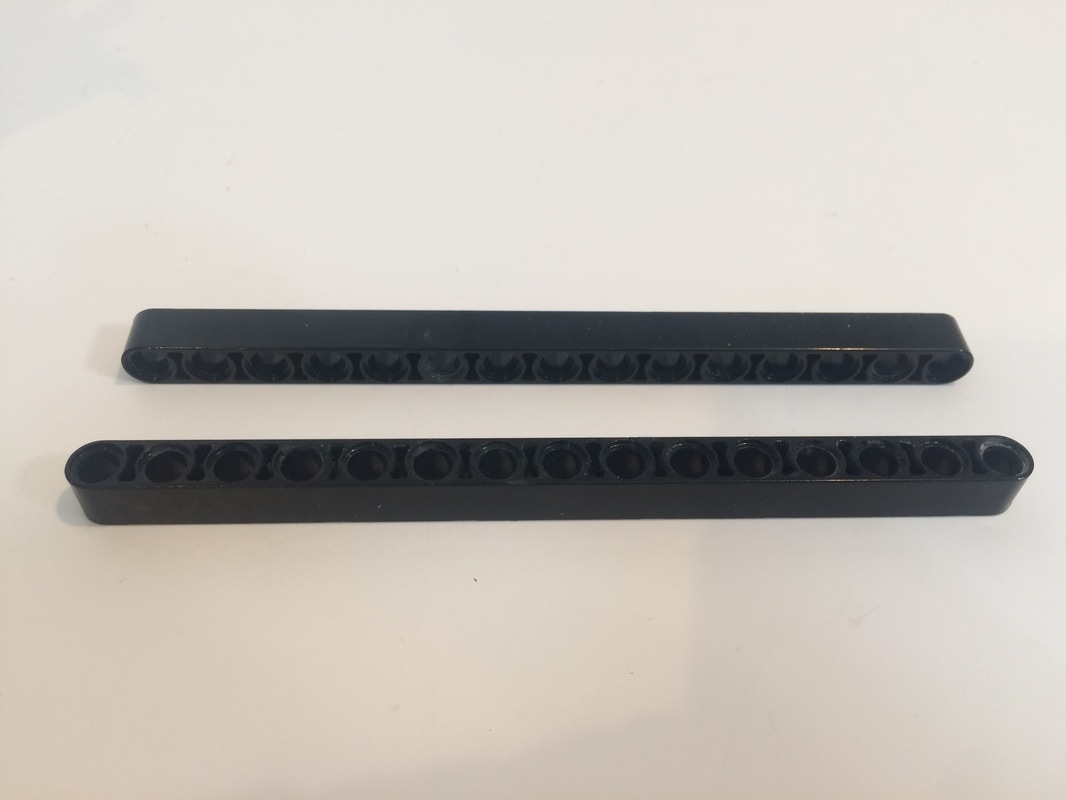
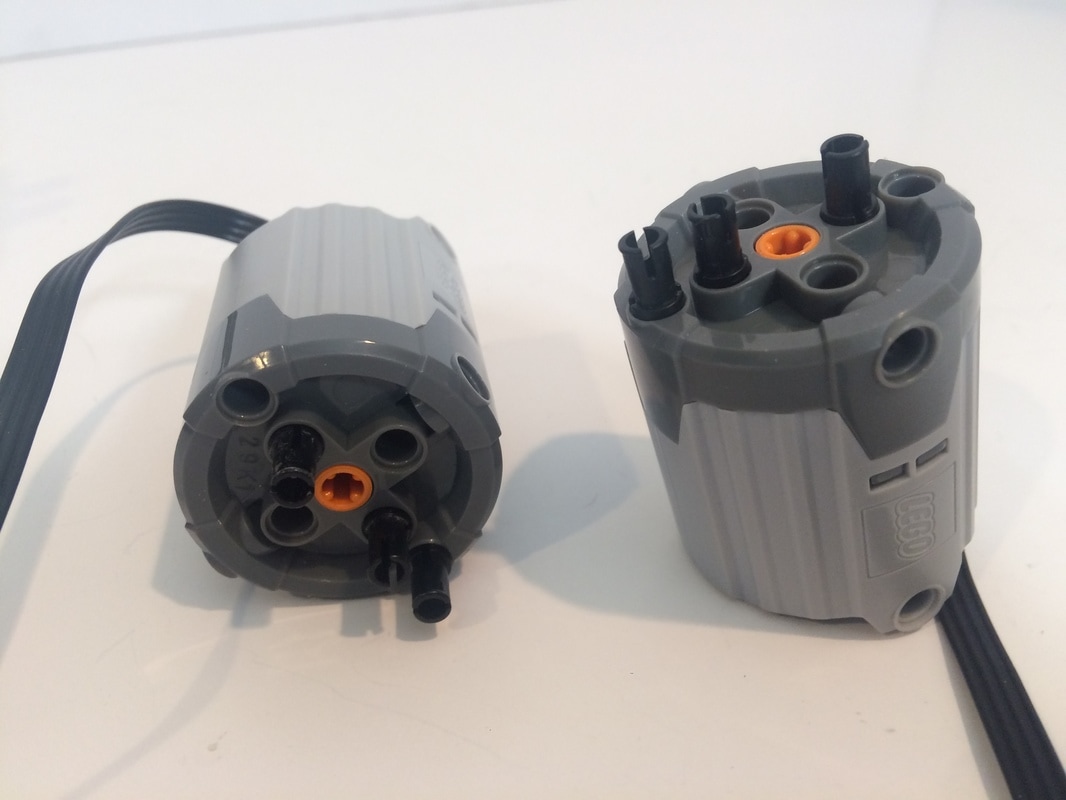
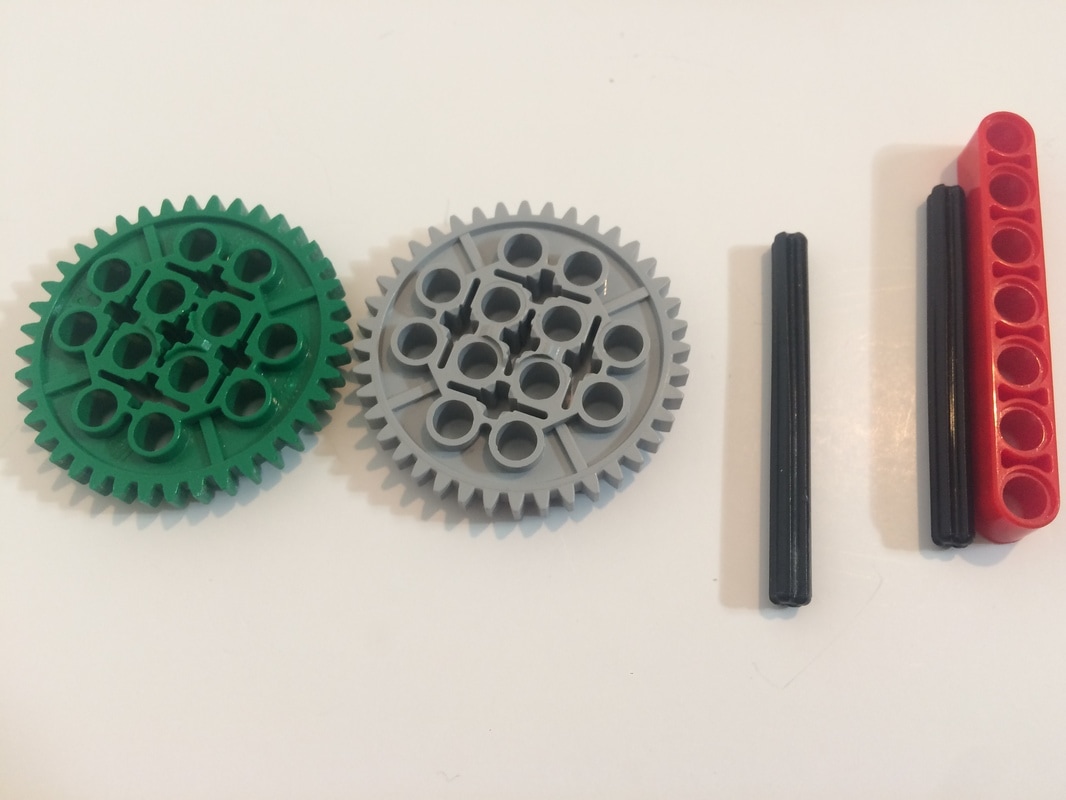
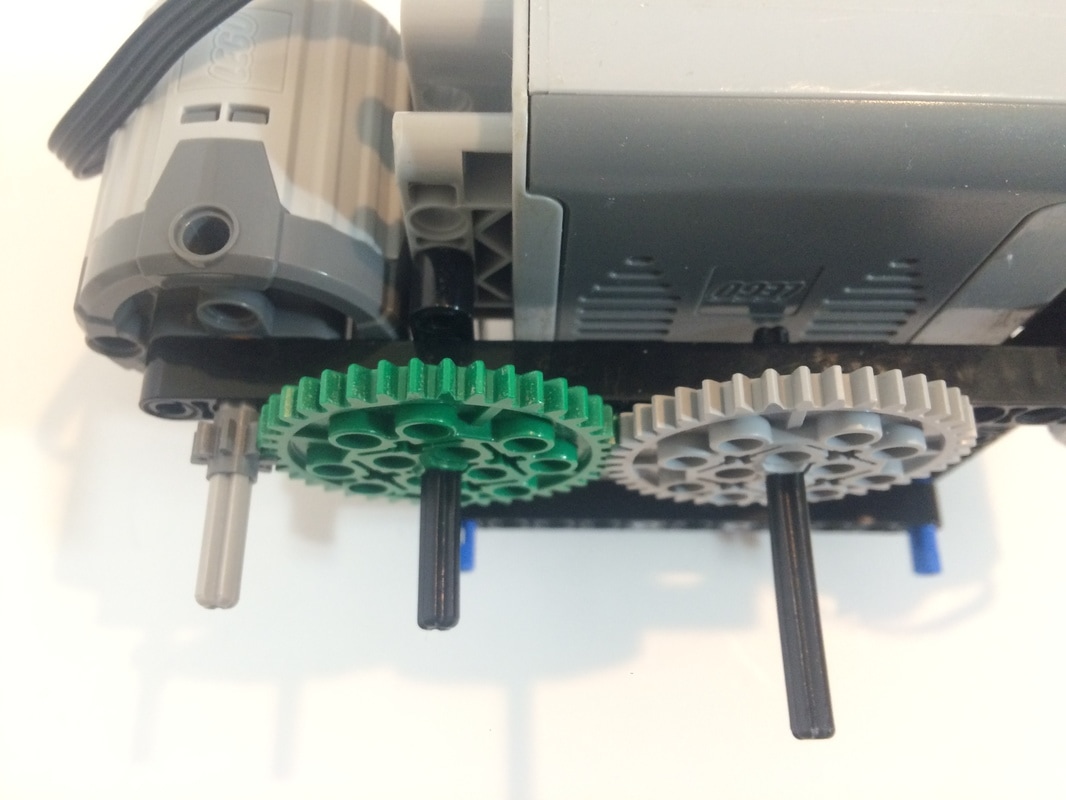
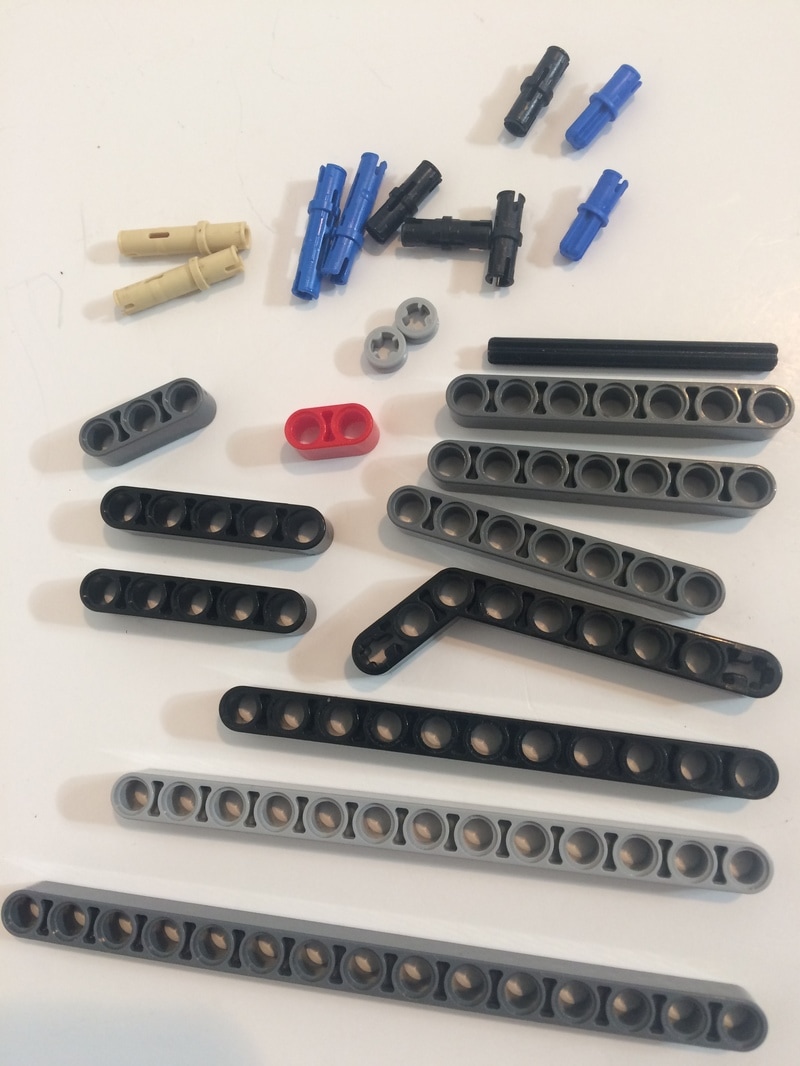
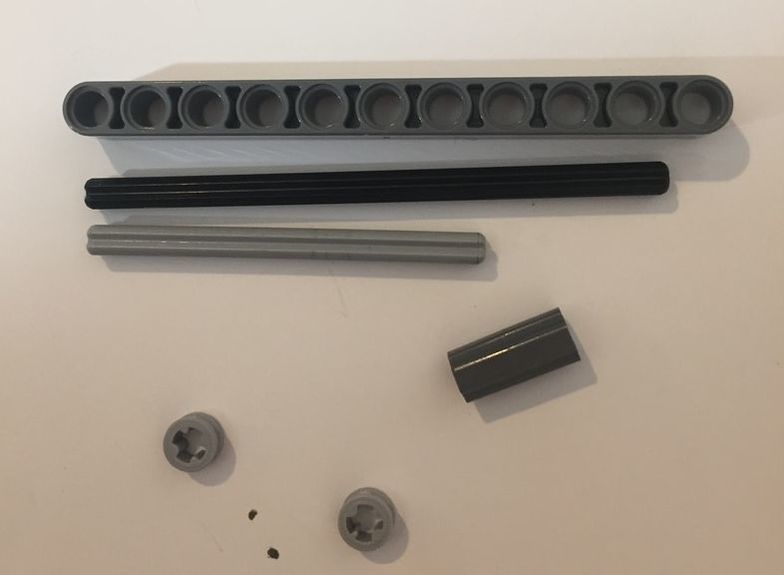
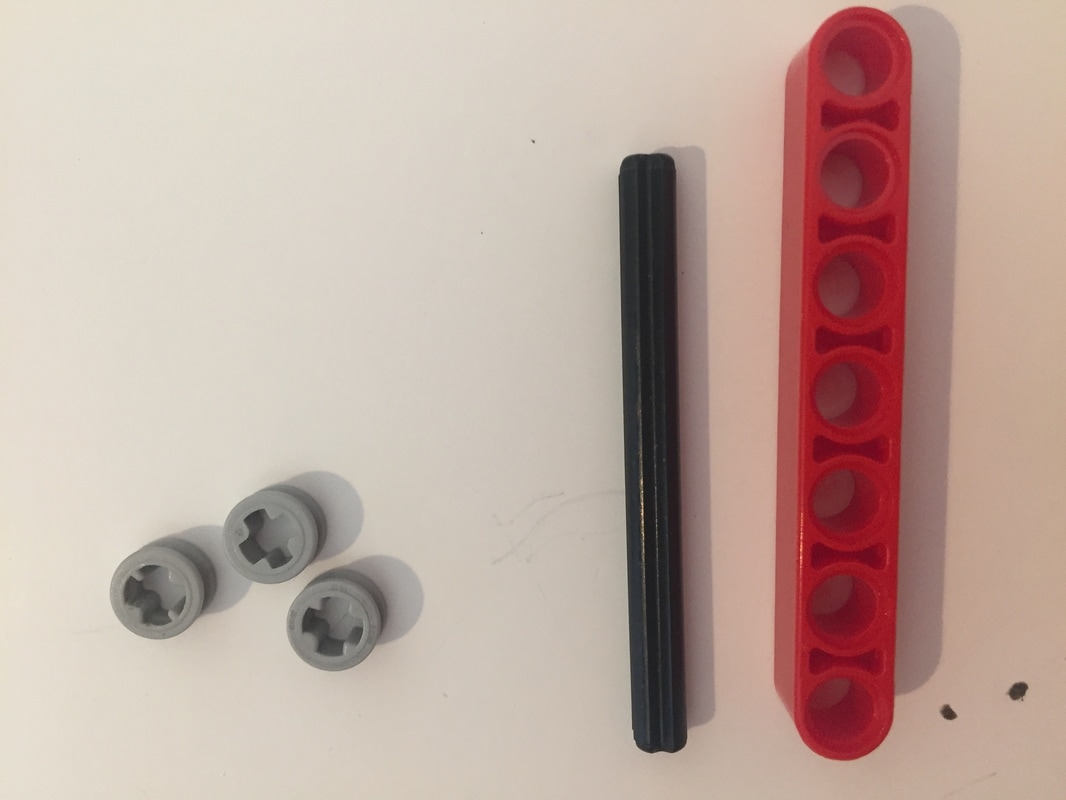
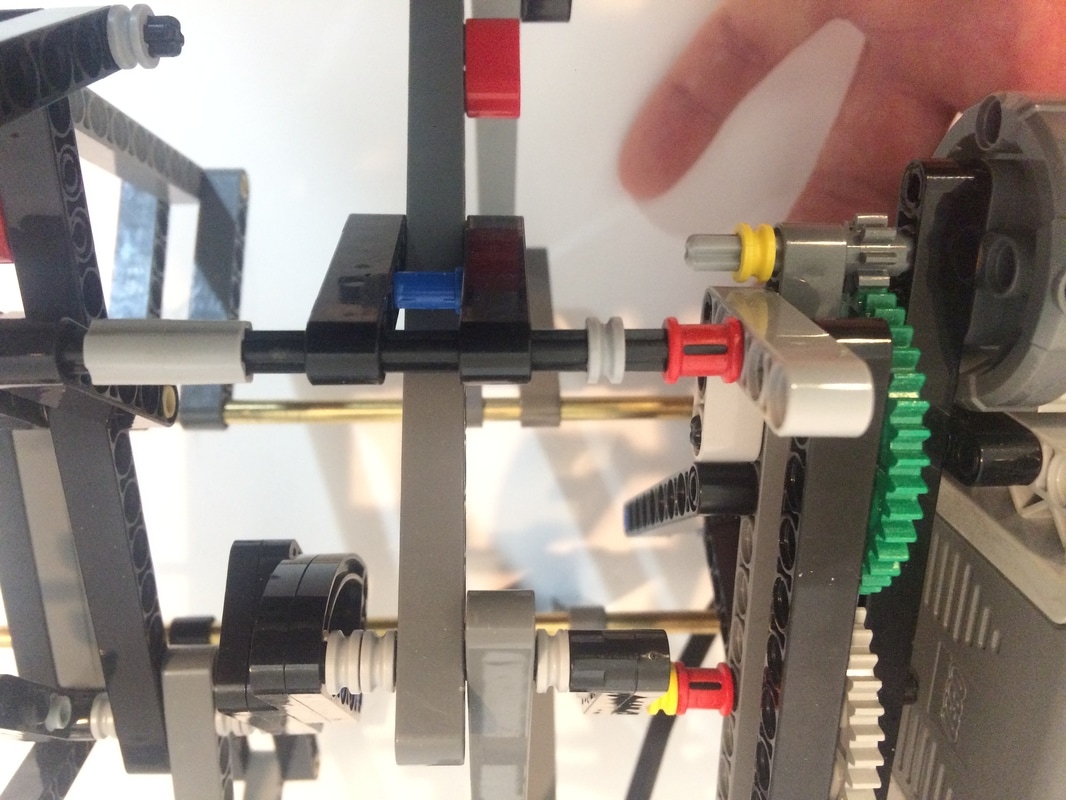
Below I paired the axles with beams with the same hole count to illustrate how LEGO references axle length.
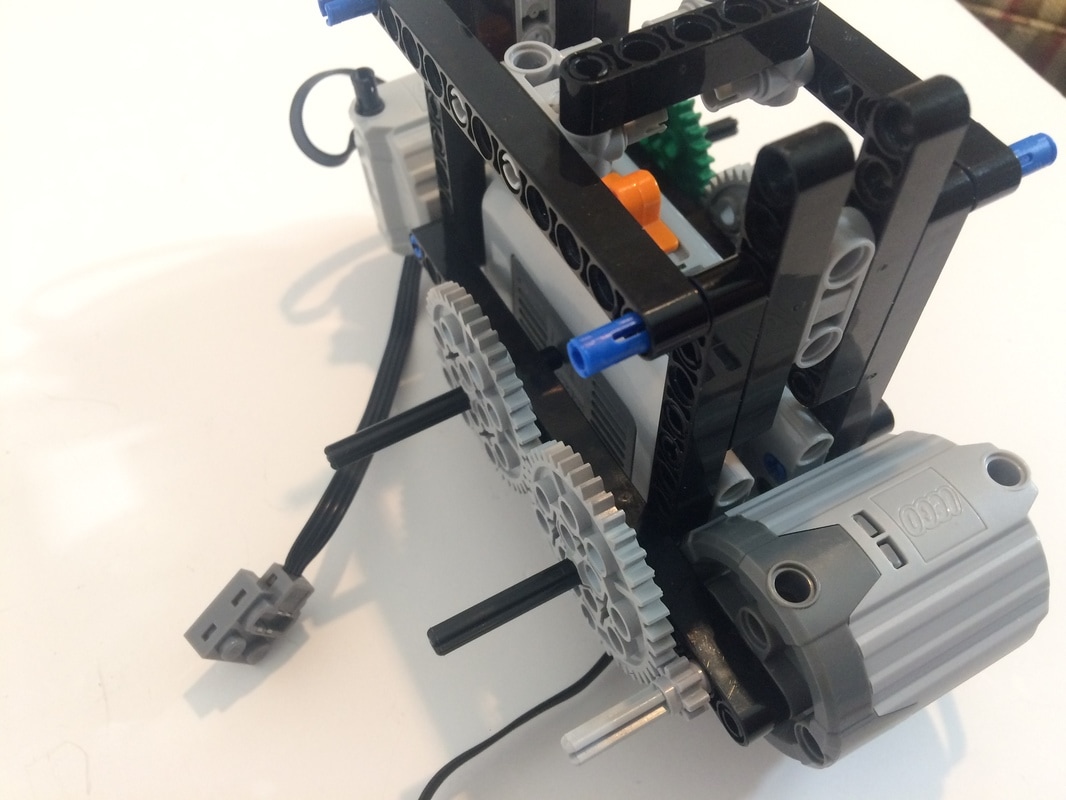
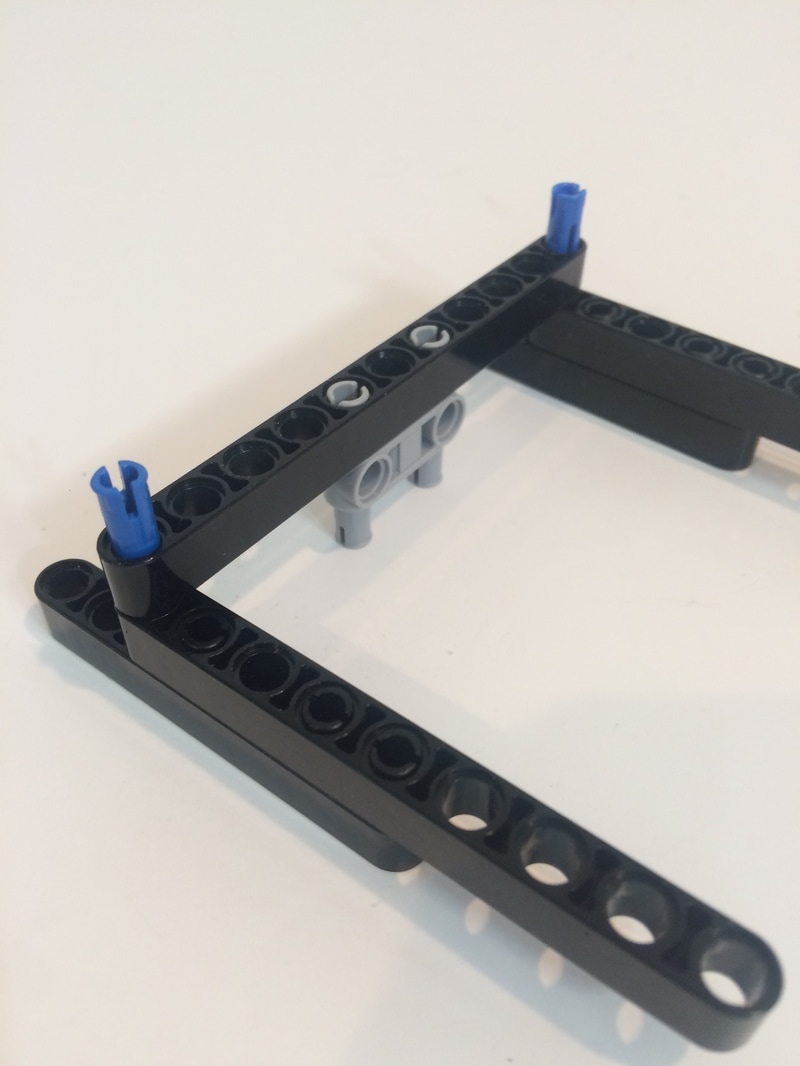
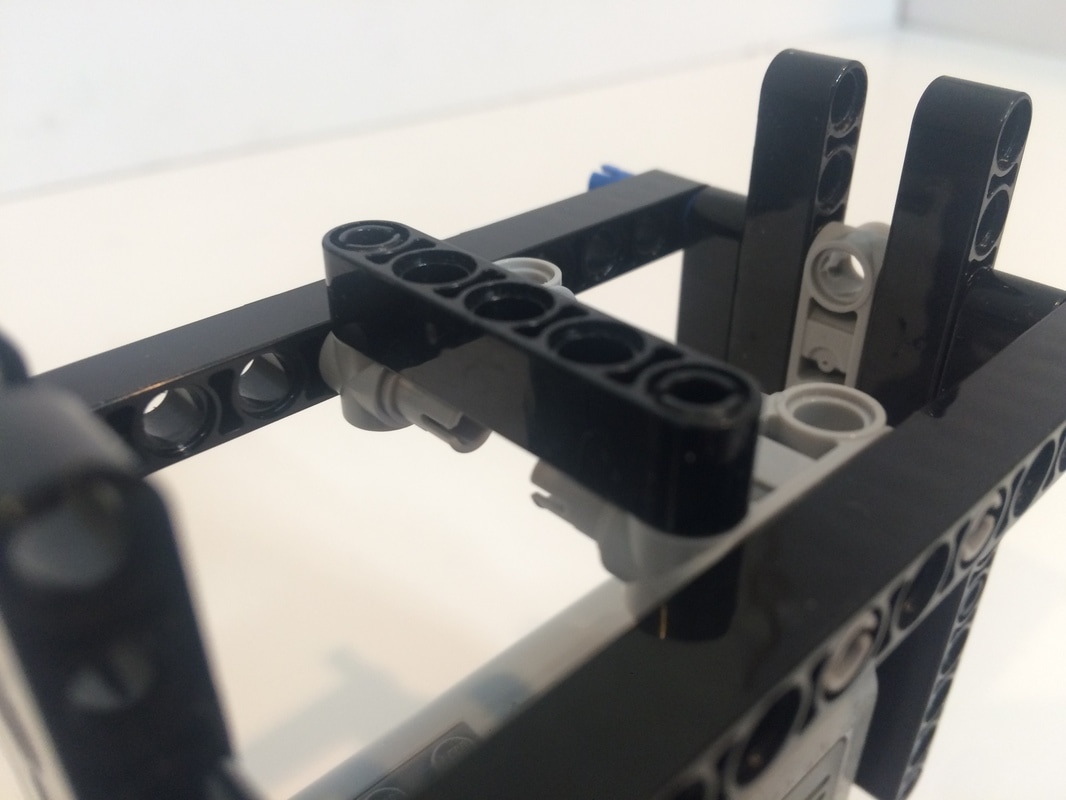
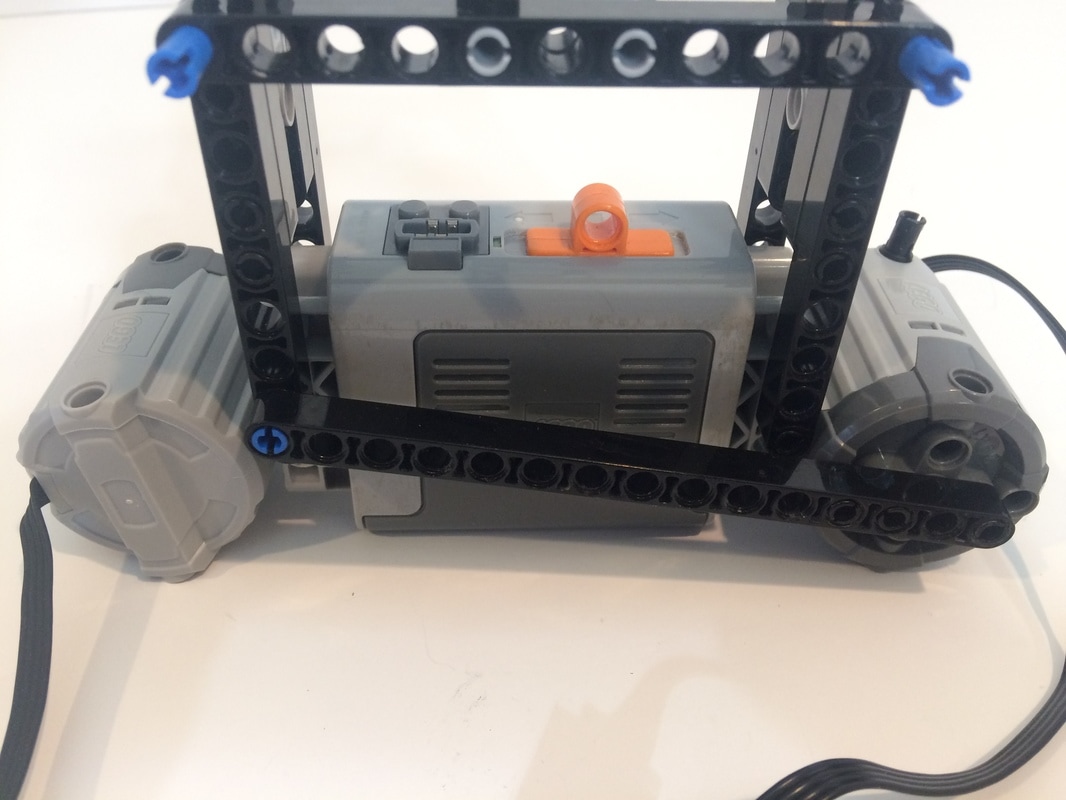
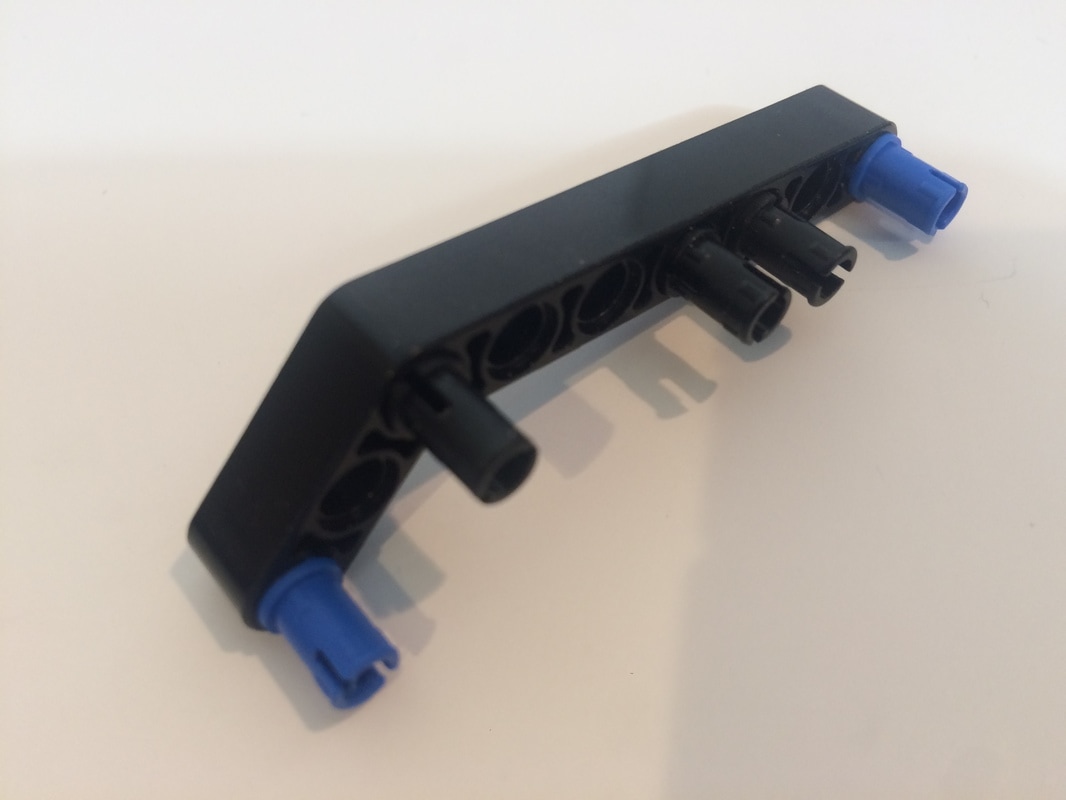
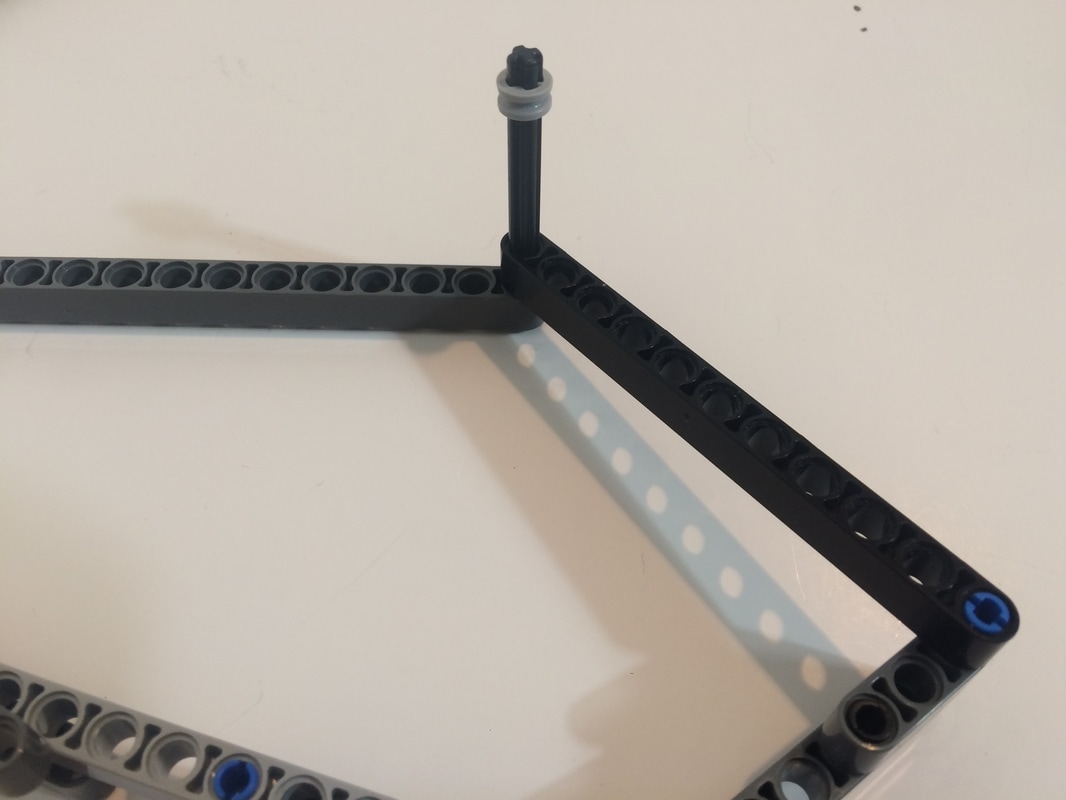
This triangle is the key to making a strong frame for Klann.
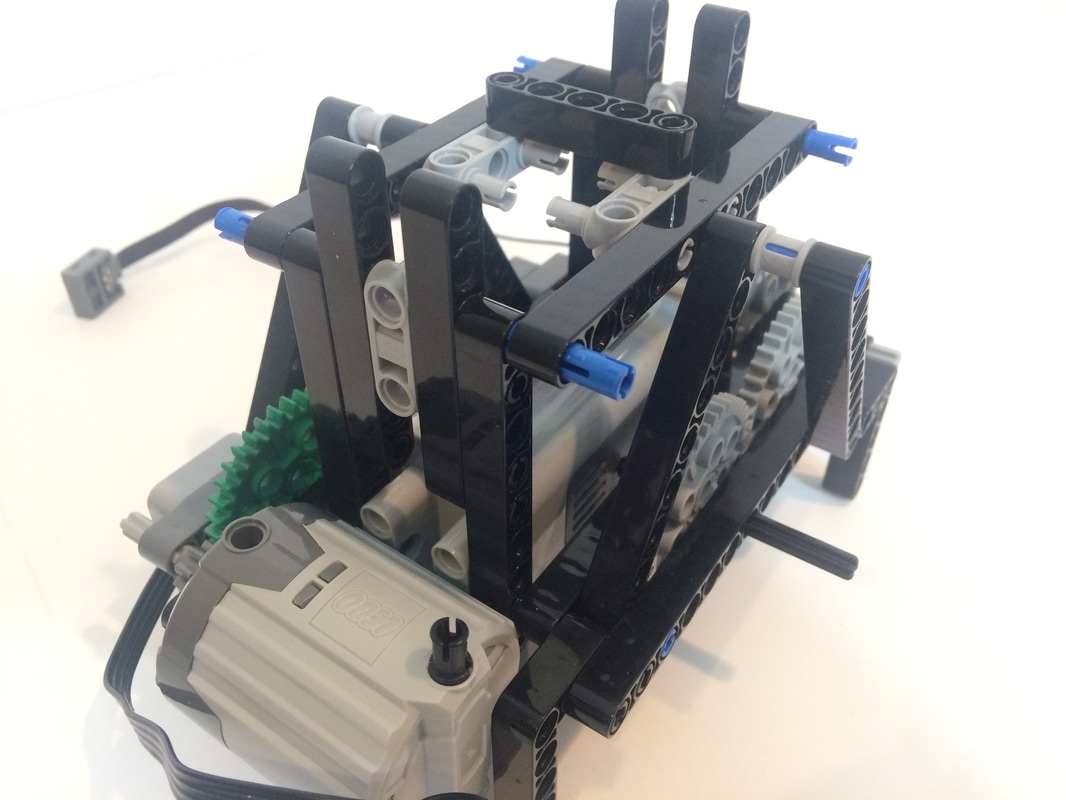

If medium motors had been used instead, then the frame holes where the red pins are inserted wouldn't be blocked by the motors, allowing metal rods to span the entire robot.
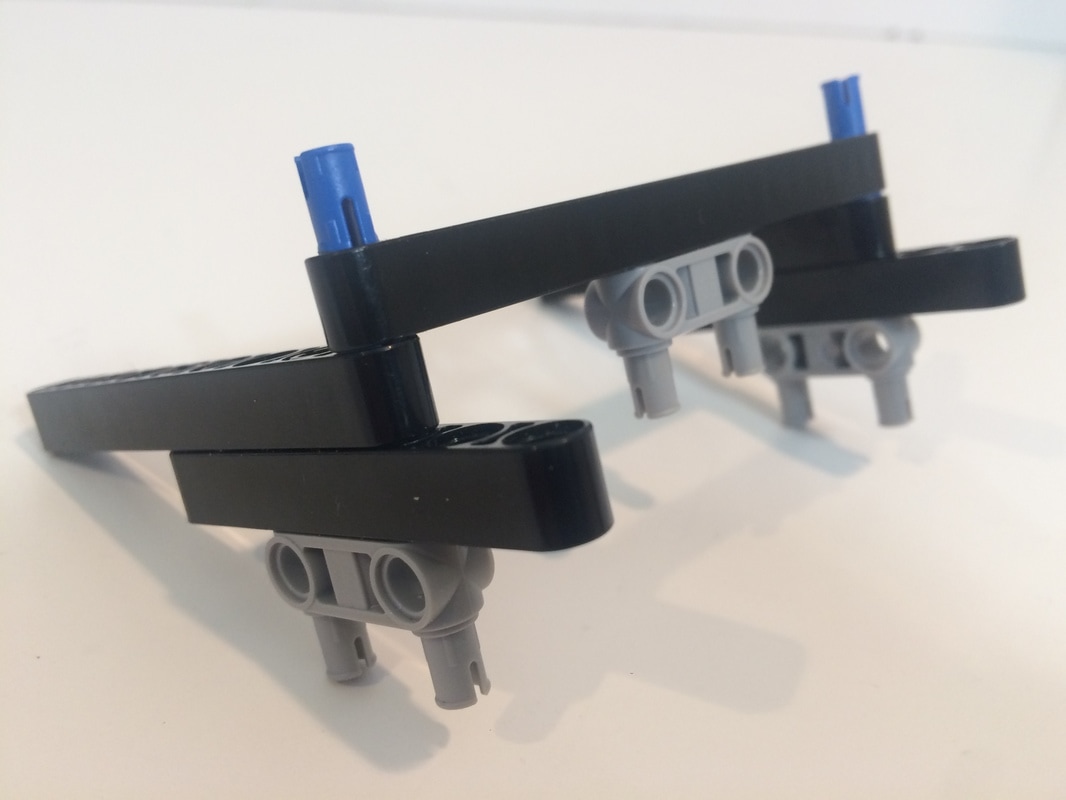
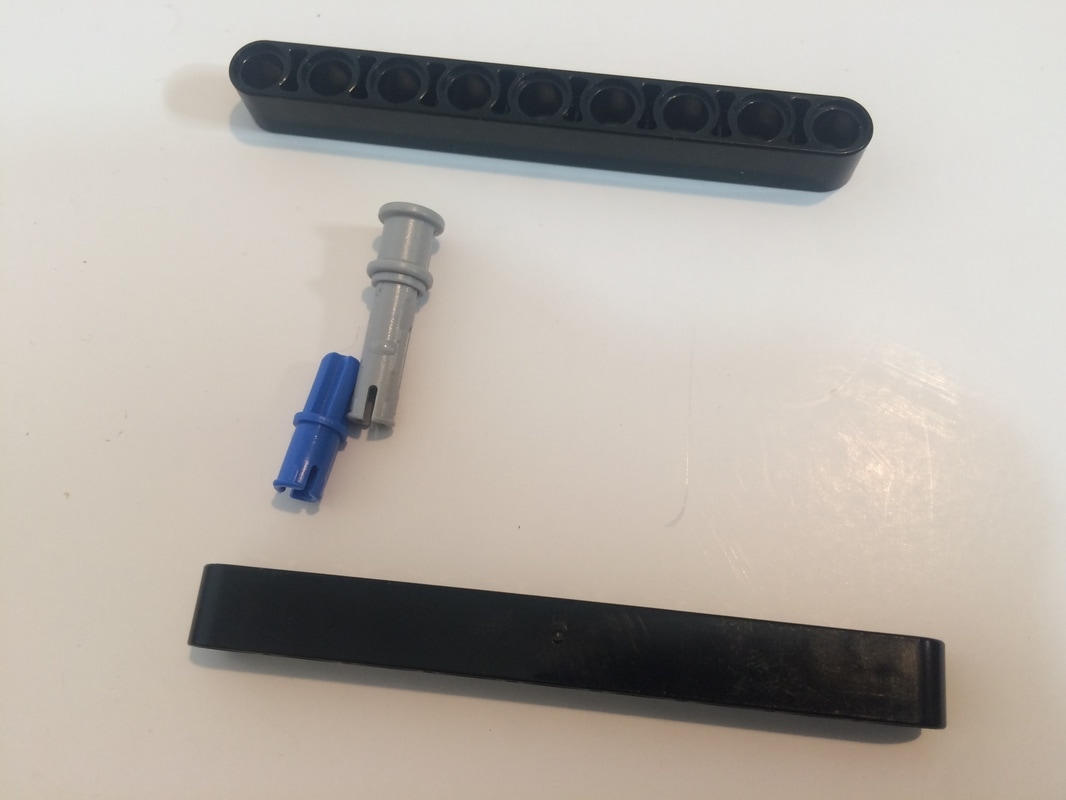
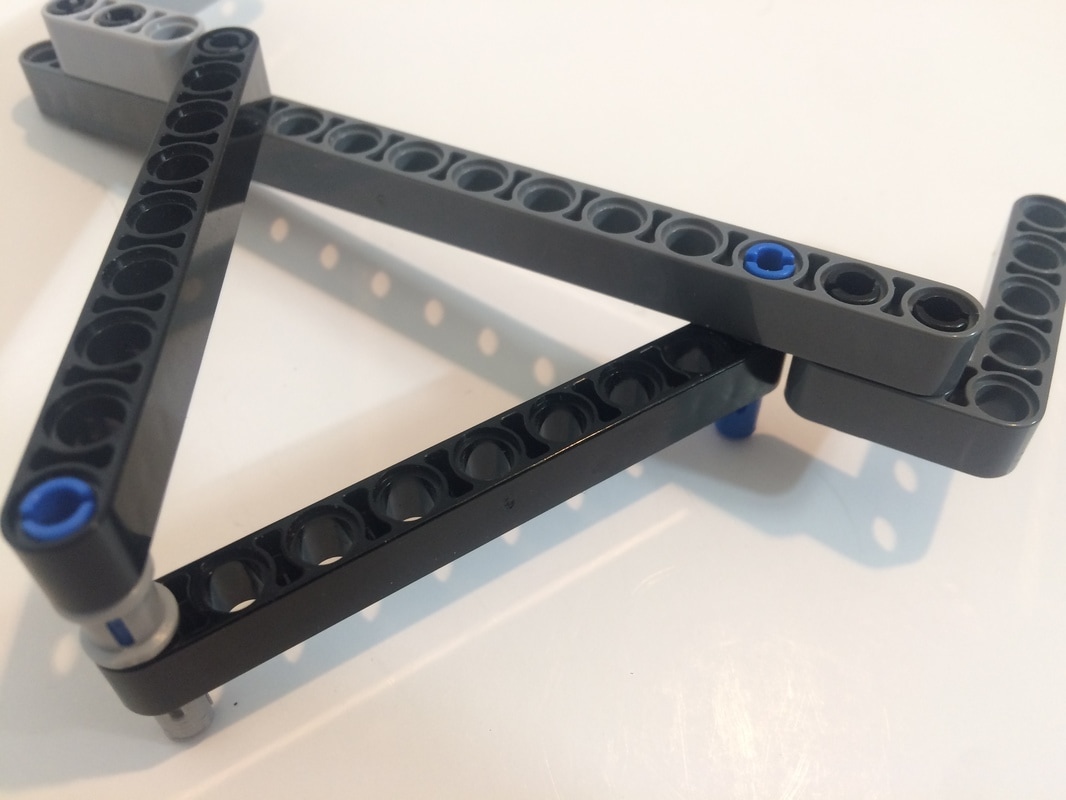
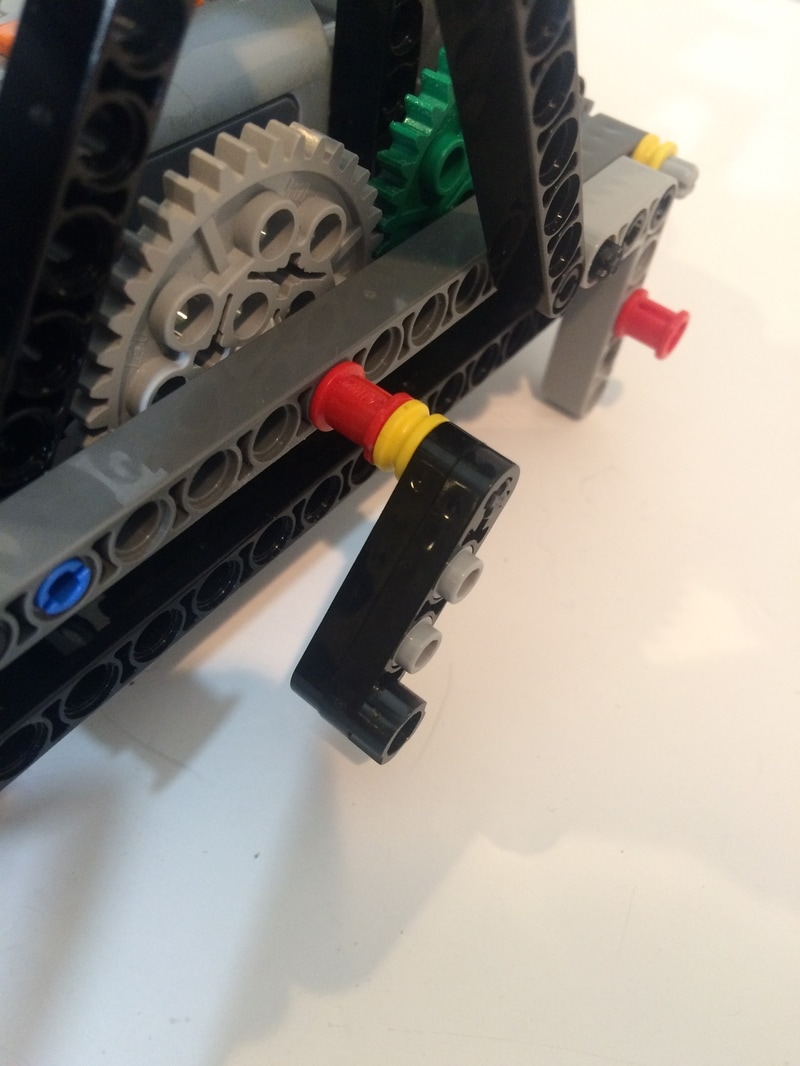
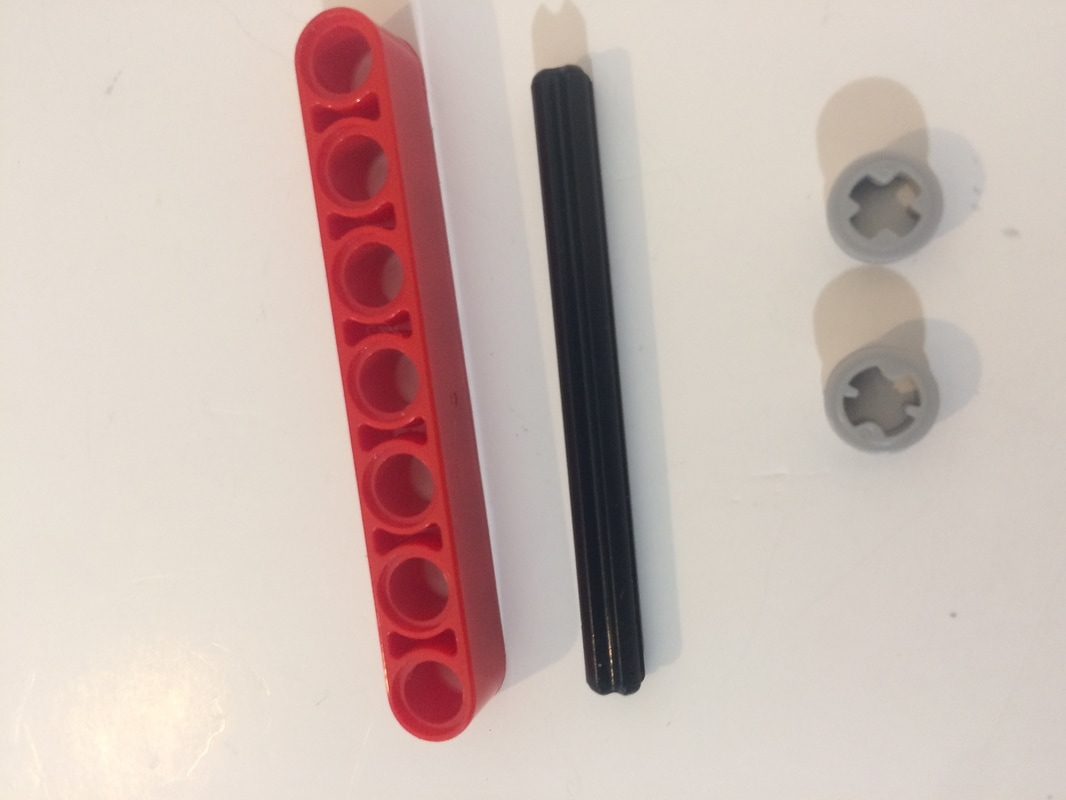
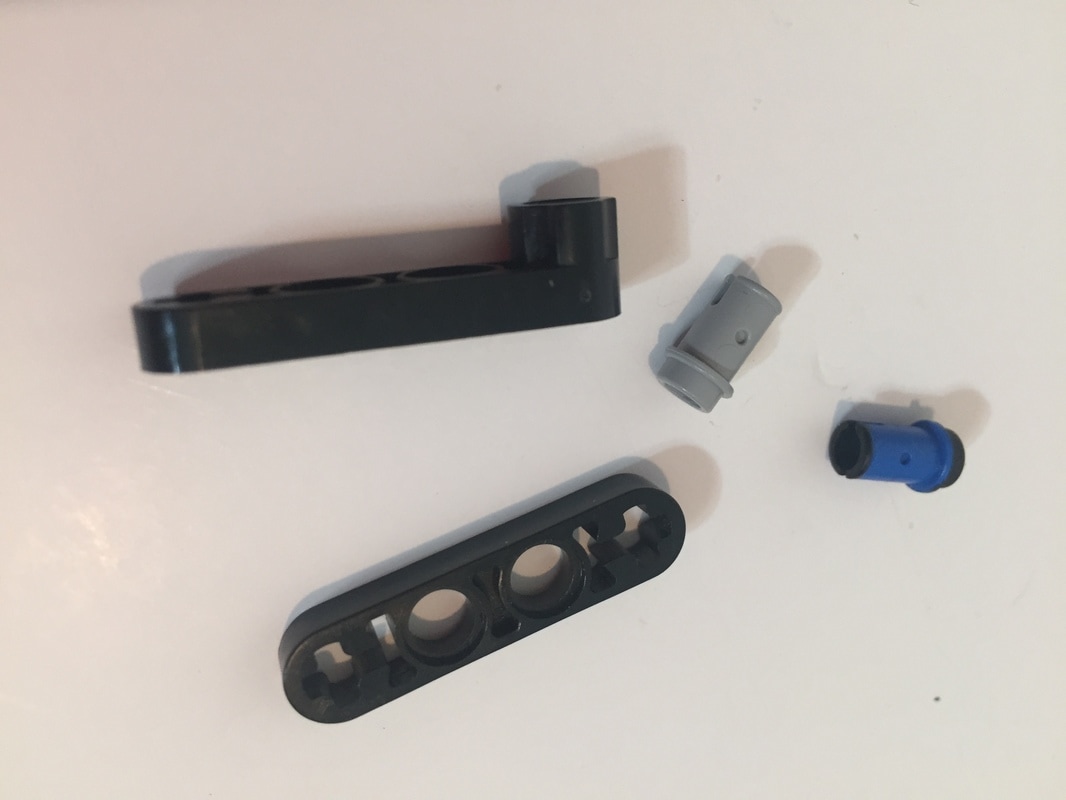
Below are the parts for one of the eight legs. NOTE: the 2 hole red beam helped to prevent Klann's (Ver 1) legs from hyper-extending near its Dead Point. As noted at the beginning of these instructions, Ver 2 reduced this tendency. Raising the lower support rods means the upper leg parts no longer get as close to parallel, and red 2 hole beams are probably not needed anymore.
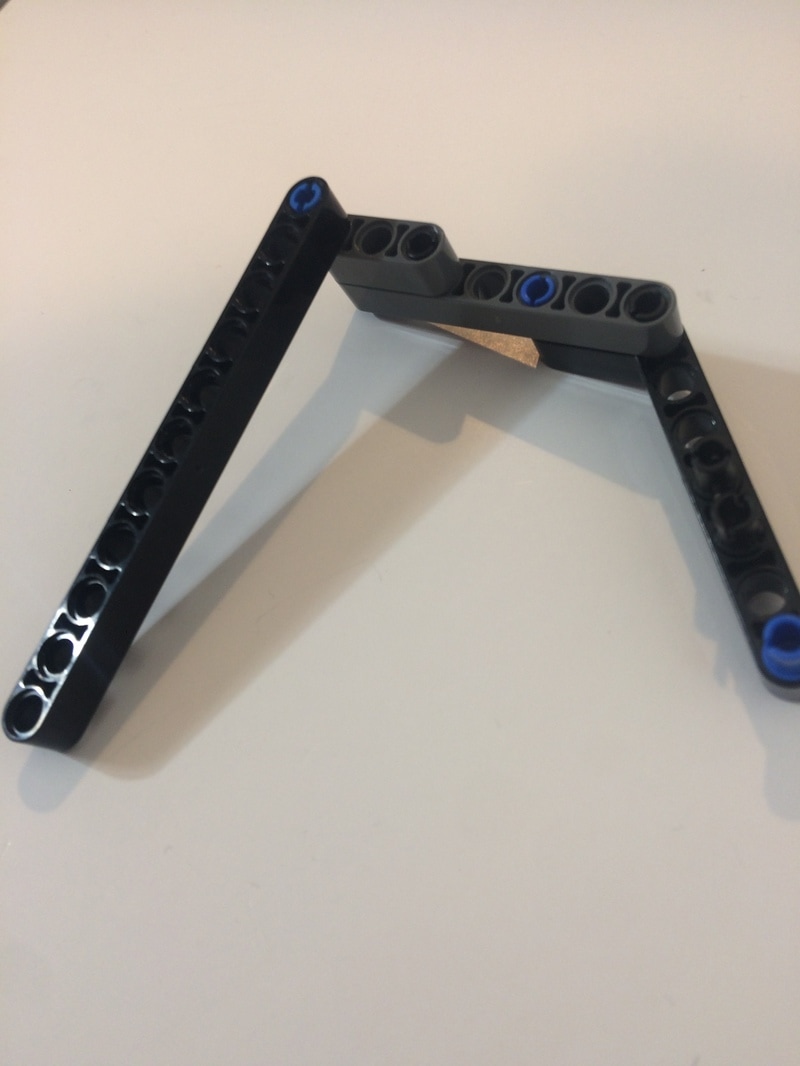
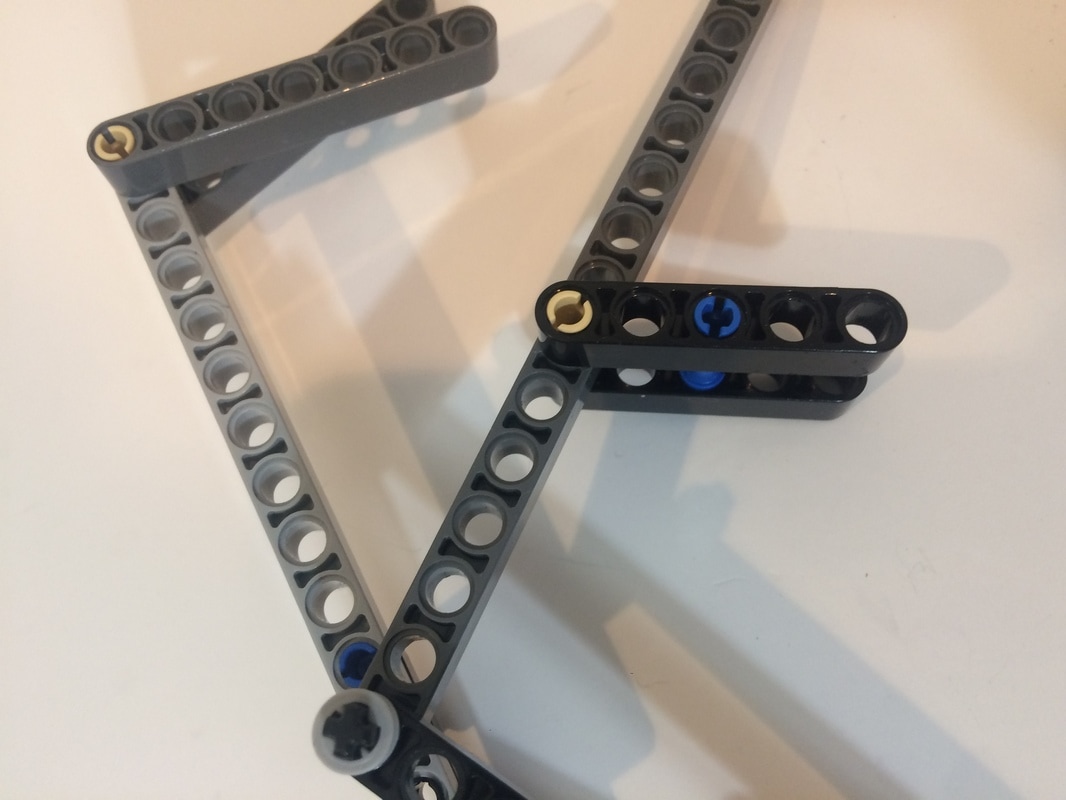
The 2 hole red beam helped to prevent Klann's (Ver 1) legs from hyper-extending near its Dead Point. As noted at the beginning of these instructions, Ver 2 reduced this tendency. Raising the lower support rods means the upper leg parts no longer get as close to parallel, and red 2 hole beams are probably not needed anymore.

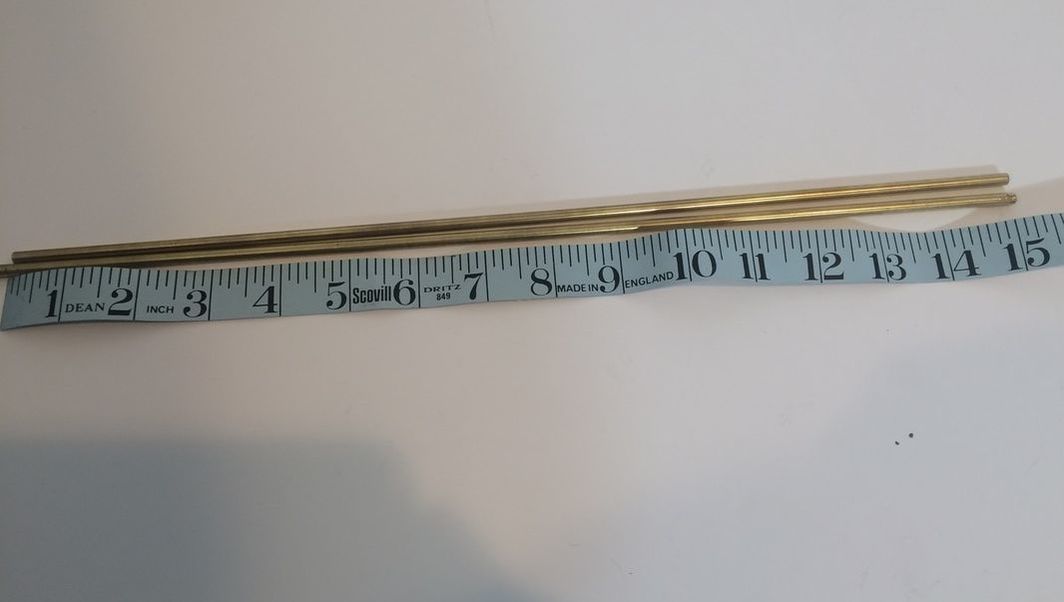
For Klann's 2 support rods I used 3/16 inch OD Brass tube, but solid aluminum rods work fine as well and may have less risk of bending. Both rods were cut to 15 inches in length, and be sure to file the cut smooth so that the legs parts can slide on easily.
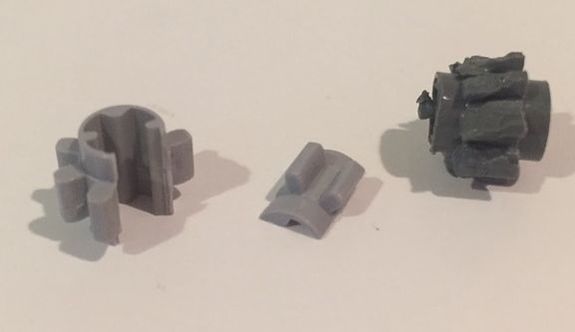
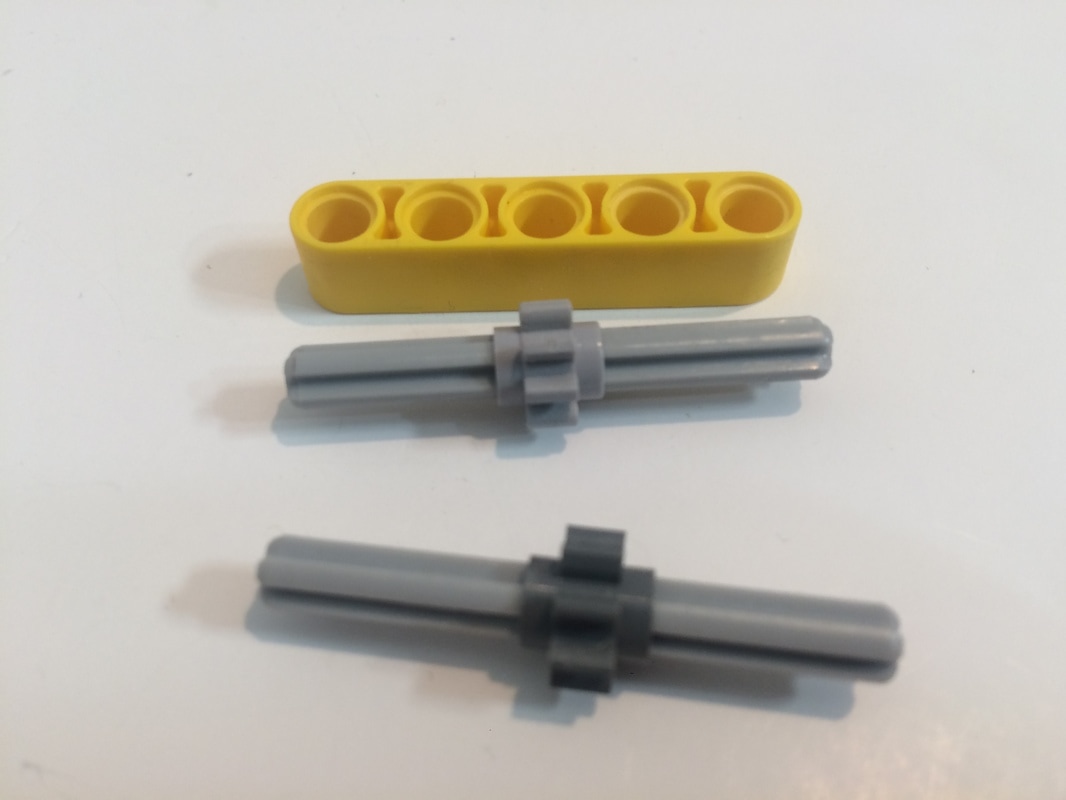
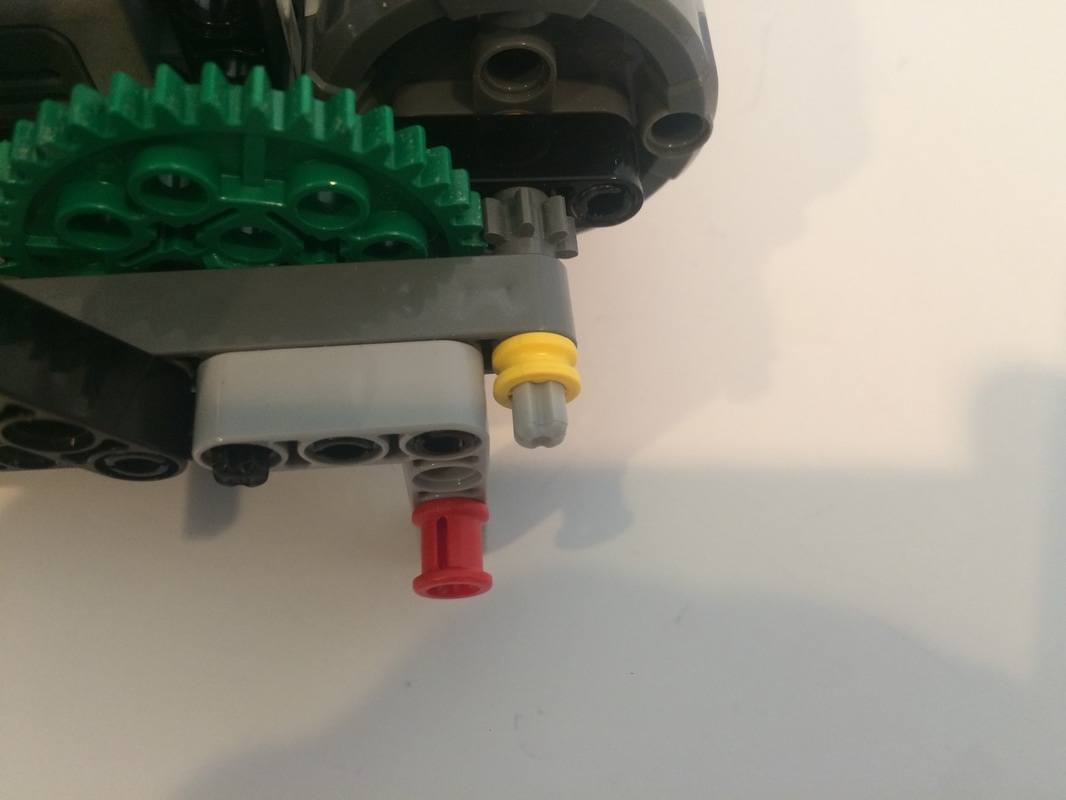
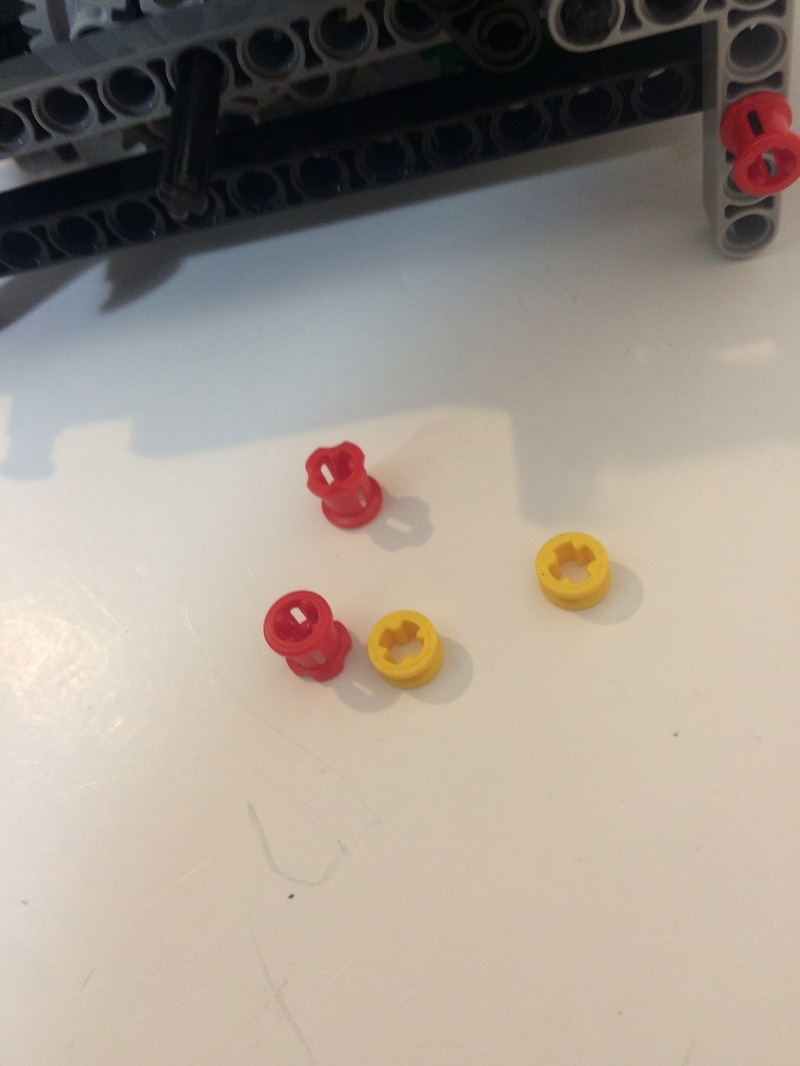
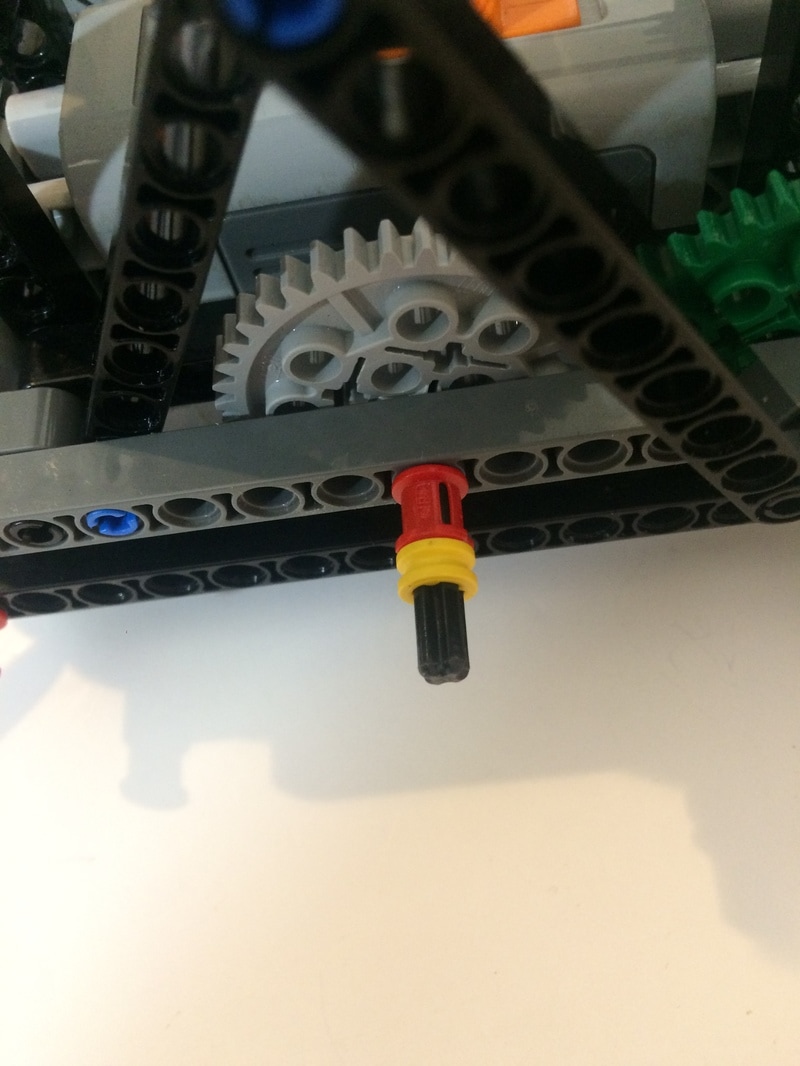
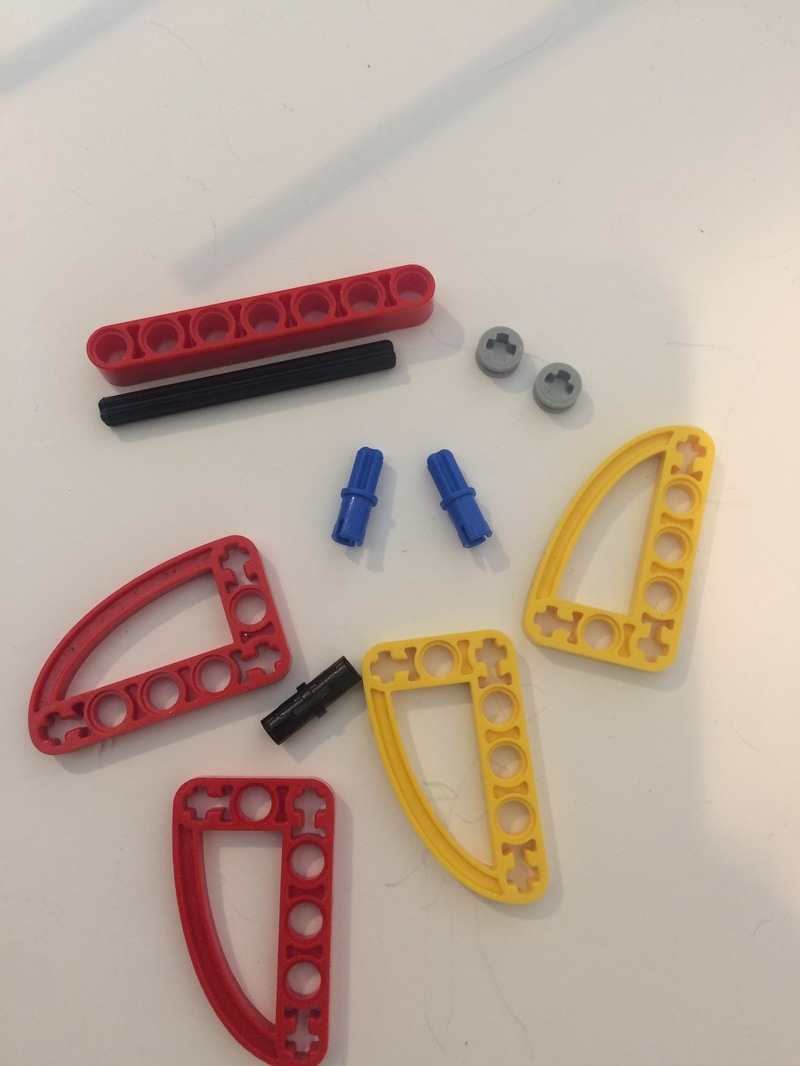
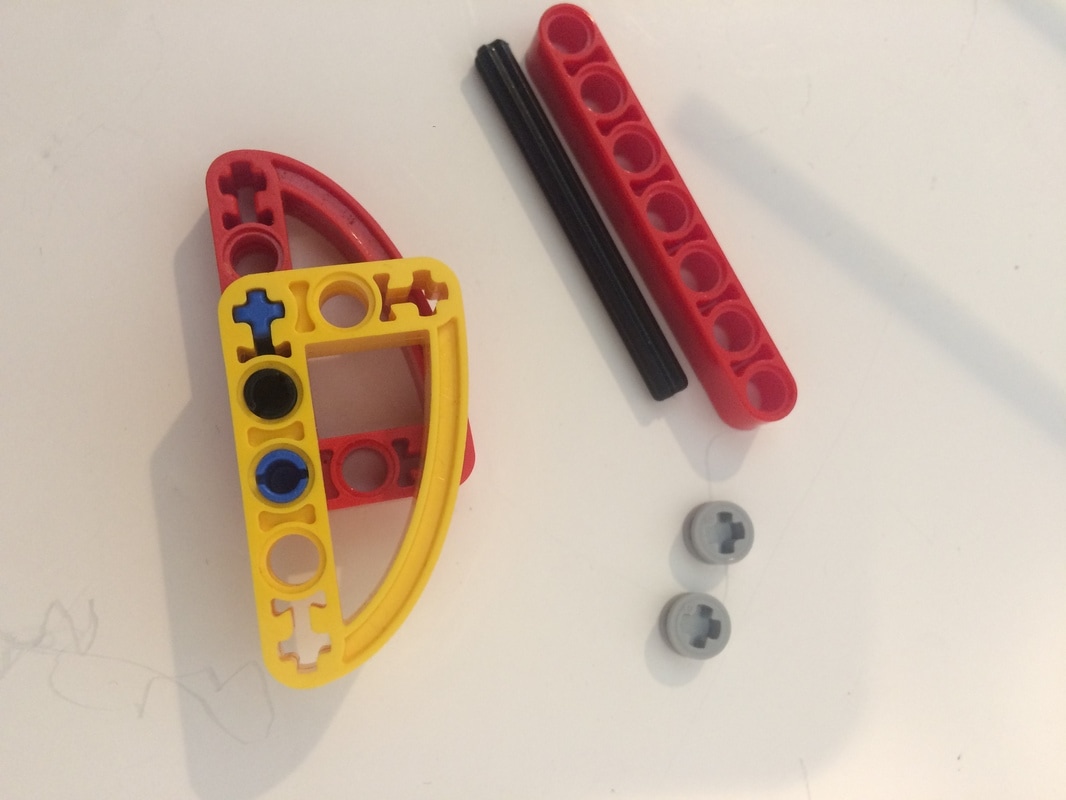
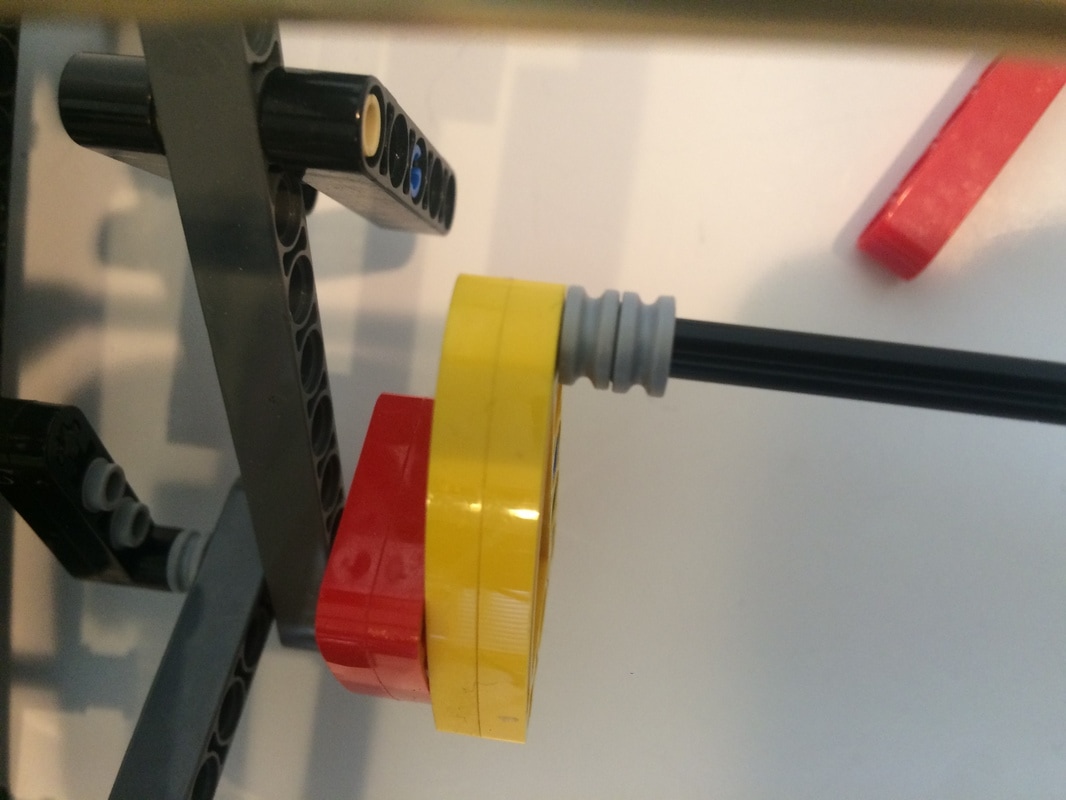
Because of the higher torque of walkers I connected two 3x5 cams together to make stronger cranks. The red and yellow colors were chosen to make the instructions easier to follow (and I switched to black for my finished build). The red 7 hole beam is there to show that the axle length is 6.
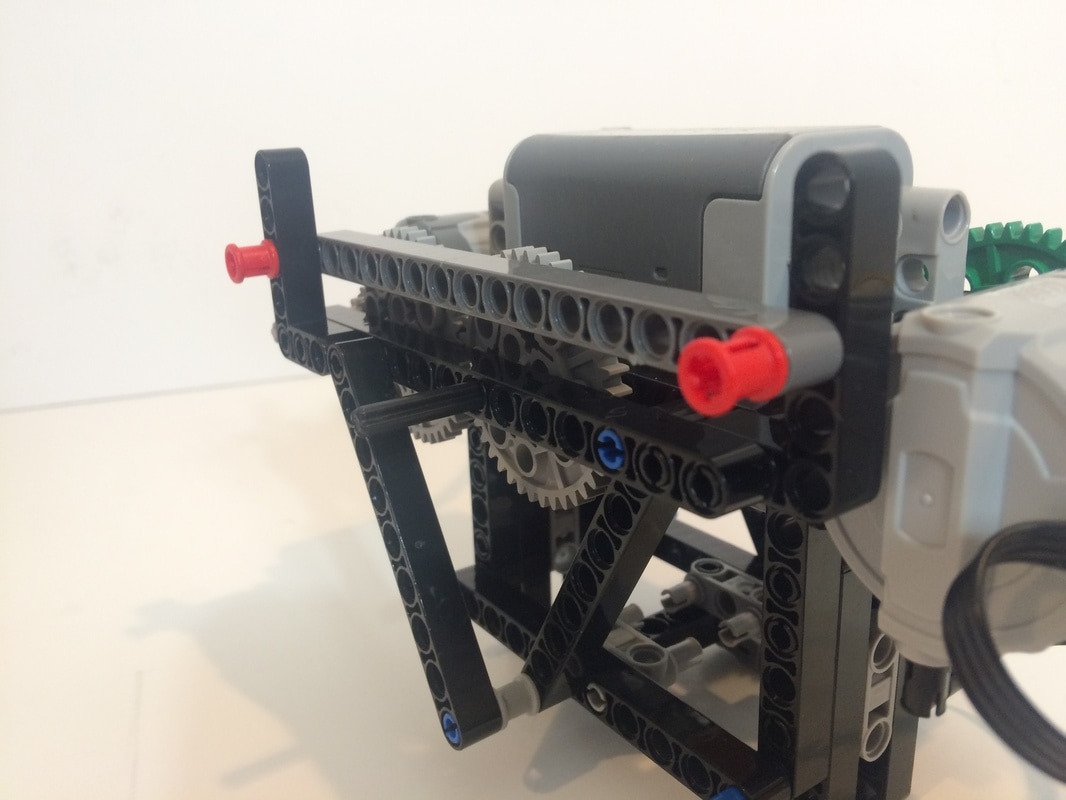
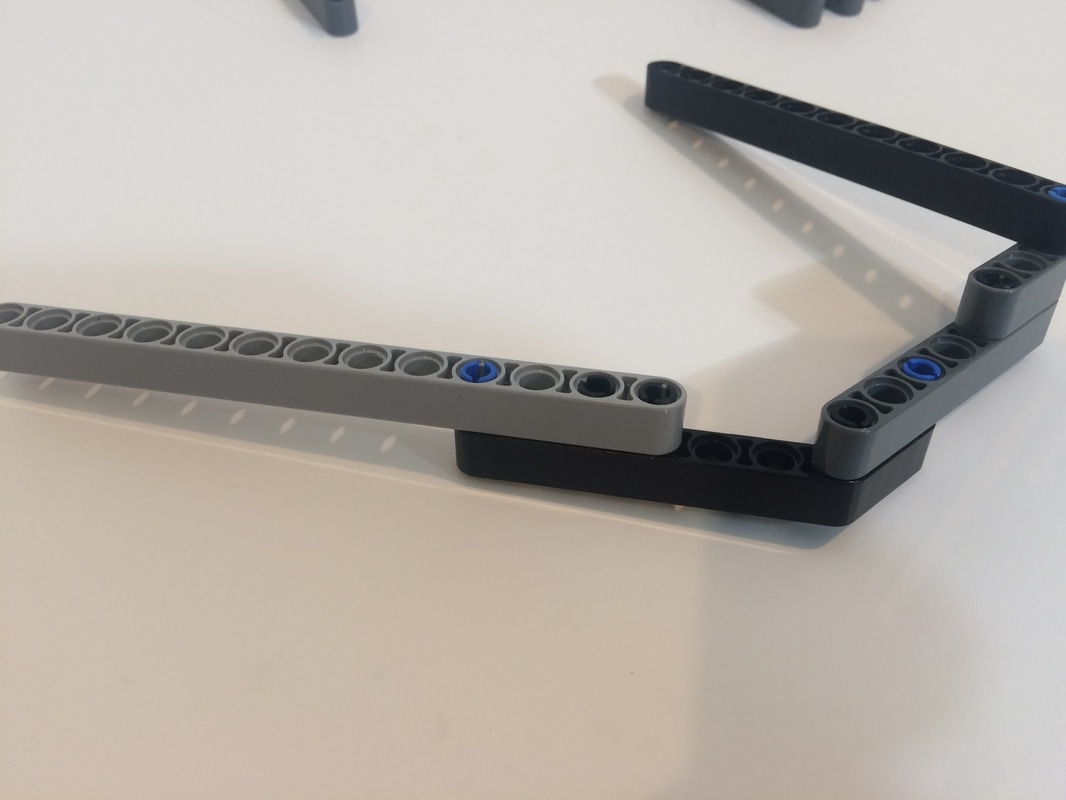
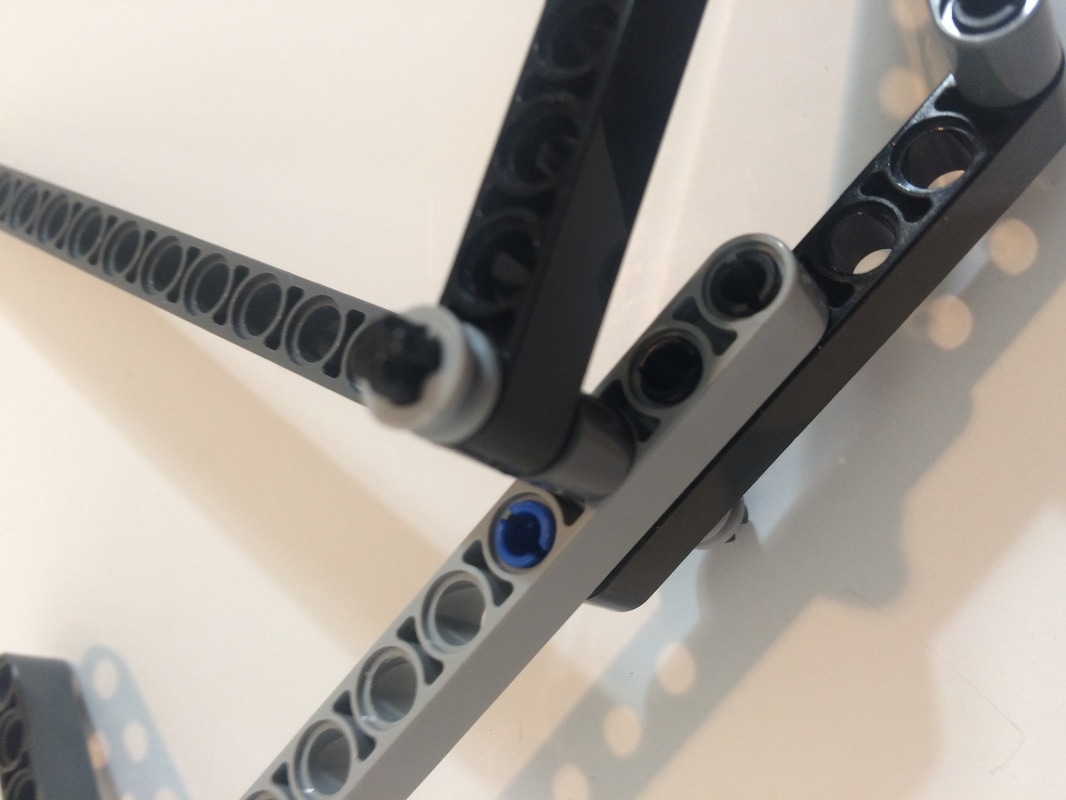
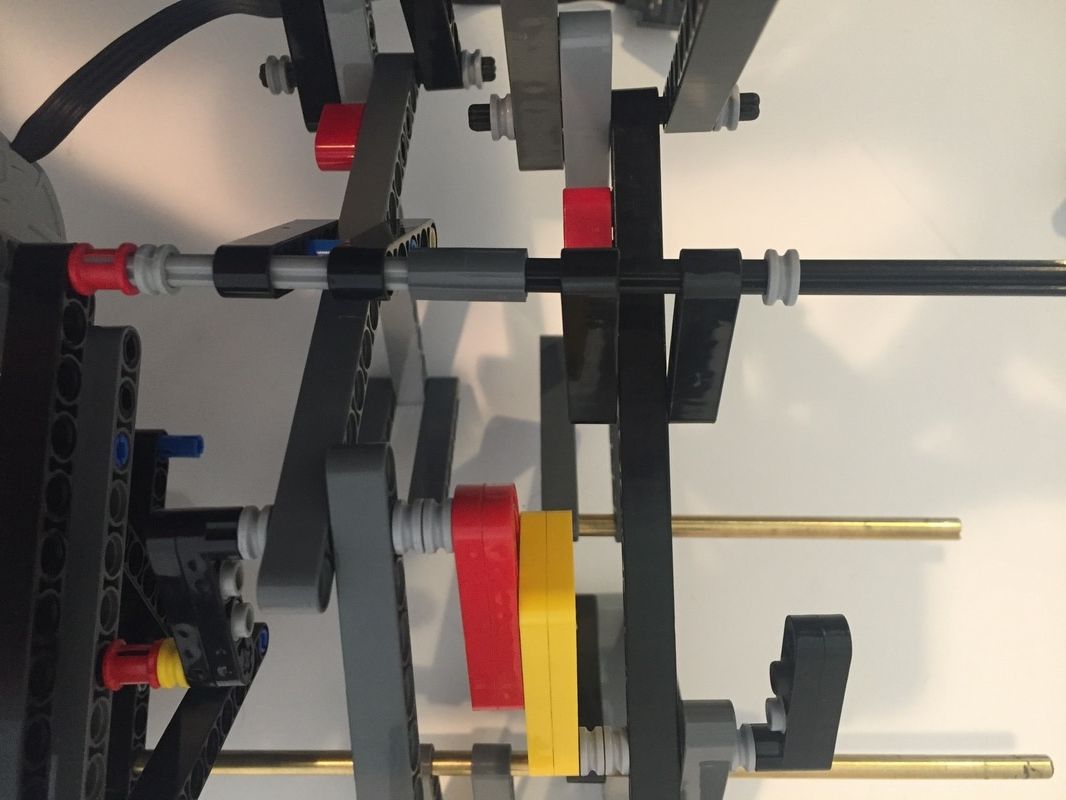
Spacing, Spacing, Spacing!
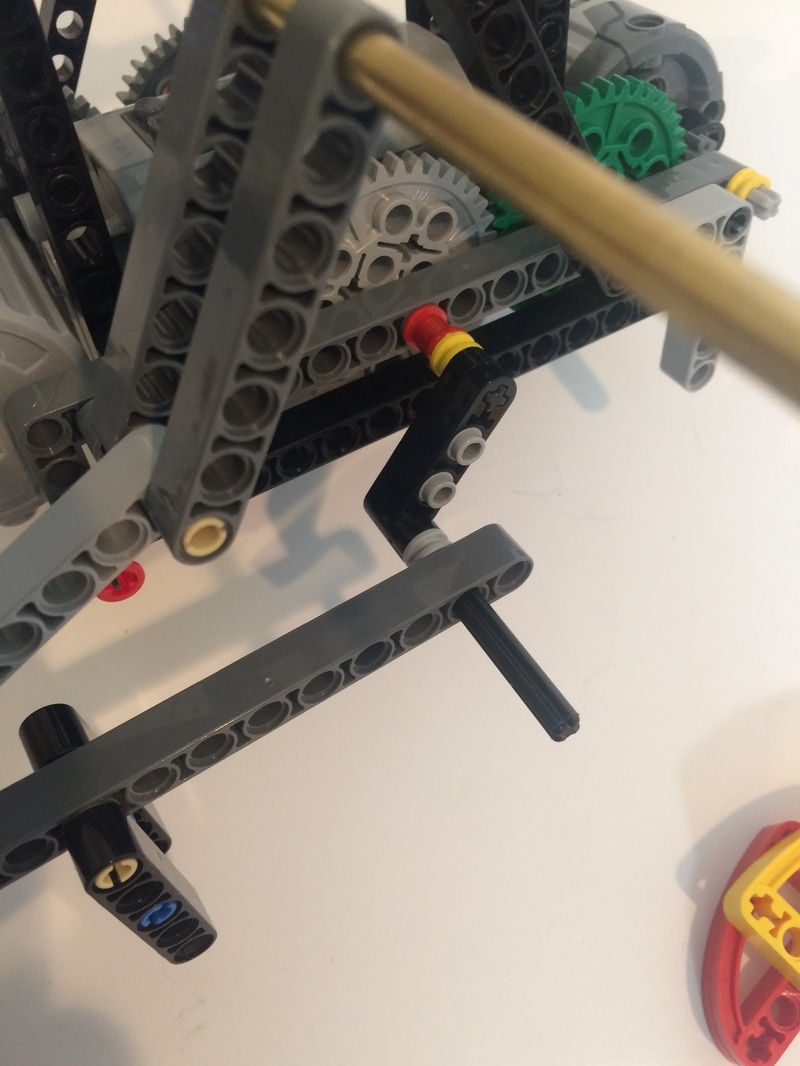
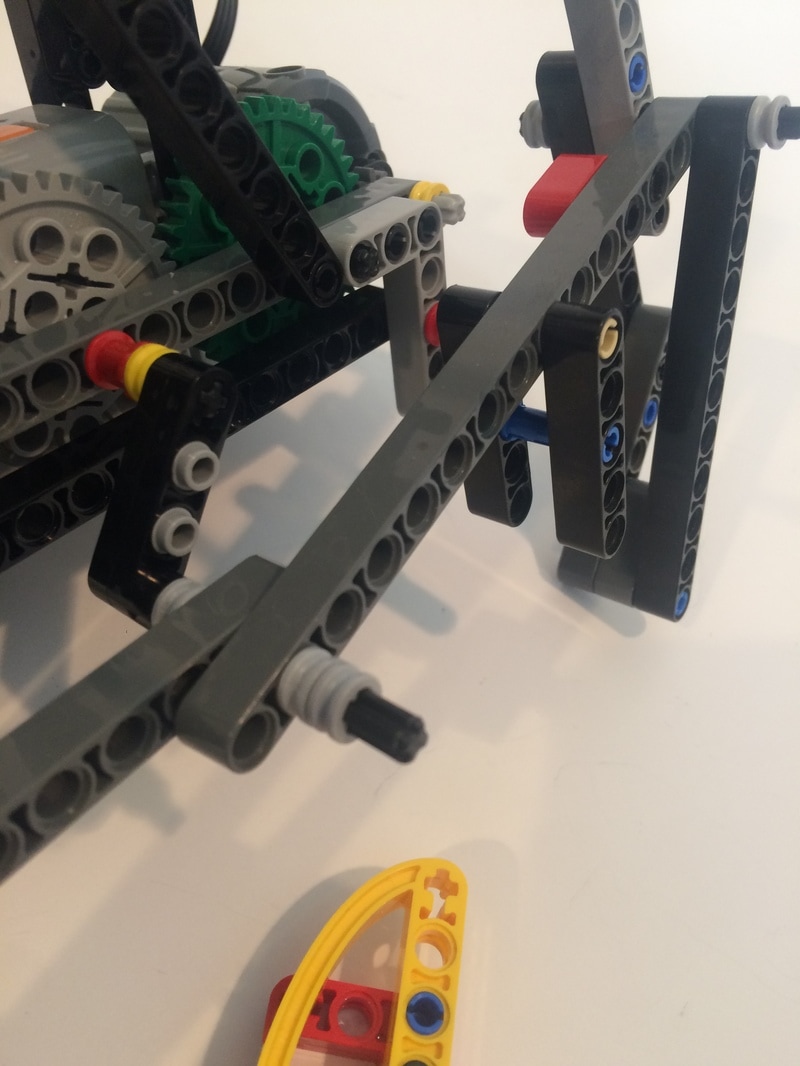
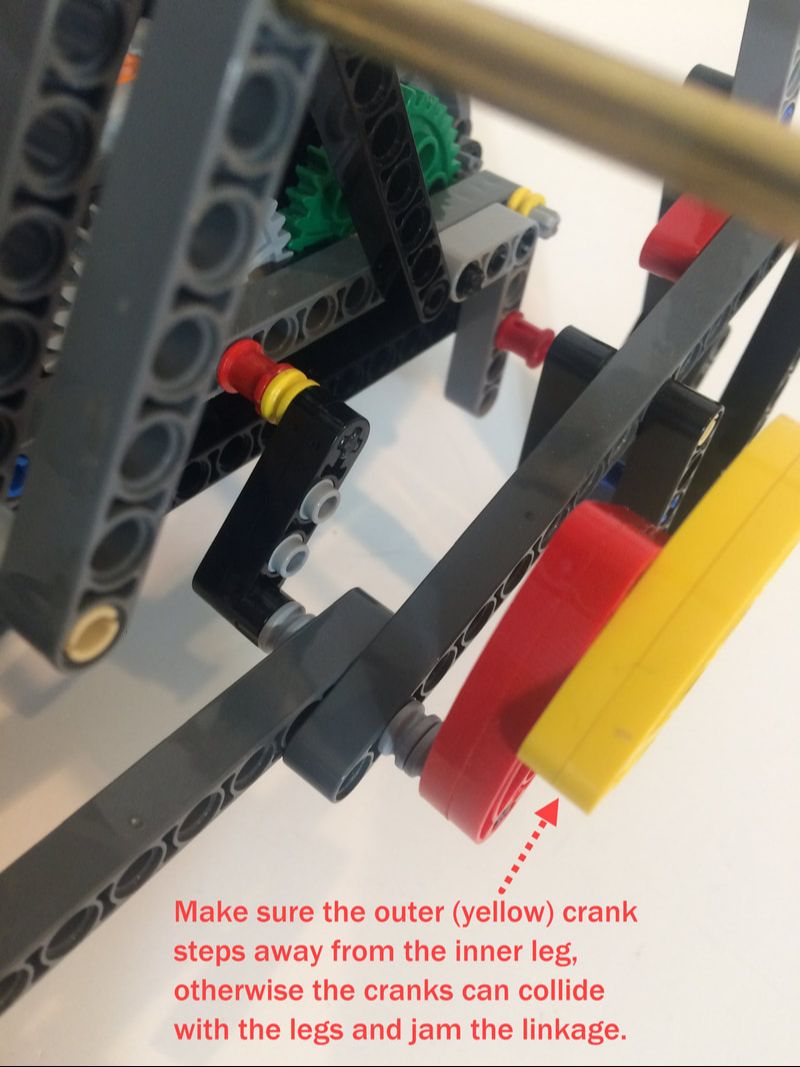
The trickiest part of building walker's linkages can be getting the spacing right between leg components. Too far, and the walker performs poorly. Too close, and leg parts collide when the motor runs. You may need to run a few experiments with your build to get your spacing just right, and the most useful LEGO part for controlling spacing on axles are bushings.
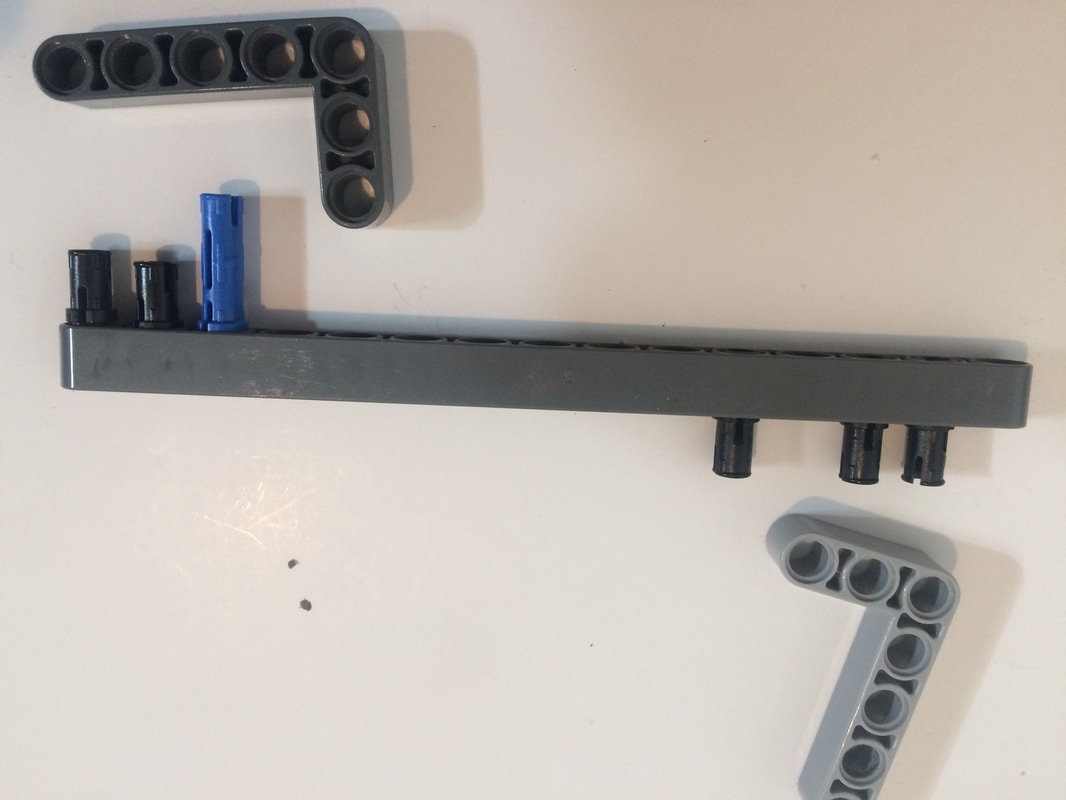
The below 11 hole beam is included to show the axle lengths.
I neglected to add diagonals to these outer frames, so they are weaker than they should be. You can find some suggestions for improving them here.
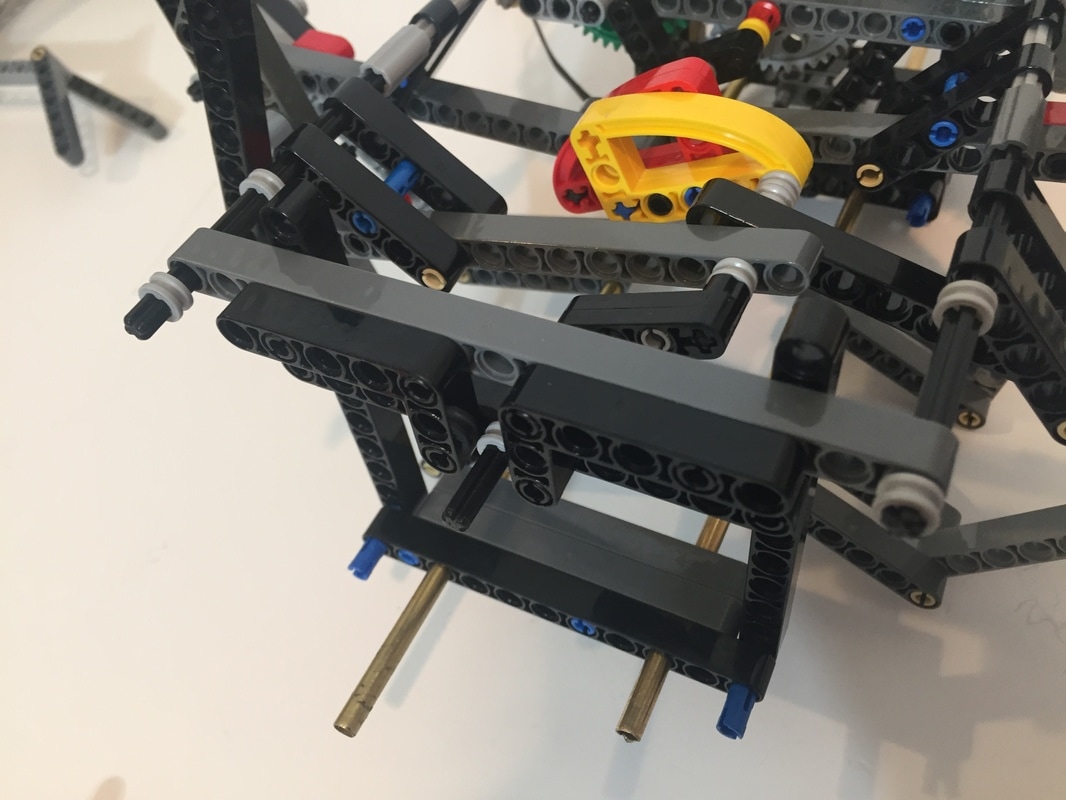
These outer frames help to match the axle's center of rotation to the inner frame's, and also keep the support rods at the correct distance from the axle so that the linkage moves as designed.
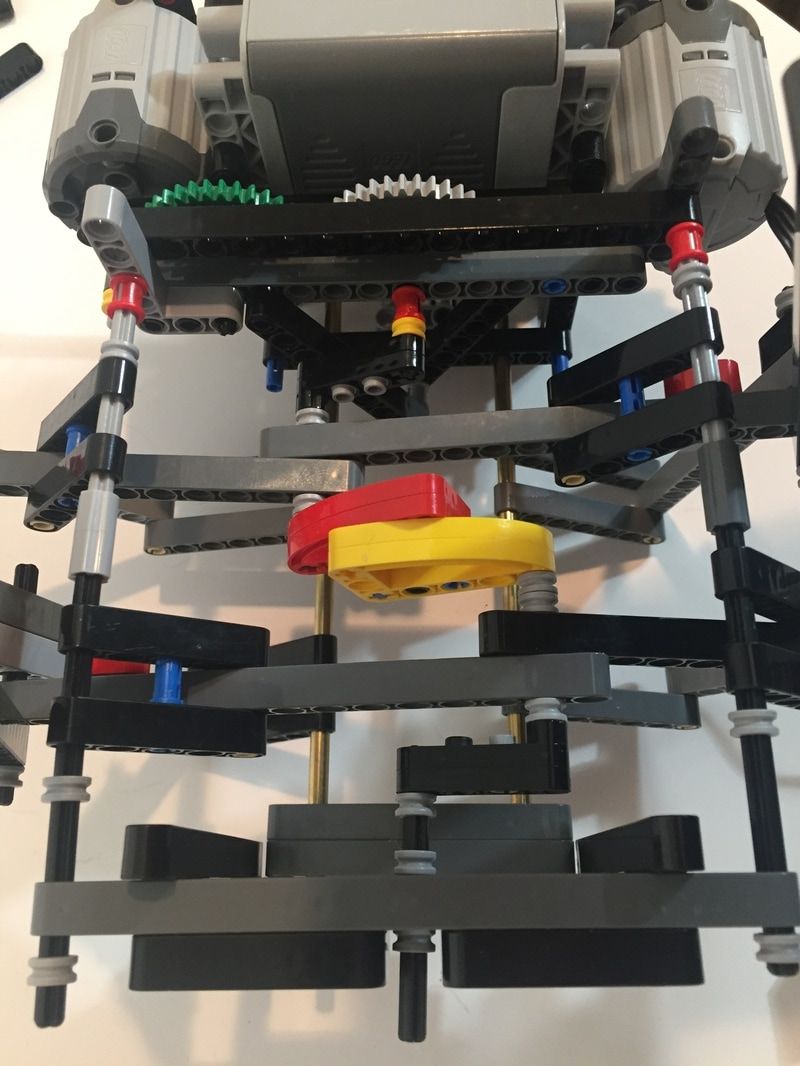

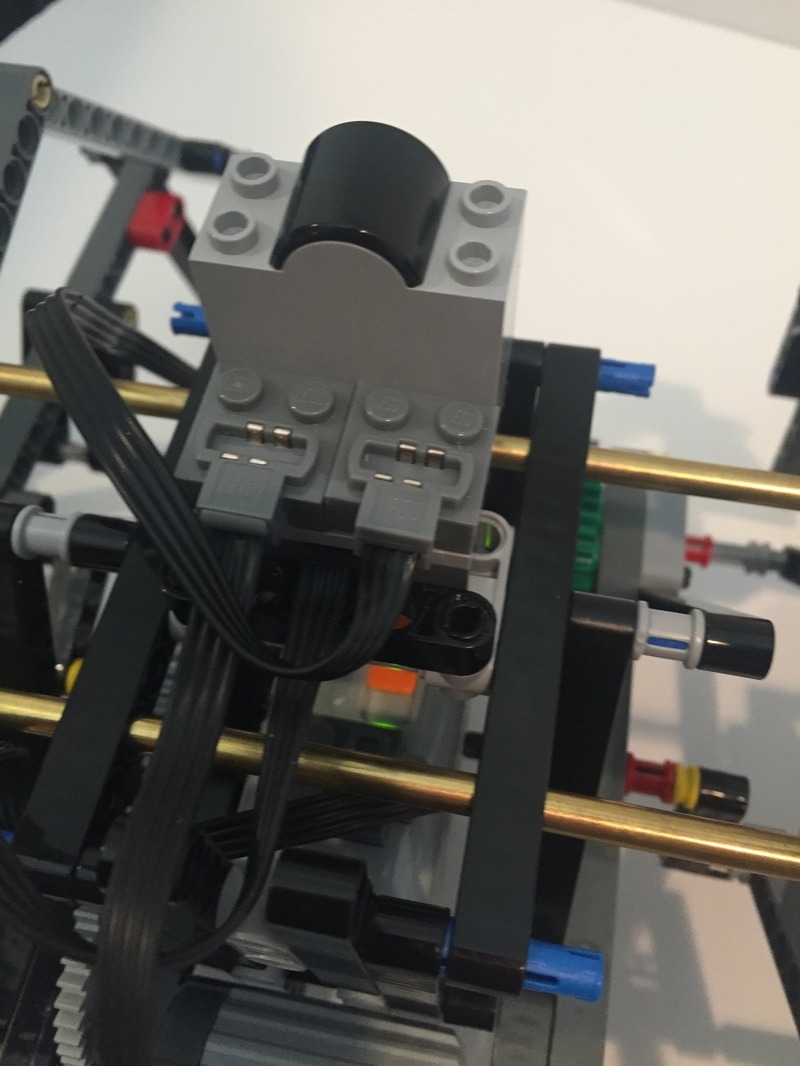
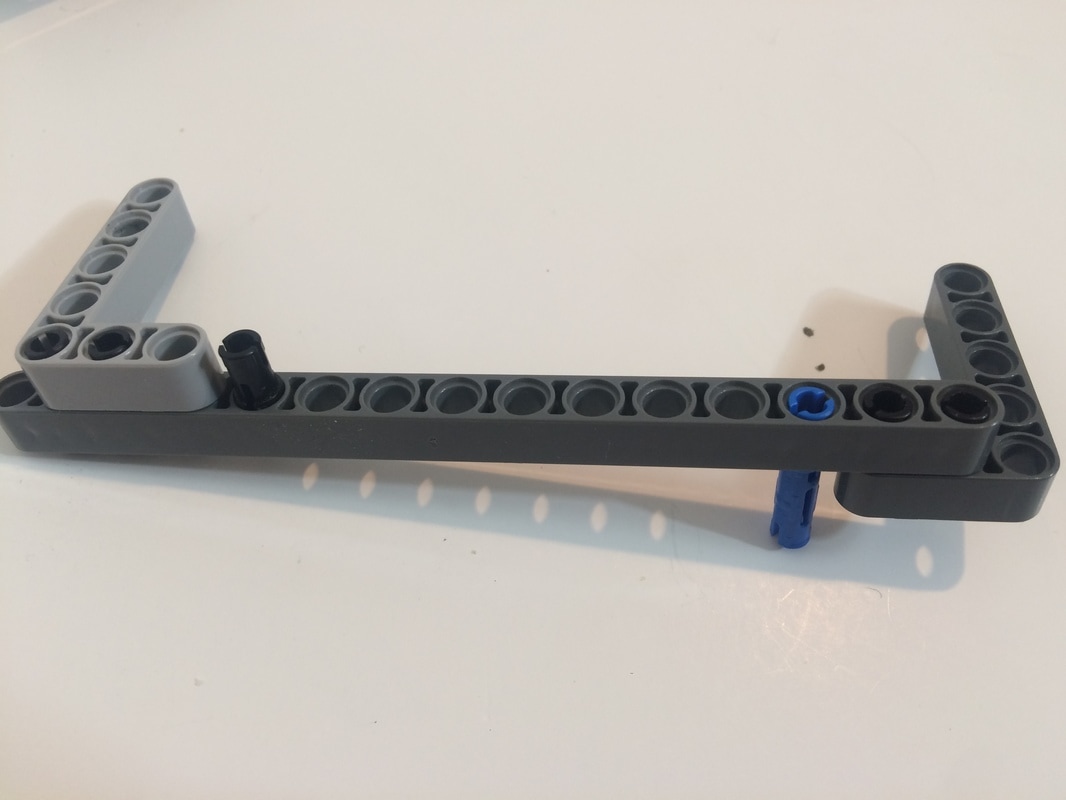
The inner support axle at the top of the above pic kept coming out so I replaced the gray axle of length 7 with a black axle of length 8. Maybe Scotch tape would secure the axles to the axle-joiners?