Recently I’ve been working on getting TrotBot to climb 1/3-scale stairs. The first video below shows TrotBot climbing stairs at the standard 32 degree angle of life-size stairs, both with and without wheelie bars. The second video shows TrotBot attempting steeper 38 degree angle stairs without wheelie bars, and required a bit of expert driving to avoid flipping backwards!
In this process, I found that TrotBot’s center of gravity needed to be lowered to prevent it from flipping backwards, so I lowered the battery box.
In general, vehicles handle better with a lower center of gravity, so I should have mounted the battery box lower in my original instructions. Instructions to modify TrotBot to lower its battery box:
These instructions require the vertically oriented 7 hole beams that mount the battery box to the frame be replaced by 11 hole beams. Using 11 hole beams allows the battery box to be mounted a half dozen holes lower than it would be otherwise.
Start by removing the battery box and vertical 7 hole beams from the TrotBot frame, and get four 11 hole beams to replace the 7 hole beams. NOTE: it's easier to pull the two sides of TrotBot apart incrementally while rotating each metal support rod between pulls so that the LEGO beams can slide along the rods. 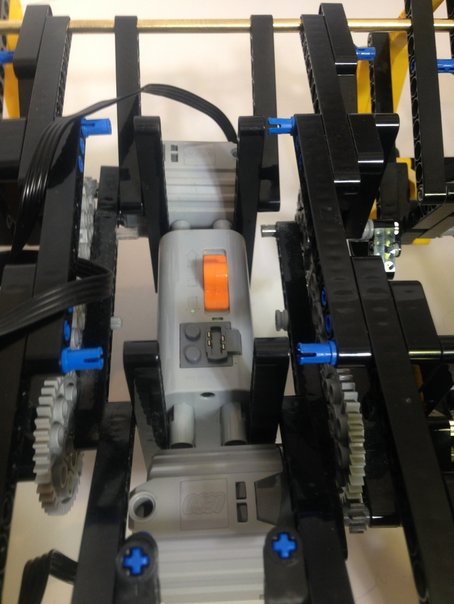
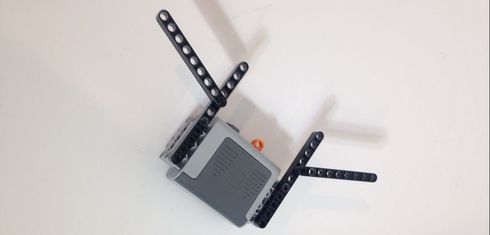
The following photo shows the attachment of two 11 hole beams to the battery box along with the 9 hole beams that attaches to them to the metal support rods to form the hypotenuse of the frame triangle. The 9 hole beams that are used as the hypotenuse will remain on the metal support rods and are only in the pictures to provide context. 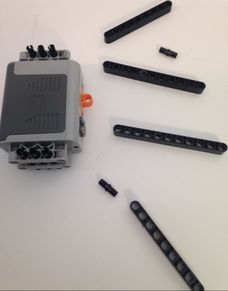
Attach the 11 and 9 hole beams together to form the basis for the frame triangle. The 9 hole beams must be mounted on the 5th hole from the top of the 11 hole beam.
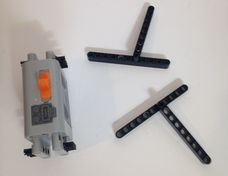
Mount these parts onto the battery box. Notice that the 9 hole beams are mounted on the outside of the 11 hole beams, that they are facing away from the battery box.
Repeat this process for the other side of the battery box.

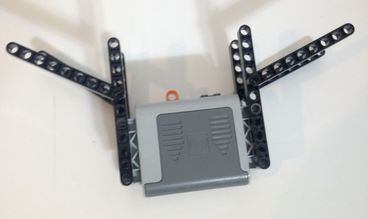
Next mount this structure back into the TrotBot frame.

And that's it, TrotBot with a lowered center of gravity - time to work on TrotBot's next climbing challenge:

0 Comments
I had a great time sharing TrotBot with this amazing group of students and teachers - thank you so much for inviting me!
Ben
No TrotBots were harmed nor fell off cliffs during the making of this film in Moab, UT

Grandstaff Canyon Overlook from Moab's Slickrock Trail

Castle Valley's Buttes


Hoar frost blanketing the petrified sand dunes of Moab's Slickrock Trail
Below are photos from Moab's Captain Ahab Trail in the summer:
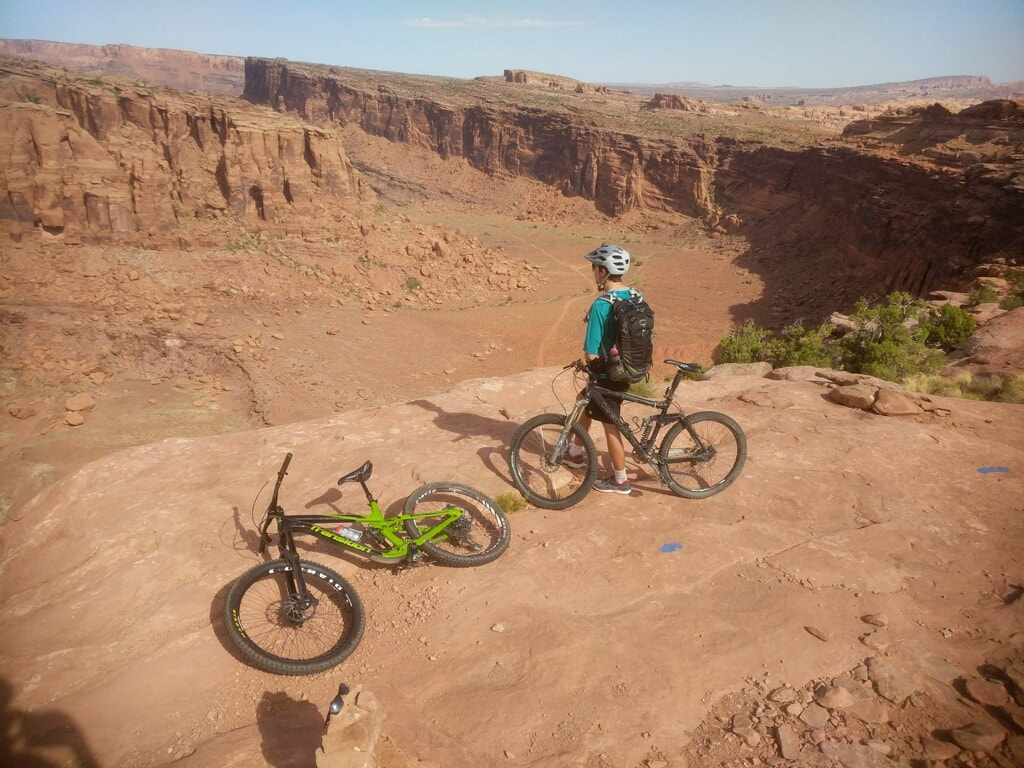
Rim Overlook on Moab's Captain Ahab Trail
The backgrounds look almost fake, right?
|
Categories
All
Archives
February 2023
|
 RSS Feed